
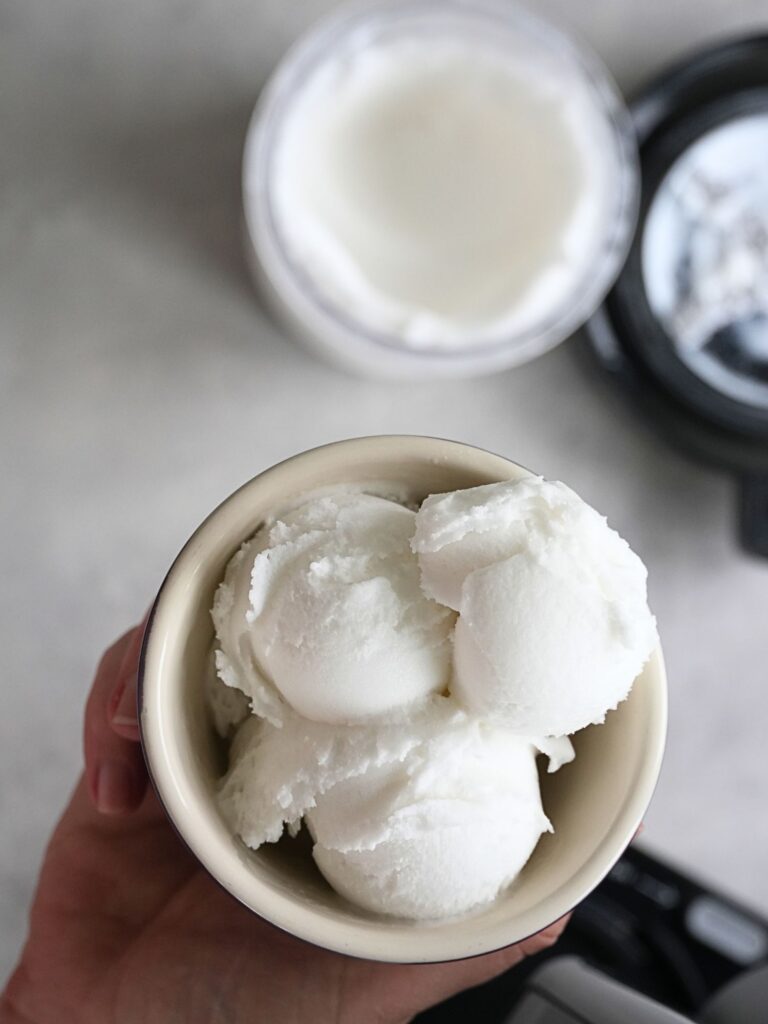
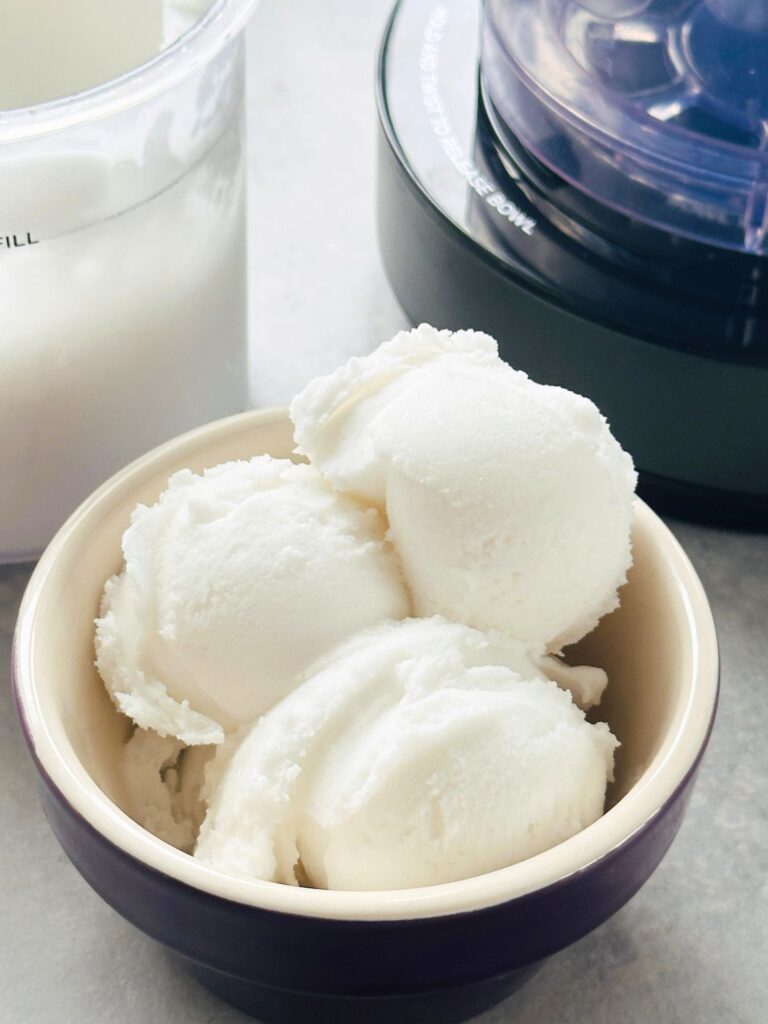
If you’re looking for a simple dairy free ice cream that still feels indulgent, this one is a great place to start. It’s rich, creamy, and full of coconut flavour. and honestly, I was surprised at just how good it turned out.
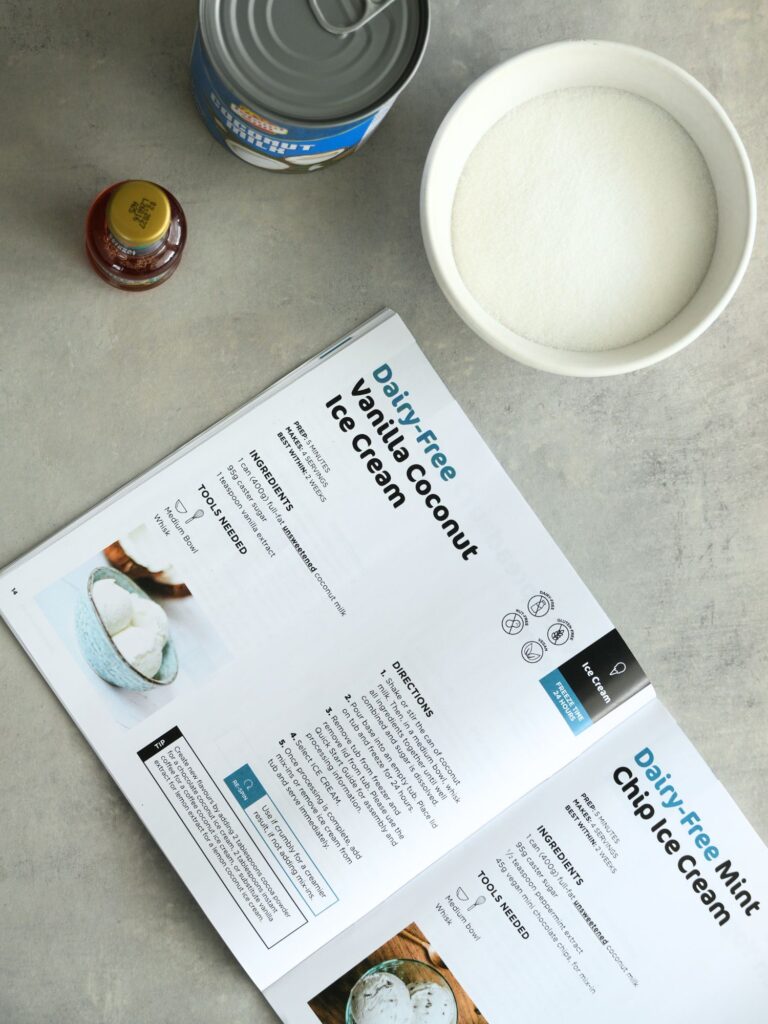
This recipe is straight from the Ninja Creami booklet that came with it, completely unadjusted. I wanted to start by testing one of their official recipes before experimenting, and I’m really glad I did because the result was incredibly tasty.
This post may contain affiliate links. As an Amazon Associate I earn from qualifying purchases. If you choose to buy through these links, I may earn a small commission at no extra cost to you. Thank you for supporting Liana’s Kitchen.
Buying the Ninja Creami
I’ve actually had my Ninja Creami since last summer, but this is the first time I’ve properly used it myself. That said, my sons have definitely given it a good workout already! Now that I’ve started using it, expect plenty more recipes coming soon.
I’ll be sharing a mix of indulgent ones to begin with, then moving into some lighter, healthier versions too – so stay tuned. I’ll also be putting together a full review once I’ve spent a bit more time testing it properly.
What You Need
Here’s a quick overview of the ingredients you’ll need. Scroll down to the recipe card for exact quantities.
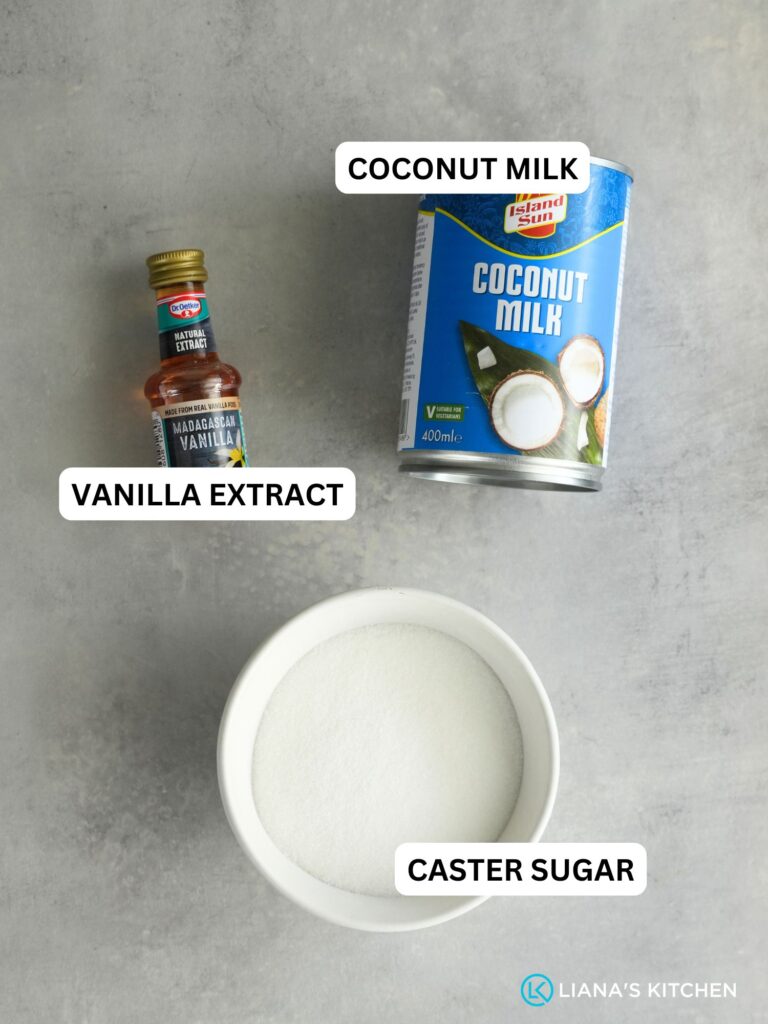
This is a really simple base recipe with just a few ingredients:
- Full fat coconut milk
- Caster sugar
- Vanilla extract
You’ll also need:
- Ninja Creami ice cream maker (on Amazon)
- Freezer-safe Creami tub
- Mixing bowl and whisk
How to Make It
Start by giving your coconut milk a really good shake or stir, especially if it’s separated in the tin.
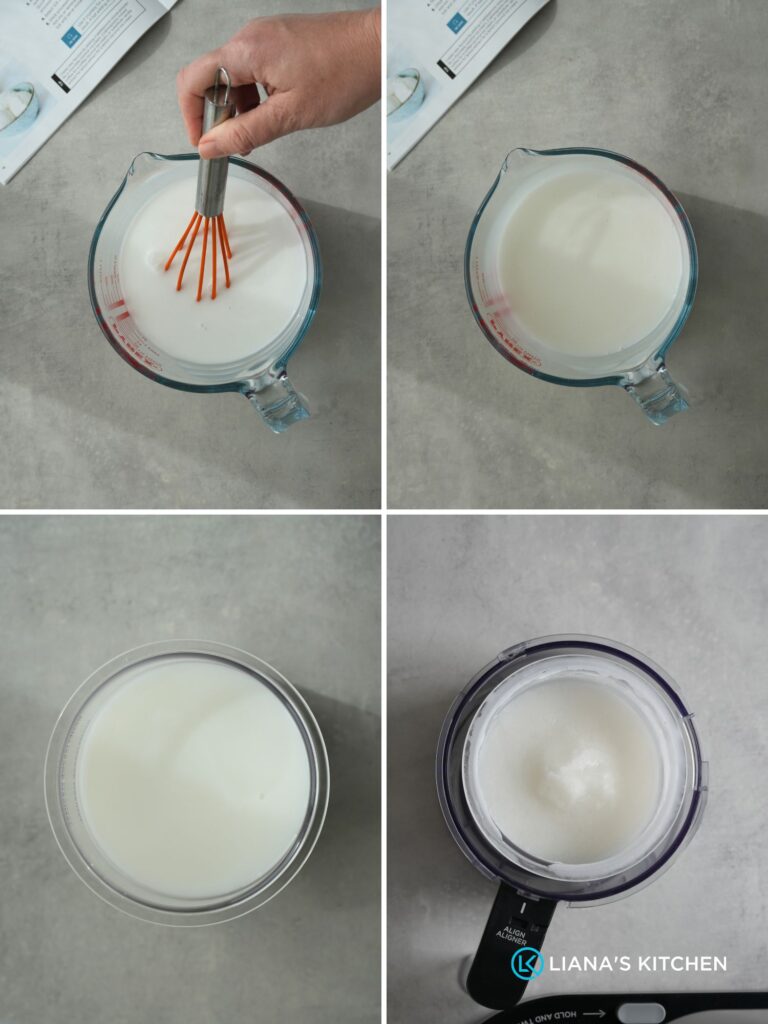
Pour it into a bowl, then add the sugar and vanilla extract. Give everything a whisk until the sugar has dissolved and the mixture is smooth.
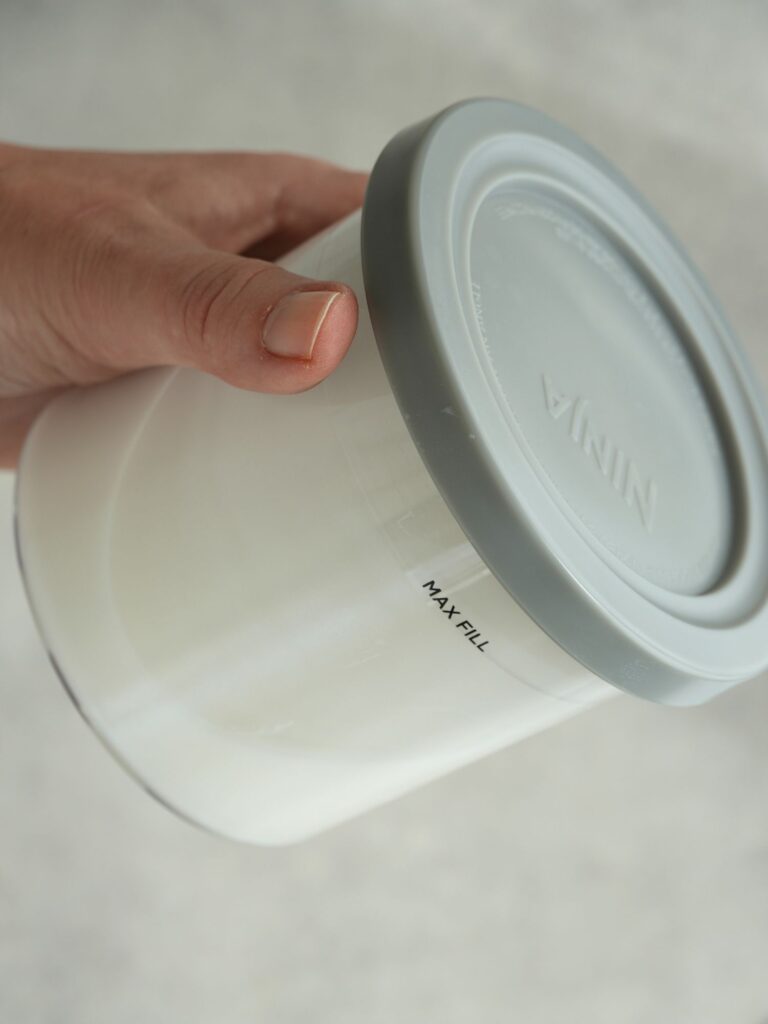
Pour the mixture into your Ninja Creami tub, pop the lid on, and place it in the freezer. It needs to freeze completely flat for around 24 hours.
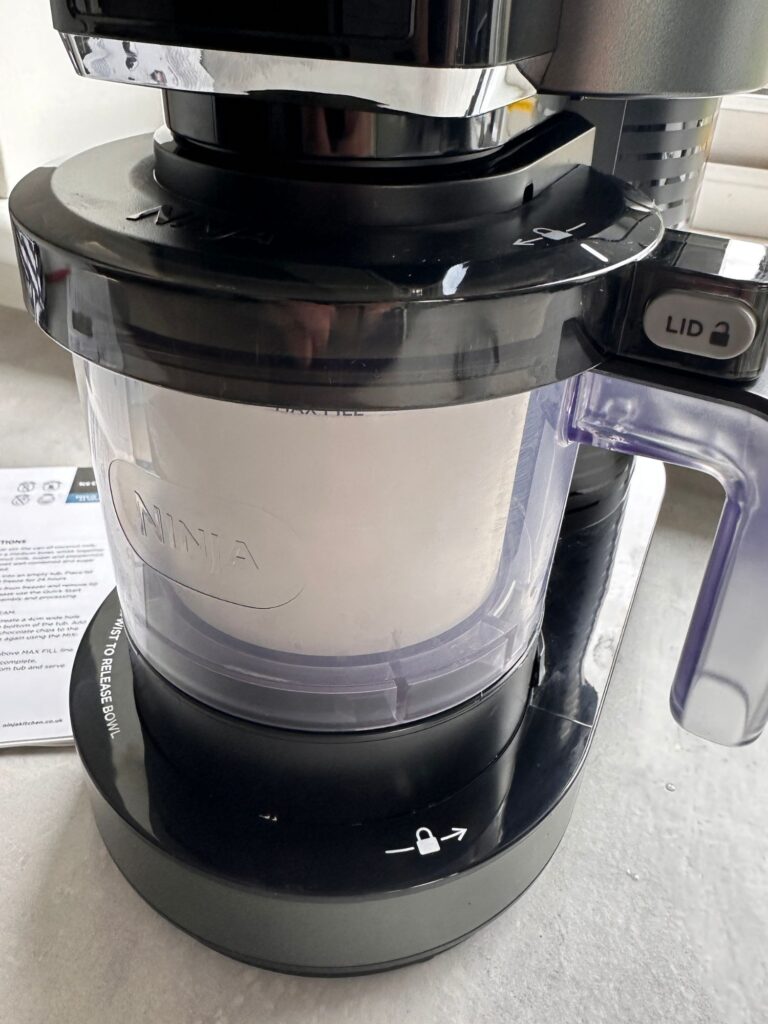
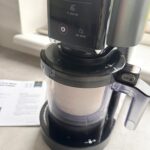
Once fully frozen, remove the lid and place the tub into your Ninja Creami machine.
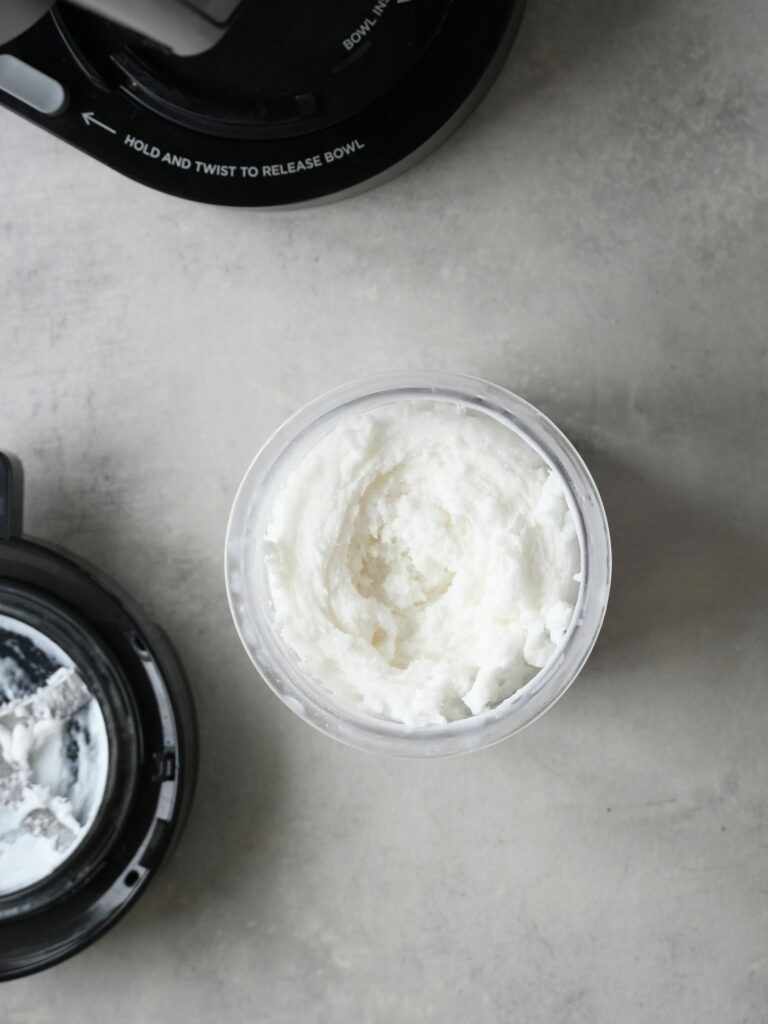
From here, follow the standard Ninja Creami process for ice cream (using the recommended setting from your machine). You may need to respin once or twice depending on the texture.
Variations & Tips
- Make it extra indulgent: Add chocolate chips or swirl in some caramel after spinning
- Boost the flavour: A pinch of salt really enhances the coconut and vanilla
- Texture tip: If it looks crumbly after the first spin, just use the respin function – it comes together beautifully
- Try different milks: This works best with full-fat coconut milk for creaminess
Storage & Reheating
- Store any leftovers in the Creami tub with the lid on
- If it freezes solid again, just pop it back into the machine and respin before serving
- Best enjoyed fresh for the creamiest texture
More Ninja Creami Recipes
I am busy making lots of different Ninja Creami Recipes, there will be more being added soon 😉
- Ninja Creami Mini Eggs Ice Cream Recipe
- Ninja Creami Green Smoothie Bowl
- Ninja Creami Peach Sorbet (made from just one tin of peaches)

Ninja Creami Dairy Free Vanilla Ice Cream
Some of the links in this post may be affiliate links – which means if you buy the product I get a small commission (at no extra cost to you). If you do buy, then thank you! That’s what helps us to keep Liana’s Kitchen running.
Equipment
Ingredients
- 400 g coconut milk full fat
- 95 g sugar caster
- 1 tsp vanilla extract
Instructions
- Shake or stir the can of coconut milk. Whisk all the ingredients together in a medium bowl until well combined and the sugar is dissolved.
- Pour base into an empty tub. Place the lid on the tub and freeze for 24 hours.
- Remove the tub from the freezer and take the lid off.
Nutrition
Nutrition information is automatically calculated, so should only be used as an estimate.