
This is one of the breads we make the most in our bread maker. We use the bread for toast, sandwiches and dipping into the odd bowl of soup.
We have one of the Panasonic Bread Makers (model SD-YR2540) if you are interested, and this is one of the recipes that came with it.


What You Need To Make White Bread in a Bread Maker
I followed the exact same ingredients and measurements as those in the Panasonic bread maker. I made the largest bread possible (XL) as I figured any extra bread can just be frozen (but there never is any extra bread leftover).
But, if you want to make a smaller loaf, I have included the amounts for each size in the recipe card at the bottom of this page, so just scroll down to see them all (and print it out if you want to).

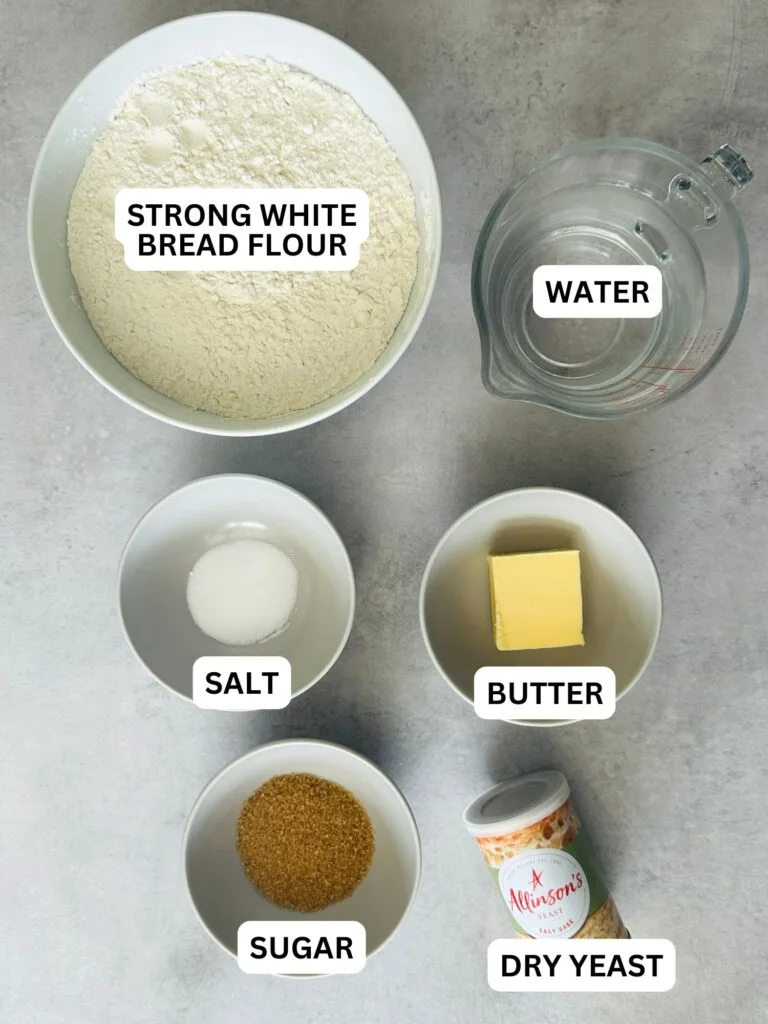
Dry Yeast
We use the easy bake yeast by Allinson’s that comes in a tin. You can also use the sachets, I just find the tin easier.
Strong White Bread Flour
I mainly use the Tesco own brand strong white bread flour which always works well, but I have used other brands in the past.
Butter
I just use a supermarket own brand butter. You could substitute for oil if you don’t have any butter. I would recommend using a neutral tasting oil, I typically use olive oil if I’m not using butter. Substitute like for like, so for 40g of butter, use 40ml of olive oil.
Sugar
I tend to use what sugar we have handy in the cupboard, usually a light brown soft one. You can use a granulated sugar, caster sugar or even honey.
Salt
I typically use a table salt as that is what I have most of the time.
Water
I usually go for lukewarm tap water, this helps to activate the yeast gently rather than too slowly or quickly which can happen with too cold or too hot water.
Making It
Add the ingredients to the bread maker tin in the order listed in the recipe (down below, or from your bread maker recipe booklet).

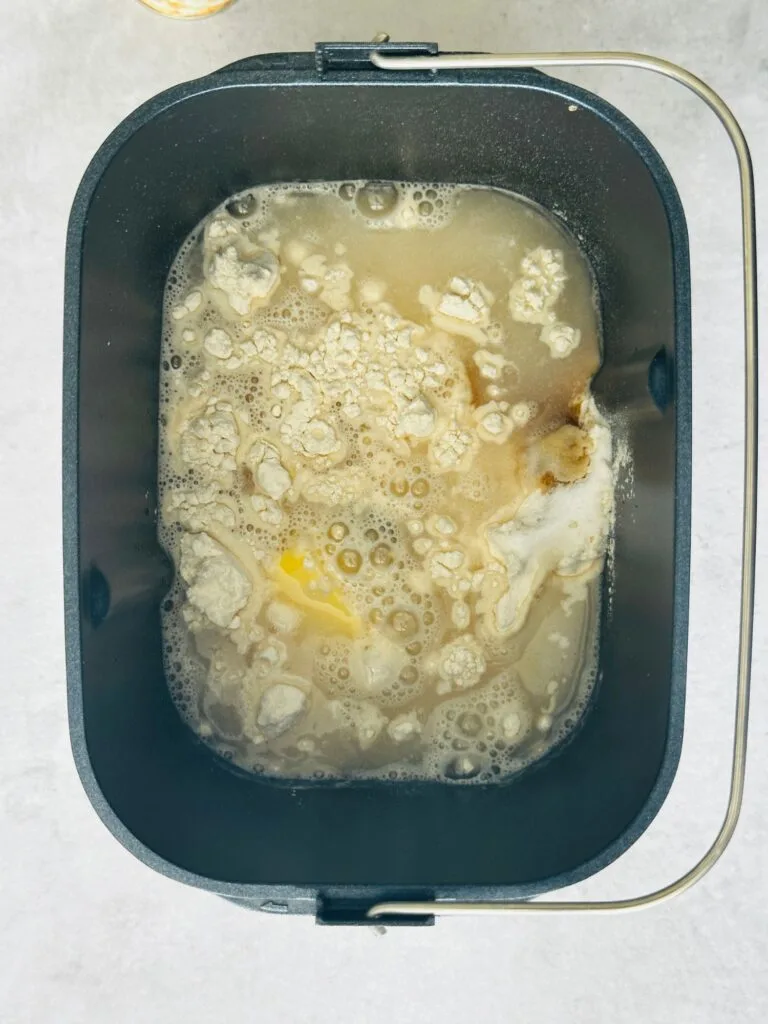
I usually put the tin from the bread maker on my weighing scales and then add the ingredients one by one that way. So start with the flour followed by the butter, sugar, salt and finally water. As this model of bread maker has a seperate yeast dispenser that is added once the tin is back in the bread maker and the lid is closed.
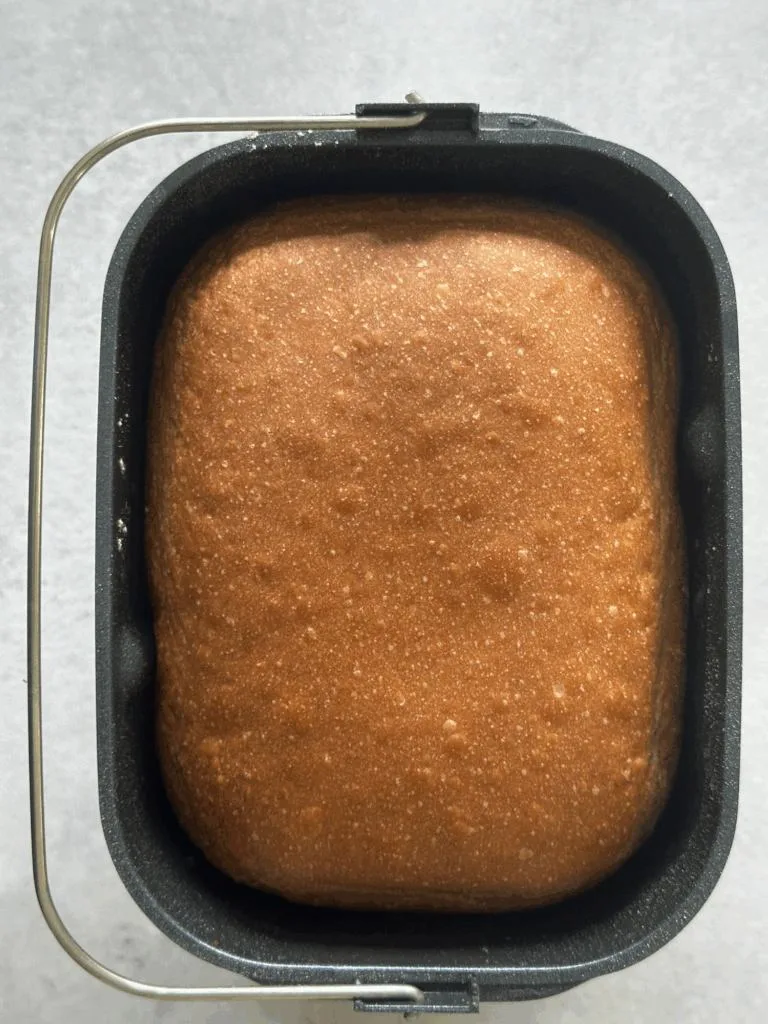
Choose ‘menu 1,’ it will probably be on that as default when you switch the bread maker on. Then choose the size you want and finally the crust setting. For this cycle you can choose from light, medium or dark crust. I tend to go to dark crust.
The bread maker will run for 4 hrs (very slightly longer for the darker crust, 4 hours and 5 minutes).
You don’t need to do anything to the bread maker during this time, it will be quiet for much of the time, but you will hear it mixing during the knead stage. The bread maker lid doesn’t lock shut during any part of the program. Don’t be tempted to lift the lid during the RISE or BAKE stage or you risk ruining the end result of your loaf.
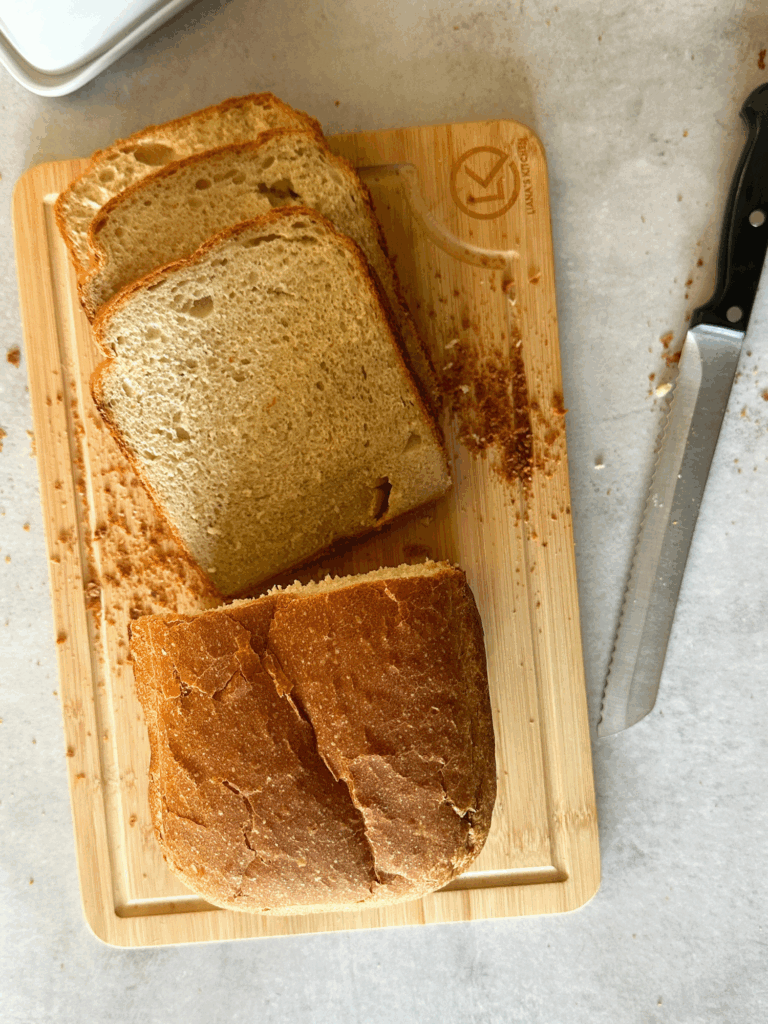
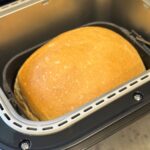
When the bread is ready remove the baking tin from the bread maker, I recommend using oven gloves for this if you do it right away.

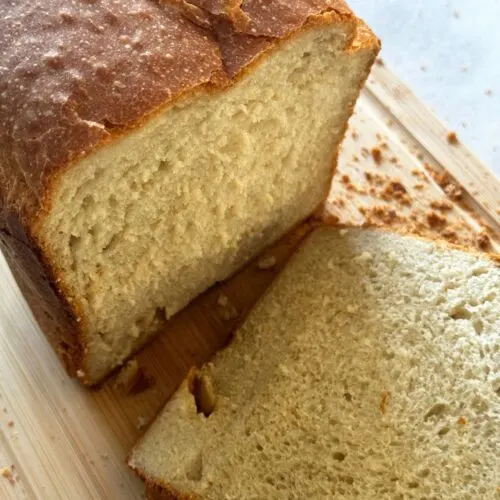
Turn the tin upside down and gently let the loaf slide out, if all is well it should come out easily.
As tempting as it is to tuck straight into your lovely smelling fresh bread try to resist temptation and leave it on a wire rack to cool down for about an hour. If you really can’t wait that long (I rarely can) then at least 30 minutes. This will make the bread much easier to slice.

Storing Fresh Bread Maker Bread
Let It Cool Completely First
Allow your loaf to cool on a wire rack for at least 1–2 hours. Storing warm bread traps moisture which equals a soggy crust and faster mould growth.
Best Short-Term Storage (1–3 Days)
- Keep it at room temperature in a bread bag (linen or cotton). This lets it breathe without drying out.
- Or alternatively use a plastic bag or reusable zip-lock bag. This keeps it soft, but it can soften the crust.
- Another option is a bread bin – it’s great for airflow and keeping the crust crisp.
Tip: If you store in plastic, wrap in a tea towel to prevent condensation.
Best Long-Term Storage (Up to 3 Months)
Freeze it. Slice the bread first so you can take out only what you need. Wrap it in foil or baking paper, then place in a freezer bag or airtight container.
To defrost: Just leave a slice out for 10–15 mins, or pop it in the toaster.
What Not to Do
- Don’t store fresh bread in the fridge — it dries out much faster due to the cool, dry air.
- Avoid airtight plastic containers unless fully cooled — they trap moisture and cause mould.
More Bread Maker Recipes
Are you looking for more recipes for your bread maker? Take a look at these that have been tried and tested in a Panasonic Bread Maker:
- Bread Maker Raisin Bread
- Quick White Bread in a Bread Maker
- Hot Cross Bun Loaf in a Bread Maker
- Making Bread Rolls in a Bread Maker
- Bread Maker Pizza Dough

Bread Maker White Bread
Some of the links in this post may be affiliate links – which means if you buy the product I get a small commission (at no extra cost to you). If you do buy, then thank you! That’s what helps us to keep Liana’s Kitchen running.
Equipment

Ingredients
- 600 g strong white bread flour
- 40 g butter
- 2 tbsp sugar
- 2 tsp salt
- 400 ml water
- 1¼ tsp dry yeast
Instructions
- Add the ingredients to the bread maker tin in the order listed.
- If your bread maker has a seperate dispenser for the yeast add it there.
- Set the bread maker off using the basic white bread program. On the Panasonic bread maker it is Menu 1.
- Choose the bread size – the ingredients above are for a XL bread in the Panasonic bread maker. For medium and large sizes see the measurements in the Notes section below.
- Choose your preferred crust setting. For Menu 1 you can pick from Light, Medium or Dark Crust. The pictures on this page are of a Dark Crust setting.
- When the bread maker has beeped to signal it has finished, remove the bread tin (use oven gloves if removing straight away) and tip the tin upside down. The loaf should slife out easily.
- Leave the loaf to cool down on a wire rack. At least thirty minutes, but one hour would be better.
- Slice the bread and enjoy!
Notes
Nutrition information is automatically calculated, so should only be used as an estimate.