
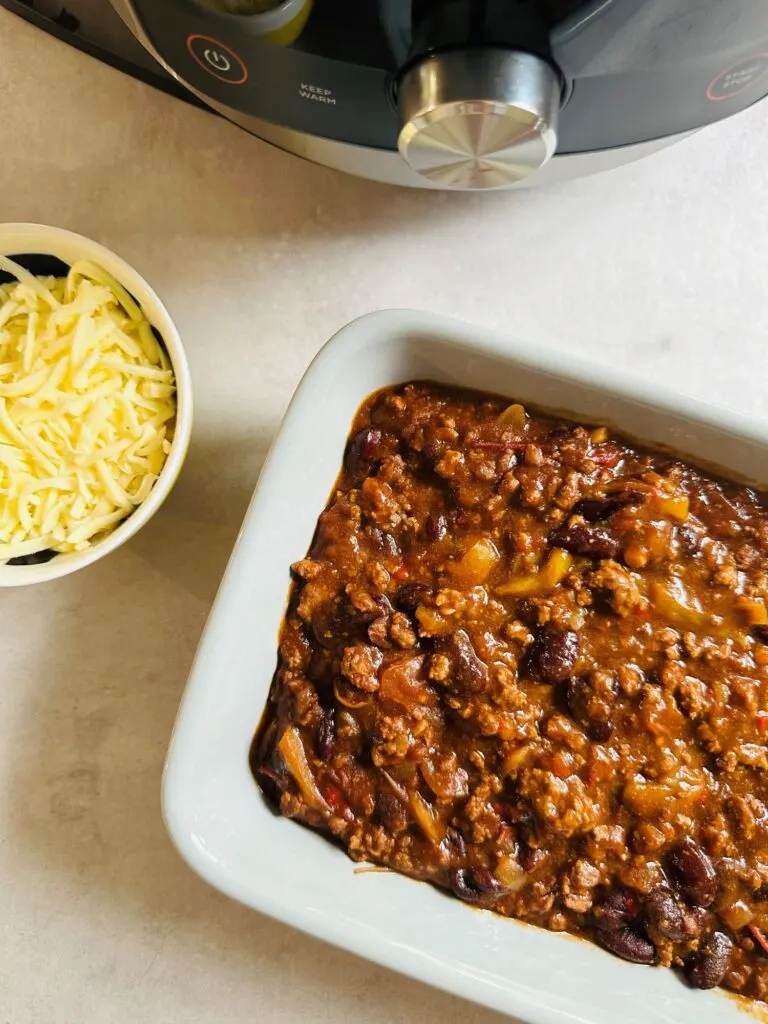
Prepare a delicious, hearty Ninja Foodi Chilli Con Carne with this easy to follow recipe, combining rich flavours and tender meat in one versatile, time-saving appliance for the ultimate comfort food.

How To Make Chilli Con Carne In A Ninja Foodi
The ingredients below are enough to serve four people. For more or fewer servings, adjust accordingly.
To print the recipe, scroll down to the recipe card at the bottom of the post.
What You Need:

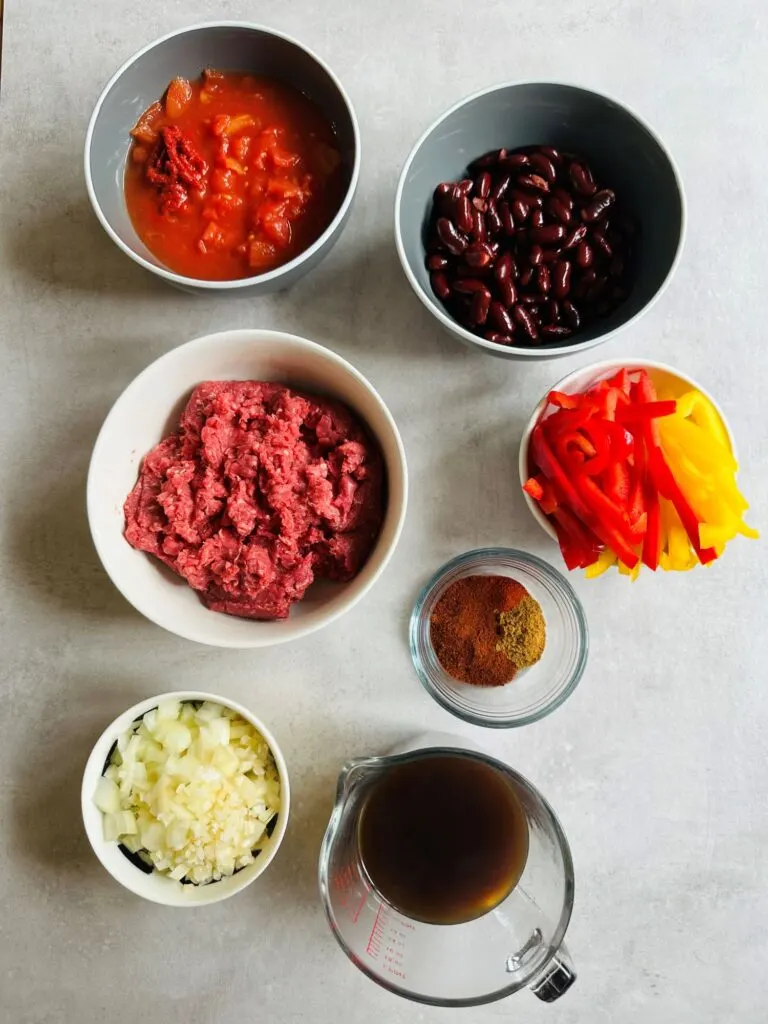
- 500g beef mince
- Onion and garlic – I used one onion and two cloves of garlic.
- Sweet bell peppers – I used two – you can use any colour.
- Chopped tomatoes – I used one 400g tin of chopped tomatoes and two tablespoons of tomato puree.
- Kidney beans – I used one 400g tin of kidney beans, drained and rinsed.
- 250ml beef stock
- 2 tbsp chilli powder
- 1 tsp ground cumin
- 1/2 tsp paprika
- Salt and pepper, to taste
I made this in a Ninja Foodi 15 in 1, but you can make it in any multi-cooker that has a pressure cooker function.
Making It:
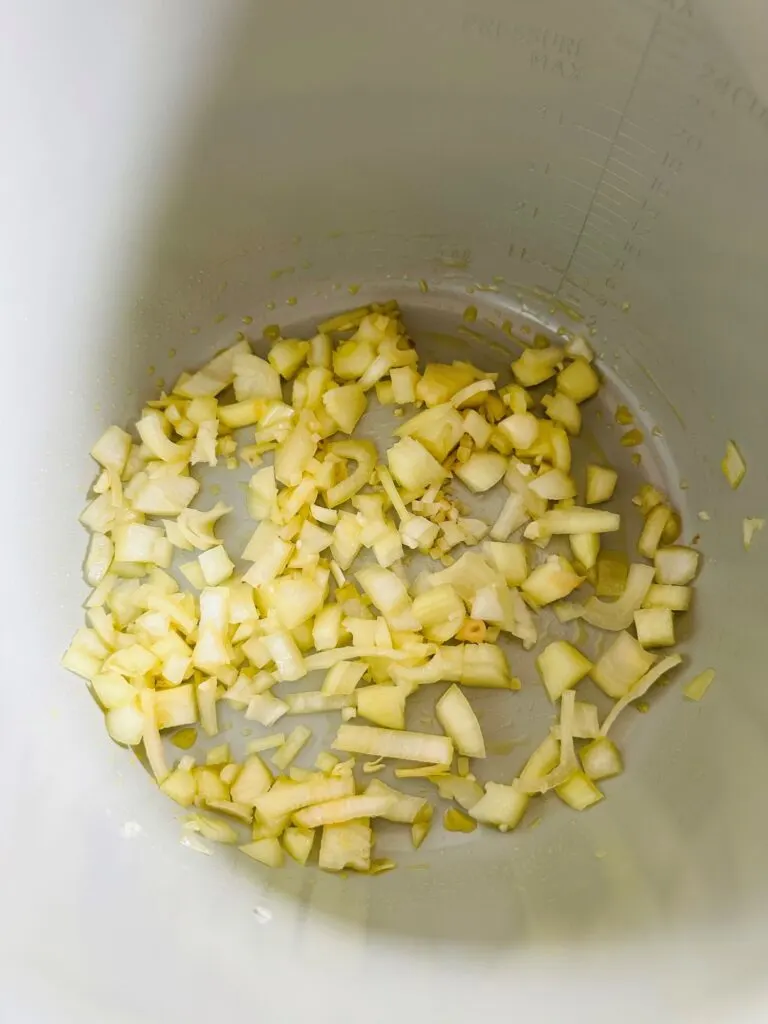
To start, heat some oil using the ‘Sauté/Sear’ function, then add the onions and garlic, stirring occasionally until they begin to soften.

Next, add the minced beef to the pot and cook until it is browned, breaking it up with a wooden spoon as it cooks.
After that, stir in the peppers and saute for a further minute or two.
Add the chilli powder, cumin, paprika spices, salt and pepper. Let them cook for a minute to release their flavour.

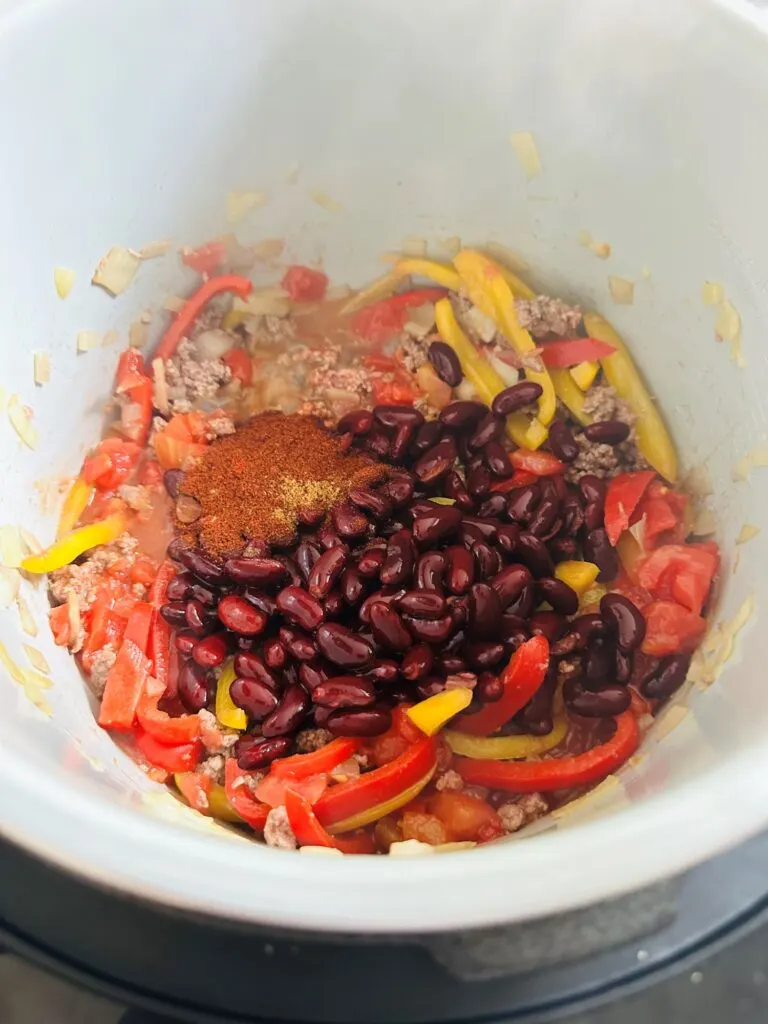
Once the spices are nicely blended, pour in the kidney beans, tomatoes, tomato puree, and beef stock. Give everything a good stir, ensuring all the ingredients are well combined.
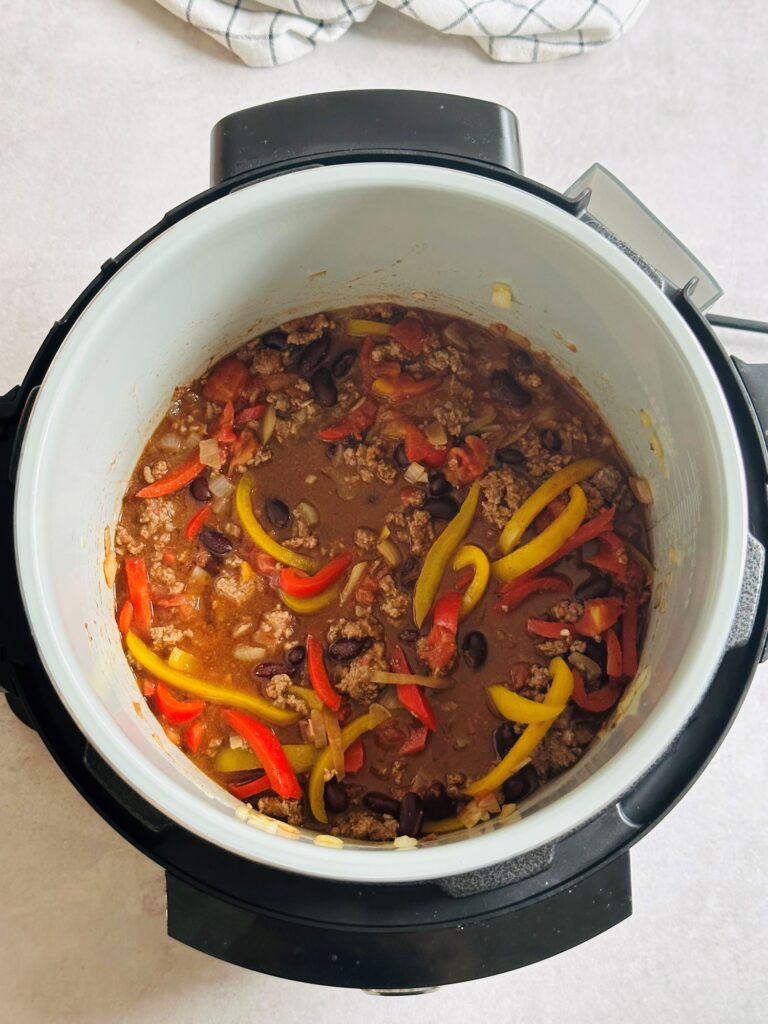

Now, it’s time to let the Ninja Foodi work its magic!
Close the pressure cooker lid, making sure the valve is set to ‘Seal,’ and choose the ‘Pressure Cook’ function.
Set the timer for 10 minutes on high pressure and let the Foodi do its thing.
When the timer goes off, if your model doesn’t do it for you, carefully release the pressure using the quick-release valve.
As soon as the pressure is completely released, open the lid. Stir the chilli with a wooden or silicone spoon – if the sauce is too thin, set the Ninja Foodi to the saute mode and cook it for a little longer until it thickens.
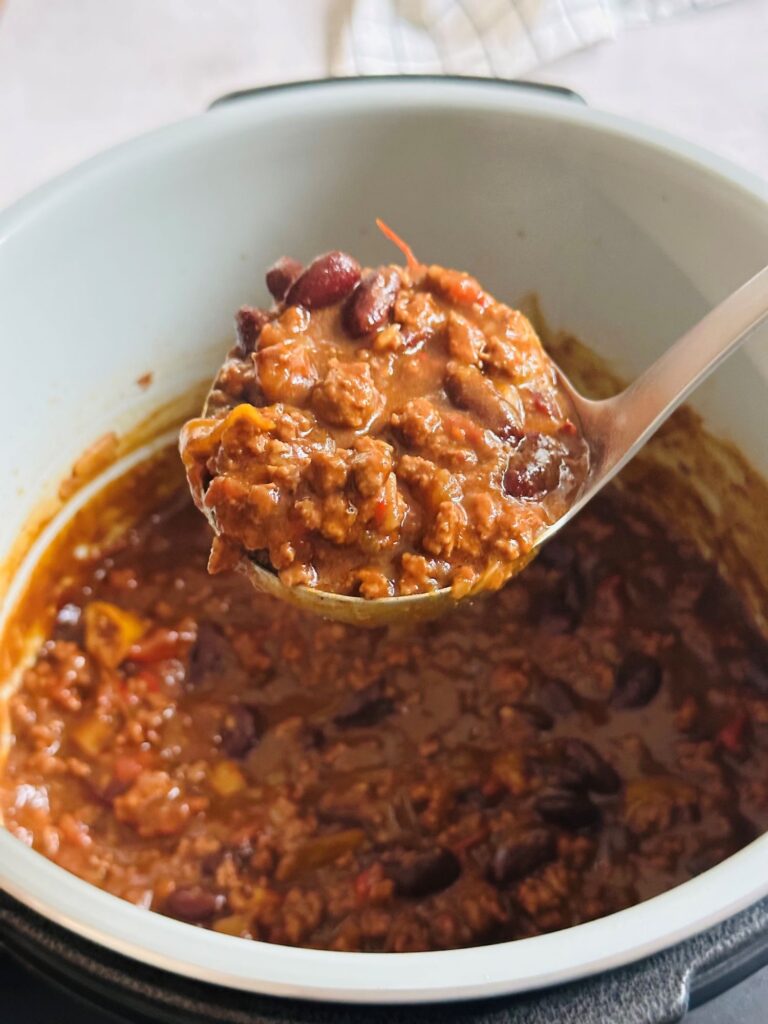

Sometimes I add a tablespoon of beef gravy granules to thicken it up, or, if you prefer, cornflour.
Taste the chilli con carne and season some more if necessary.
Cooking chilli con carne in the Ninja Foodi has become my go-to method, but if you want to cook it over a longer time, you can also follow this slow cooker chilli con carne recipe.
What To Serve With Chilli Con Carne
Classic options to serve with chilli con carne include fluffy white rice, warm cornbread, or a slice of crusty bread for soaking up the rich sauce.
Chilli con carne is also great served with tortilla chips or as a jacket potato topping.
Consider serving it over a bed of lettuce or a crisp green salad for a lighter alternative.
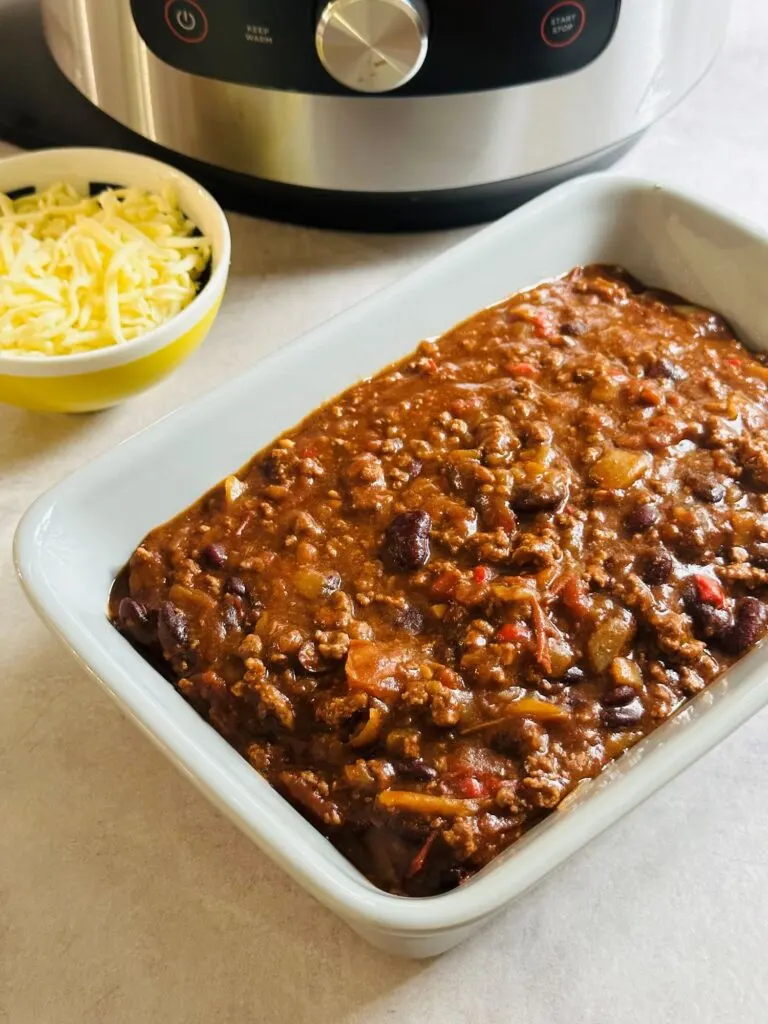
And don’t forget the toppings – a dollop of sour cream, a sprinkling of grated cheese, or a handful of fresh coriander can add that extra touch of deliciousness to your chilli con carne experience.

Storing Chilli Con Carne
Storing chilli con carne is a breeze, and the flavours often improve as it sits, making it a perfect make-ahead meal.
To store your chilli, allow it to cool to room temperature, then transfer it to an airtight container. You can refrigerate it for up to four days or freeze it for up to three months.
When you’re ready to enjoy your stored chilli, reheat it on the stovetop over low heat or in the microwave until it’s heated through.
If you’ve frozen the chilli, it’s best to thaw it overnight in the refrigerator before reheating.


Ninja Foodi Chilli Con Carne
Some of the links in this post may be affiliate links – which means if you buy the product I get a small commission (at no extra cost to you). If you do buy, then thank you! That’s what helps us to keep Liana’s Kitchen running.
Ingredients
- 1 tbsp oil
- 500 g beef mince
- 1 onion chopped
- 2 cloves garlic crushed
- 1 green pepper sliced
- 1 red pepper sliced
- 1 x 400g chopped tomatoes
- 2 tbsp tomato puree
- 1 x 400g kidney beans drained and rinsed
- 2 tbsp chilli powder
- 1 tsp ground cumin
- 1/2 tsp paprika
- 250 ml beef stock
- Salt and pepper to taste
Instructions
- Set the pressure cooker to sauté mode and add the oil. When the oil is hot, add the onion and garlic and cook for a few minutes until they begin to soften.
- Add the mince and cook until browned.
- Stir in the peppers and saute for a further minute or two.
- Add the chilli powder, cumin, paprika spices, salt and pepper. Let them cook for a minute to release their flavour.
- Add the kidney beans, chopped tomatoes, tomato puree and beef stock and stir.
- Close the pressure cooker lid and set it to high pressure for 10 minutes.
- After the cooking time, carefully release the pressure.
- Open the lid and stir the chilli. If the chilli is too thin, you can set the pressure cooker to sauté mode and cook for a few more minutes until it thickens to your desired consistency.
- Serve the chilli hot, garnished with shredded cheese, sour cream, chopped coriander, and your favourite side.
Nutrition
Nutrition information is automatically calculated, so should only be used as an estimate.