
Welcome to another simple and delicious Ninja Foodi recipe using the pressure cooker function.
This Ninja Foodi Chicken Pesto Pasta recipe is easy to make and saves on washing up, as everything is cooked together in a single pot.
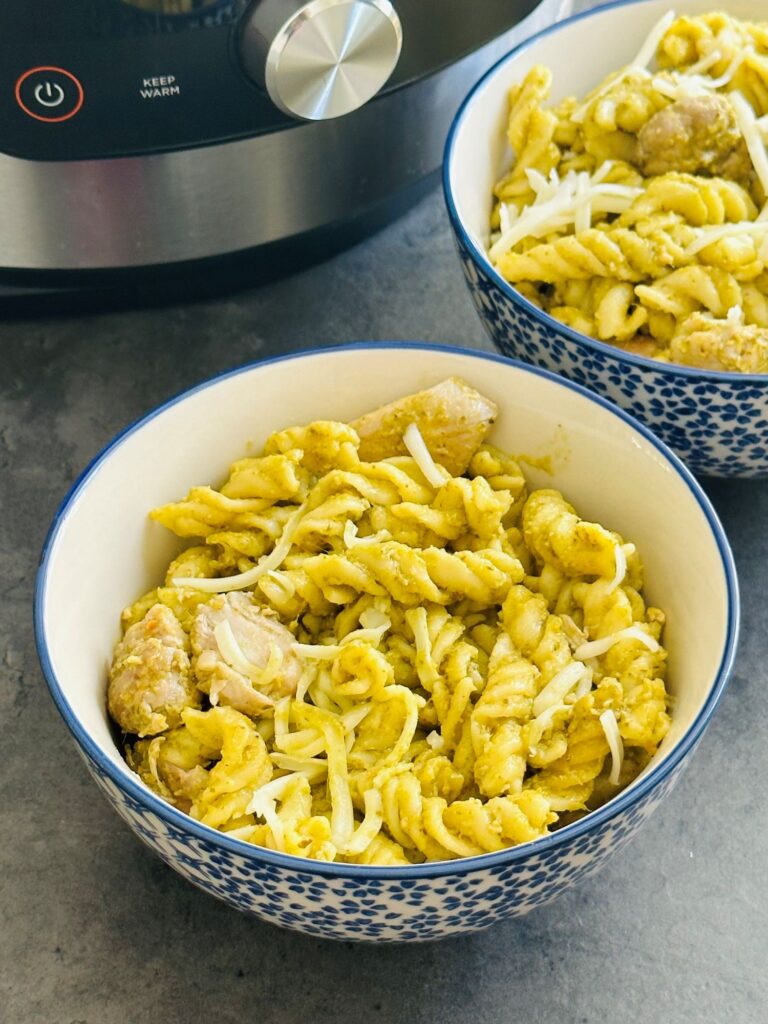
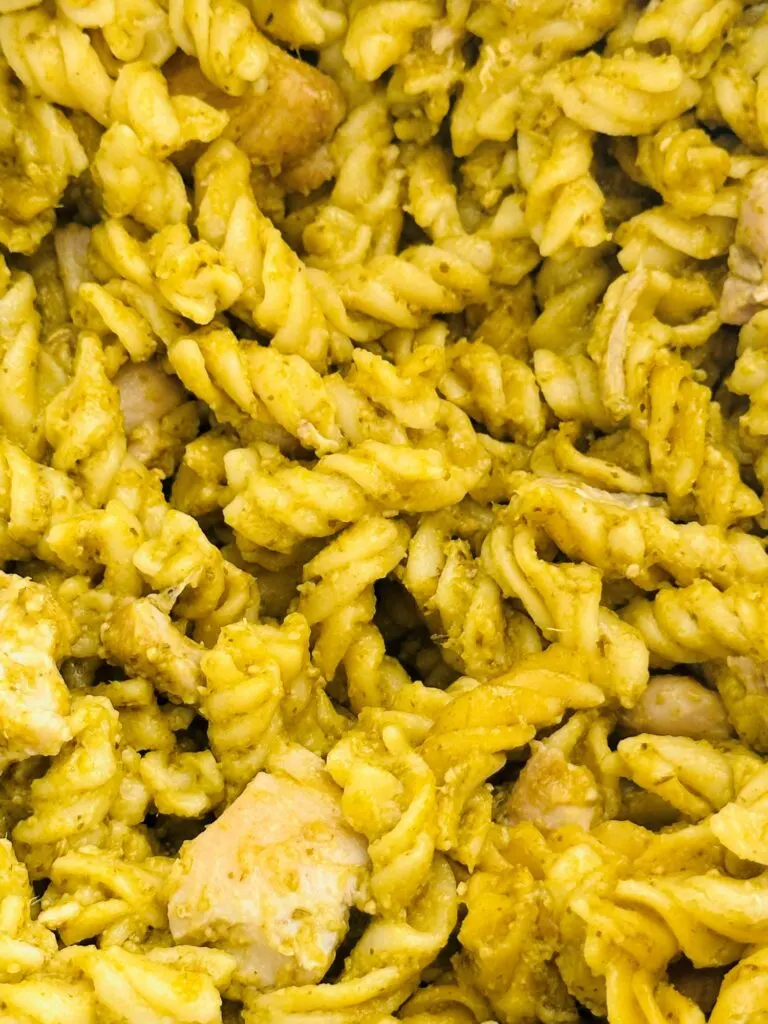
This dish will become a family favourite with tender chicken, al dente pasta, and a rich, creamy pesto sauce!

How To Make Chicken Pesto Pasta In A Ninja Foodi
The ingredients below were enough to make four servings. Even if you don’t need four portions, it’s a great dish to cook more of and save some for a cold pesto pasta salad the next day.
For more concise instructions and to print out, head down to the recipe card at the bottom.
What You Need:
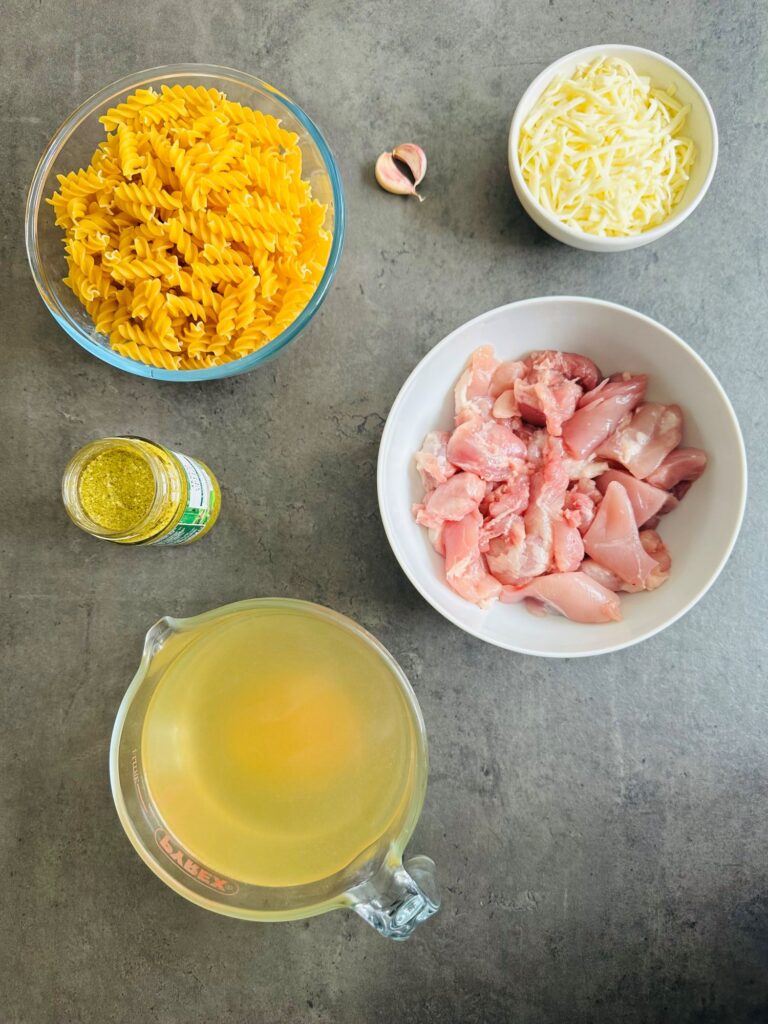

- Olive oil: I used one tablespoon.
- Boneless chicken thighs: Thigh meat is tender and juicy, perfect for this dish. You can also use chicken breast if you prefer. I used 450g, chopped.
- Garlic: I used 2 cloves of garlic, crushed.
- Dried mixed herbs: I used 1 teaspoon of various dried herbs – you can use your favourite dried herbs instead if you prefer.
- Pasta: Fusilli is a great choice as it holds the sauce well, but feel free to use your favourite pasta. I used 400g.
- Chicken stock: I used 1 litre of chicken stock from one stock pot.
- Green pesto: Store-bought or homemade, the amount used can be adjusted according to personal preference.
- Salt and pepper – optional for seasoning according to taste.
- Cheese – stir in some of your favourite grated cheese at the end. Most cheese varieties work; try cheddar, parmesan, or mozzarella.
I used a Ninja Foodi 15 in 1 to make this recipe, but it can be made in any multi-cooker with a pressure cooker function
Making It:
First, heat some olive oil in your Ninja Foodi pot using the SEAR/SAUTE function. Add the diced chicken thighs and cook them until they’re sealed.


If any bits get stuck, just give the pot a quick deglaze with a little hot stock.

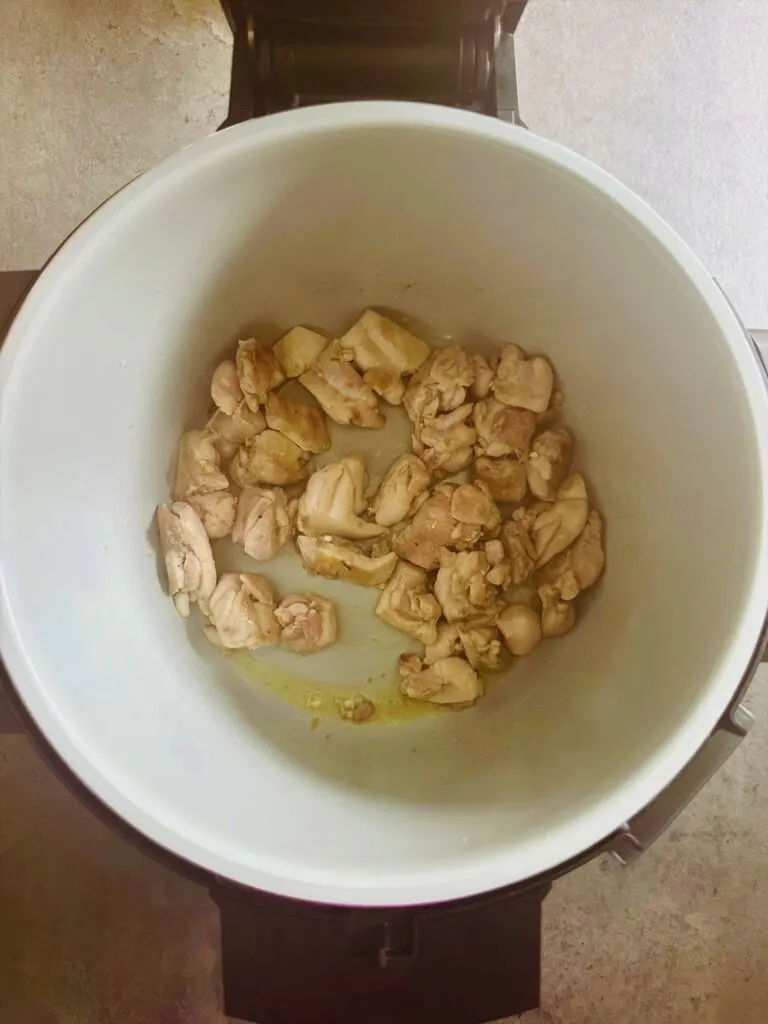
Stir in the crushed garlic cloves and dried mixed herbs, then switch off the SEAR/SAUTE function. Remember to remove any stuck on bits with a little hot stock!
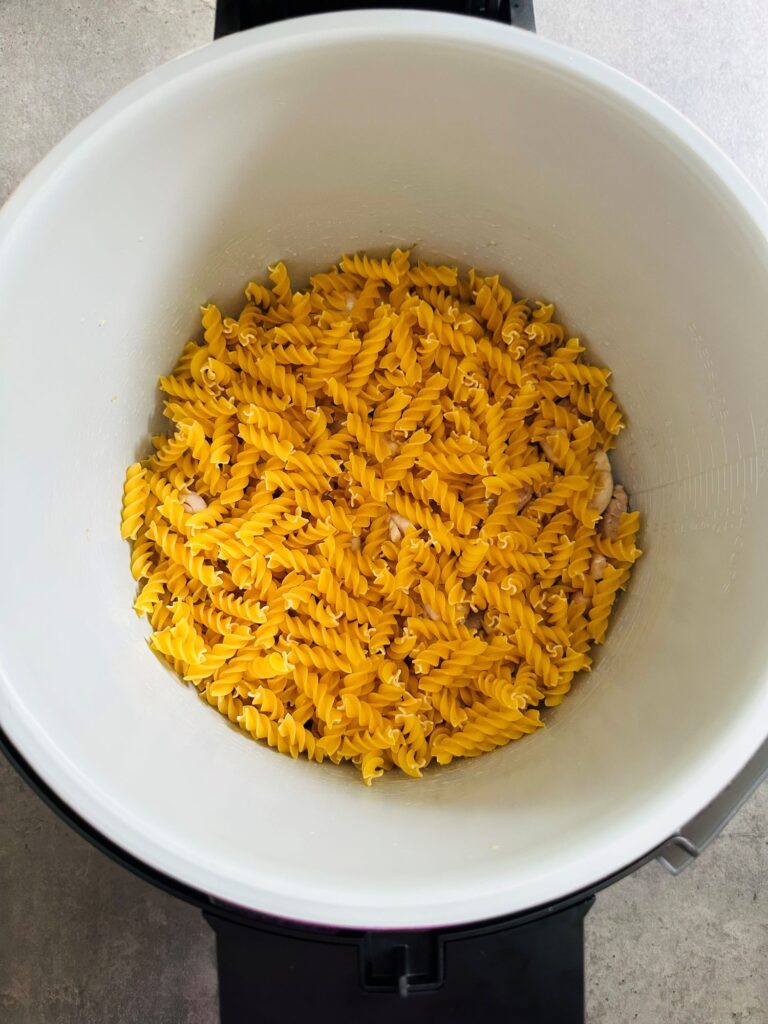

Next, add the pasta over the chicken in a layer, pouring the hot chicken stock over the top. Make sure most of the pasta is covered, but don’t stress if a few bits poke out.

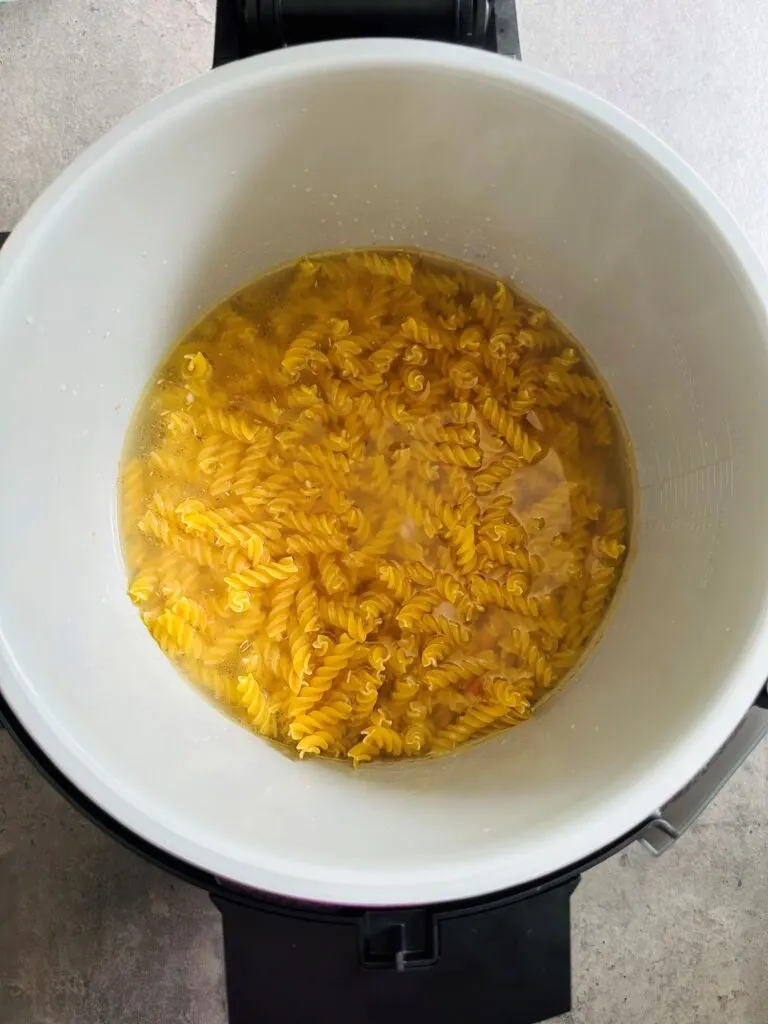
Now it is time for some pressure cooking action! Set it to high for 3 minutes. It will take about 10-15 minutes to reach pressure.
When the time’s up, do a quick release. Carefully open the lid and give the pasta and chicken a good stir.

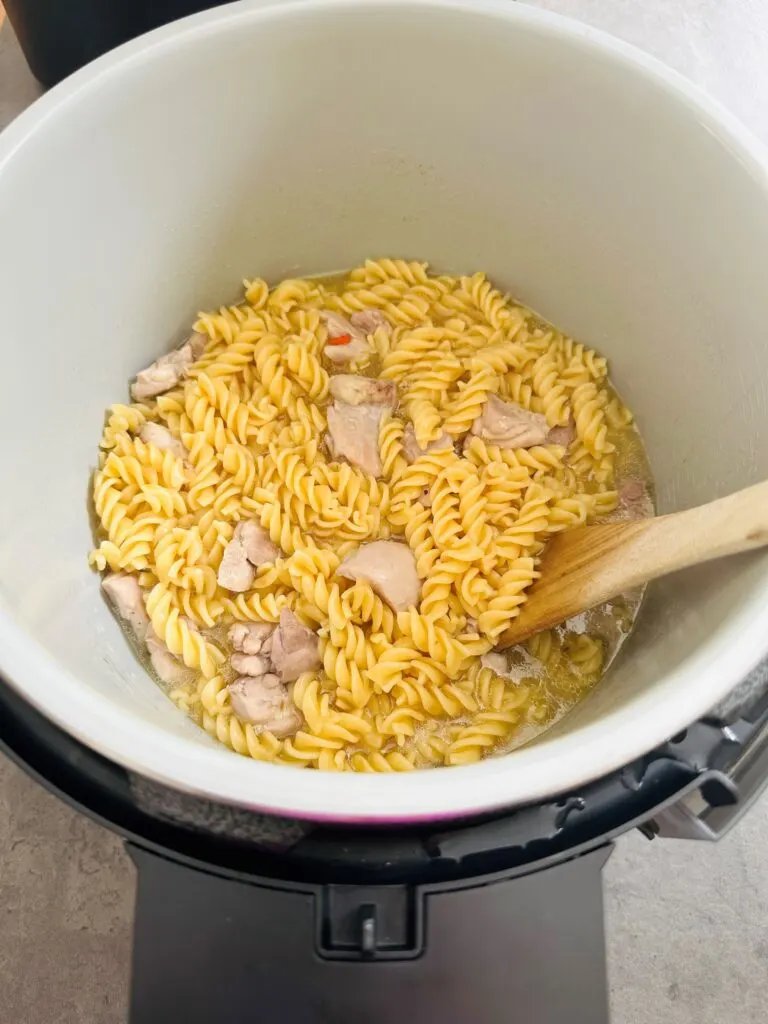
If there’s any excess liquid, switch back to SEAR/SAUTE and let it bubble away, keeping an eye on the pot to avoid any sticking.

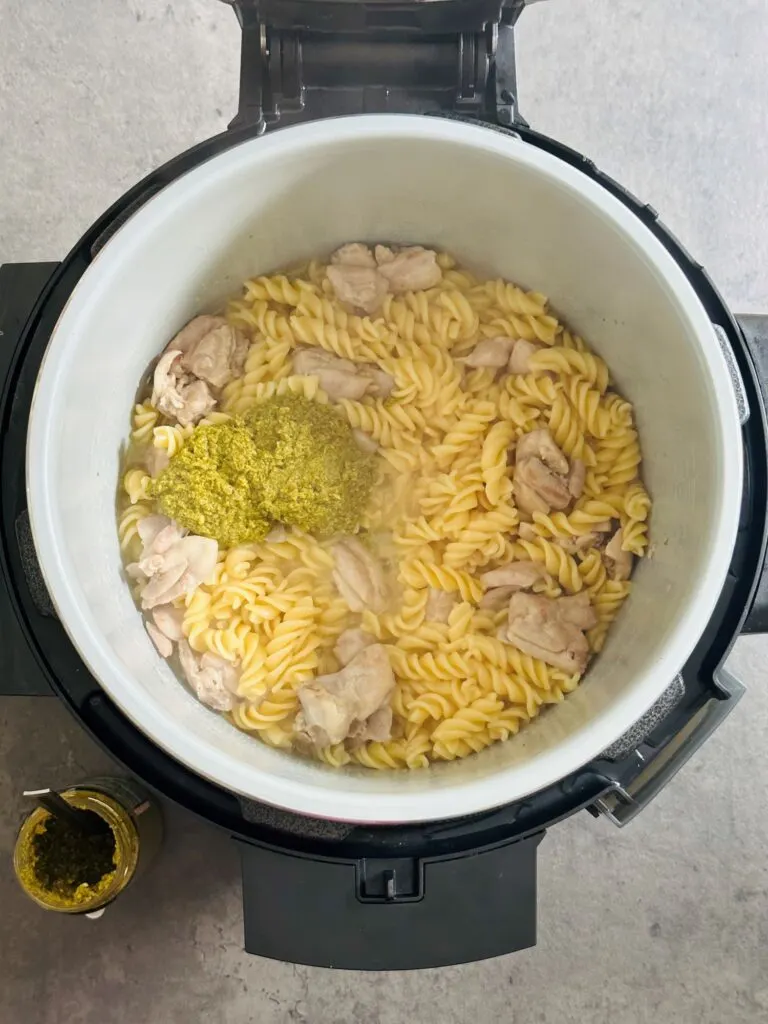
Lastly, turn off the cooker and start mixing in the green pesto sauce. Start with 4 tablespoons and add more if you fancy it.

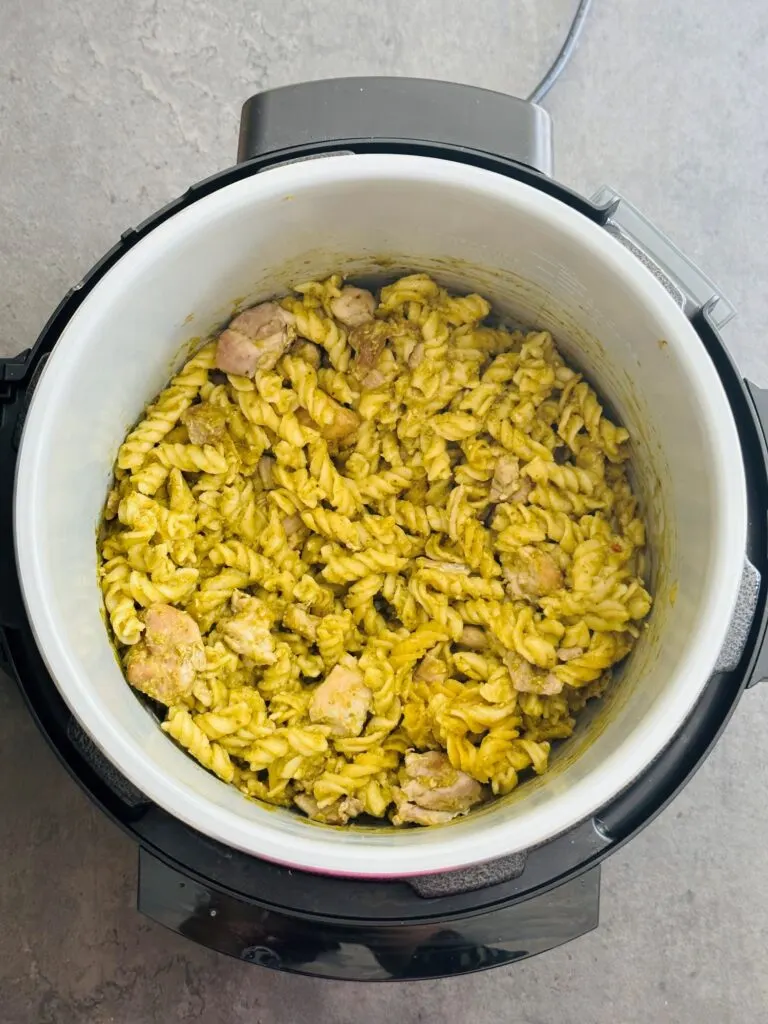
And hey, if you’re feeling extra indulgent, stir in some grated mozzarella or parmesan cheese for that added touch of creaminess. Enjoy!

How To Store Chicken Pesto Pasta
- Allow the pasta to cool to room temperature and transfer into an airtight container or resealable plastic bags.
- Place the container or bags in the refrigerator.
- Chicken Pesto Pasta can be stored in the fridge for 3-4 days.
- When you’re ready to enjoy it again, reheat it in the microwave or in a saucepan on low heat, adding a little water or stock if needed to loosen the sauce.
- It can also be served cold.
Do You Want More Ninja Foodi Pressure Cooker Recipes?


Ninja Foodi Chicken Pesto Pasta
Some of the links in this post may be affiliate links – which means if you buy the product I get a small commission (at no extra cost to you). If you do buy, then thank you! That’s what helps us to keep Liana’s Kitchen running.
Ingredients
- 1 tbsp olive oil
- 450 g boneless chicken thighs diced
- 2 cloves garlic crushed
- 1 tsp dried mixed herbs
- 400 g pasta I used Fusilli
- 1 L chicken stock made from 1 stock pot
- 1 small jar green pesto*
Instructions
- Using the SEAR/SAUTE function, heat up the oil in the pot.
- Add the diced chicken and cook until it is sealed. If any sticks to the pot, use a little hot stock to deglaze it.
- Add the crushed garlic cloves and dried mixed herbs and stir together. Switch off the SEAR/SAUTE.
- Lay the pasta on top of the chicken.
- Pour the hot stock over the top of the pasta, but don't stir it. The stock should cover it, but it doesn't matter if some of the pasta is poking out of the top.
- Switch to the pressure cooker function and set it to high pressure for 3 minutes. The pressure cooker will take about 10 to 15 minutes to reach pressure. At the end of the pressure cooking time, do a quick release.
- When it is safe, open the pressure cooker lid and stir the pasta and chicken. If there is liquid left, switch the Ninja Foodi to the SEAR/SAUTE function and leave it to boil away the excess liquid (keep an eye on it so that the pasta doesn't stick to the bottom of the pot).
- Switch the Ninja Foodi off and stir in the green pesto sauce – use at least 4 tablespoons or the whole jar if you like your chicken pesto pasta that way ( I do!)
- Optionally stir in some grated cheese (mozzarella or parmesan are good choices)
Notes
Nutrition
Nutrition information is automatically calculated, so should only be used as an estimate.