
This easy no knead bread is a great recipe to try if you fancy making homemade bread without all the usual mixing and kneading. The dough takes just a few minutes to stir together, then it is left to rise before being shaped and baked.
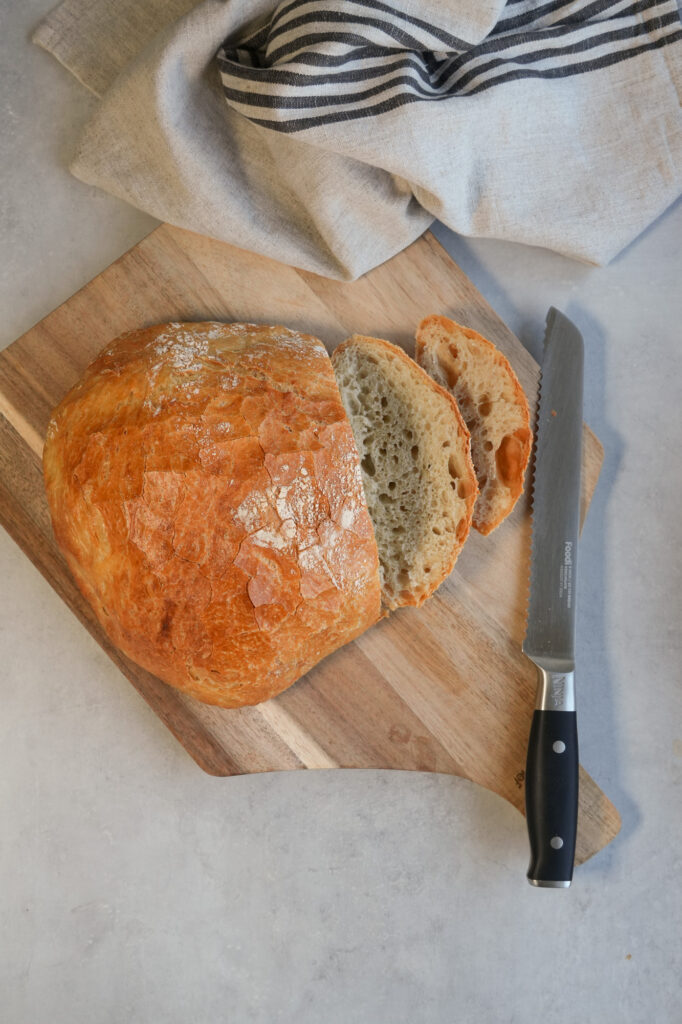
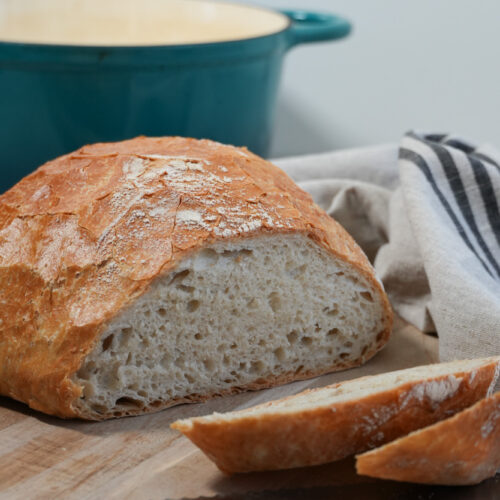
The finished loaf has a crisp, golden crust and a soft, airy middle. It is lovely served warm with butter, alongside a bowl of soup, or sliced for toast the following day.
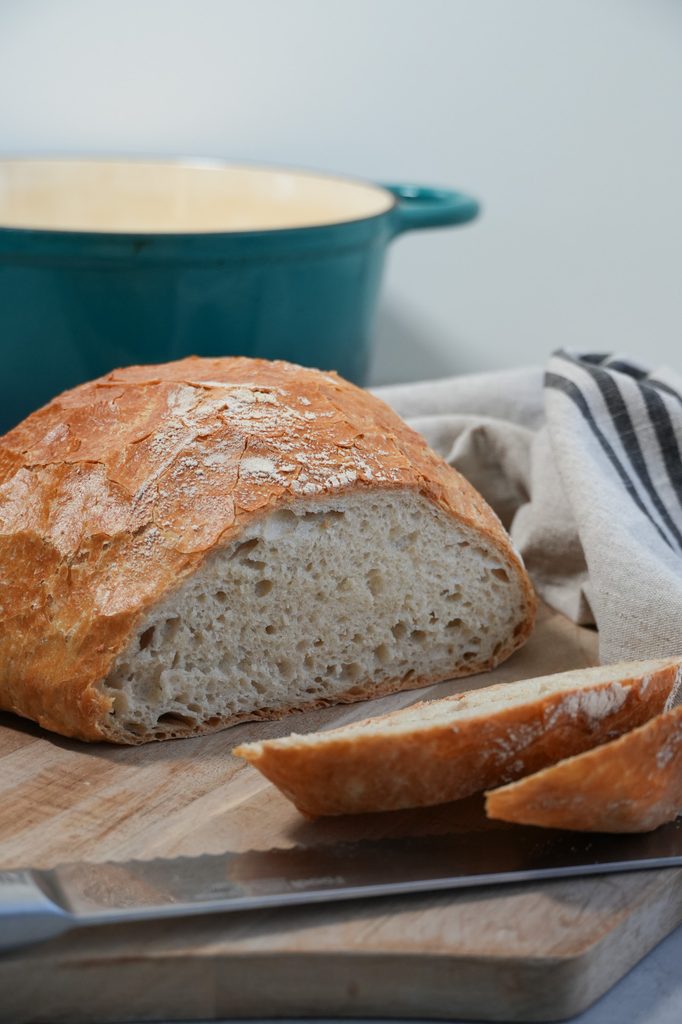
Why You’ll Love This No Knead Bread
- There is no kneading: simply mix the ingredients together with a spatula.
- You only need four ingredients: flour, yeast, salt and water.
- It is quick to prepare: the hands-on preparation takes around 15 minutes.
- It has a lovely crust: baking the dough in a covered Dutch oven helps to trap steam as the loaf cooks.
What You Need To Make No Knead Bread
For exact measurements and concise instructions, scroll down to the recipe card at the bottom of the post.
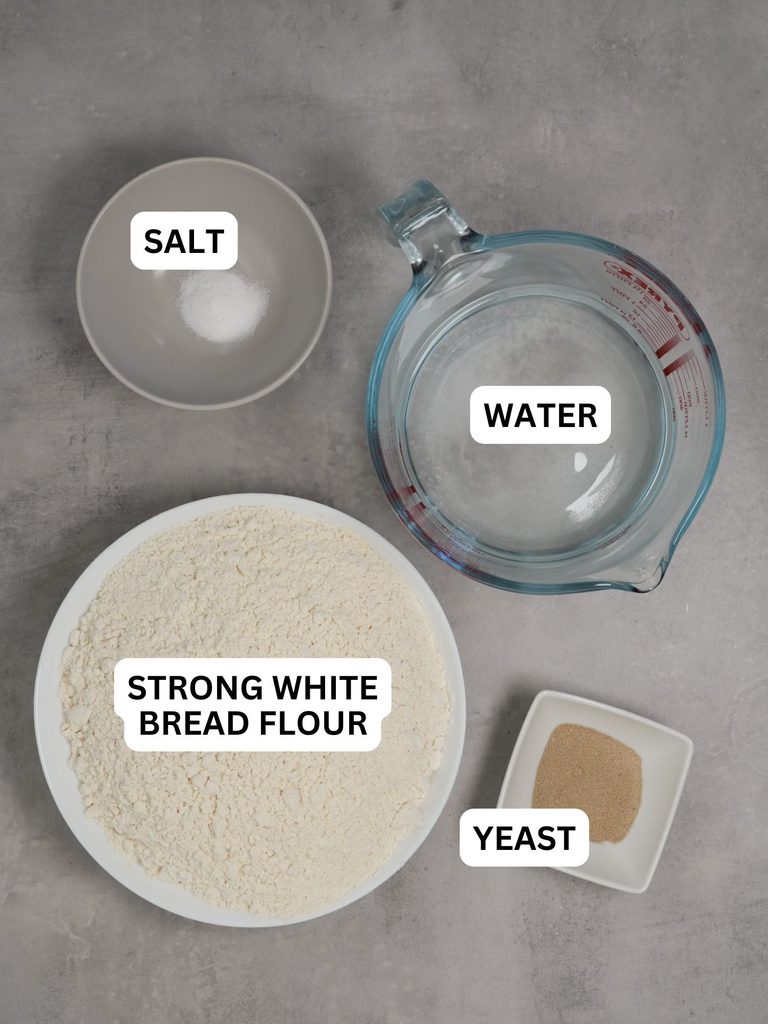
Strong White Bread Flour
Strong white bread flour has a higher protein content than plain flour, helping the dough develop enough structure to rise and produce a light, chewy loaf.
Yeast
Use fast-action dried yeast or easy-bake yeast. You can add it straight to the flour without activating it separately first.
Check that the yeast is still within its use-by date, particularly if the packet has been open for a while. Older yeast may result in dough that takes much longer to rise or does not rise properly.
Salt
A teaspoon of salt adds flavour to the loaf. Try to distribute the yeast and salt through the flour before adding the water, rather than tipping them directly on top of one another.
Water
The water should be lukewarm rather than hot. Water that is too hot can damage the yeast, whereas very cold water will make the dough slower to rise.
Equipment
You do not need a bread maker or stand mixer for this recipe. A large mixing bowl and sturdy spatula or wooden spoon are enough to mix the dough.
This post may contain affiliate links. As an Amazon Associate I earn from qualifying purchases. If you choose to buy through these links, I may earn a small commission at no extra cost to you. Thank you for supporting Liana’s Kitchen.
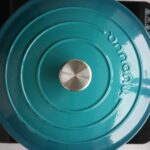
Dutch Oven or Lidded Casserole Dish
A Dutch oven is ideal for baking no knead bread because the heavy lid traps the steam released by the wet dough. This keeps the surface soft during the first part of baking, allowing the loaf to rise before the crust sets. Once the lid is removed, the bread develops its crisp, golden crust.
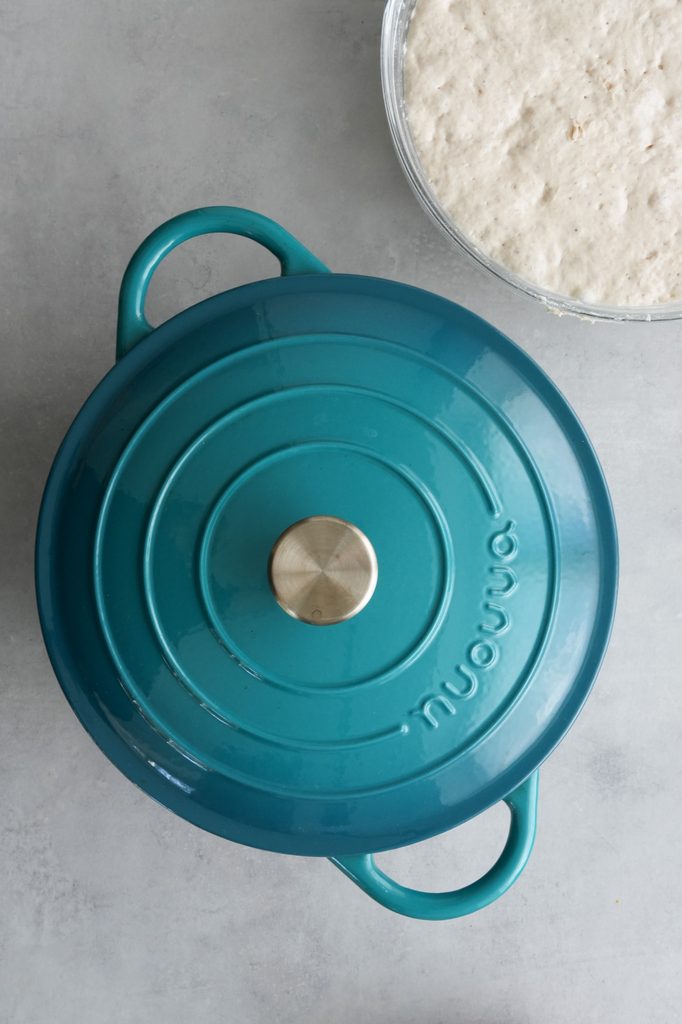
A round Dutch oven works well for this bread. Make sure the dish, lid and lid handle are all oven-safe at 220°C.
I have this one from Amazon, but there are other sizes available if you prefer a smaller one. I have used it to make various dishes including this sausage casserole and pork, apple and cider casserole.
If you do not have a Dutch oven, you can bake the bread on a lined baking tray. The loaf may spread a little more and the crust will be slightly different, but it will still taste delicious.
Dough Scraper
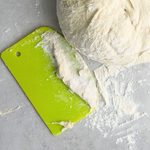
The dough is deliberately wet and sticky, so a dough scraper makes it much easier to lift and fold the edges into the centre. It is also useful for loosening the dough from the worktop and shaping it without adding too much extra flour.
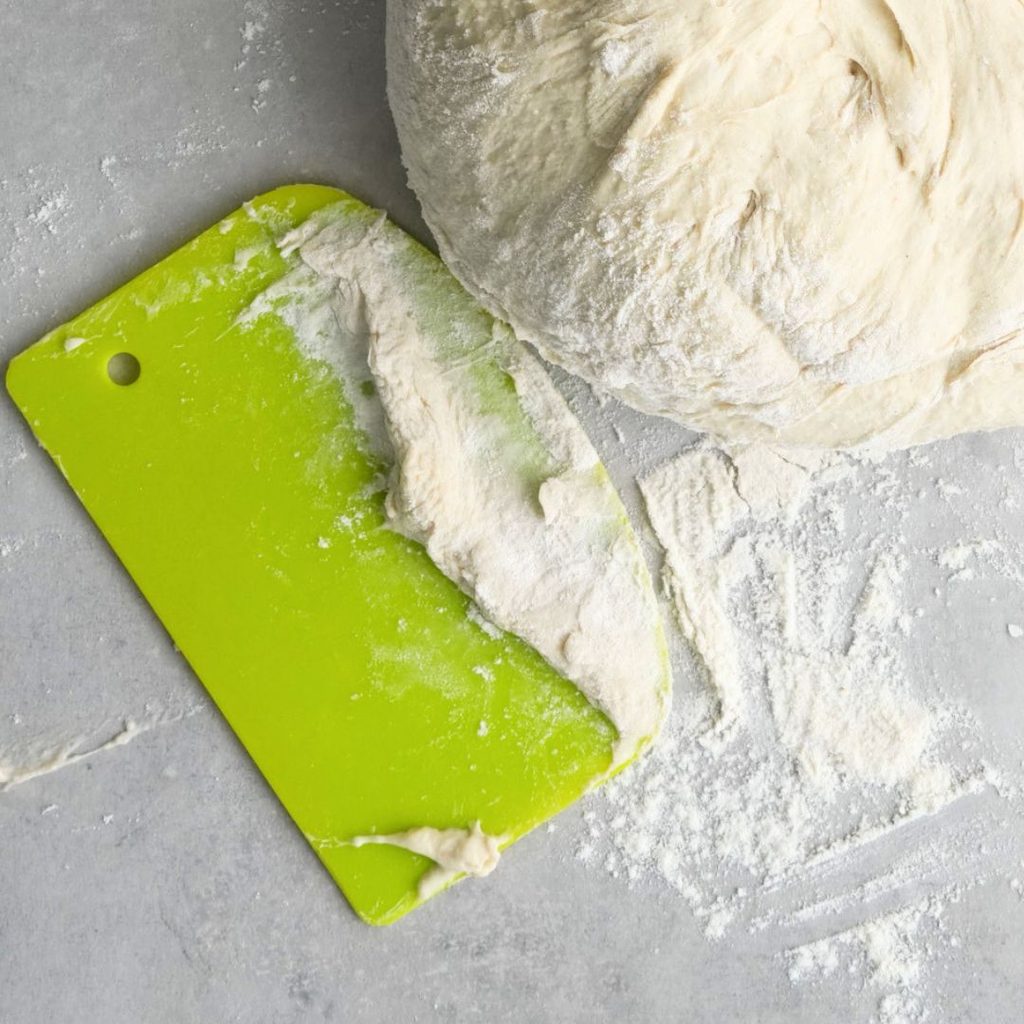
I use this one from Amazon which came as part of a pack of three, including a stainless steel one.
A dough scraper is helpful rather than essential. If you do not have one, use a firm spatula or lightly floured hands.
Baking Paper
Baking paper allows you to lower the soft dough safely into the hot Dutch oven and lift out the baked loaf afterwards. Check that your baking paper is suitable for use at the required oven temperature.
Wire Cooling Rack
Transfer the bread to a wire rack after baking so that air can circulate underneath it. This prevents the base from becoming damp as the loaf cools.
How To Make No Knead Bread
Mix The Dough
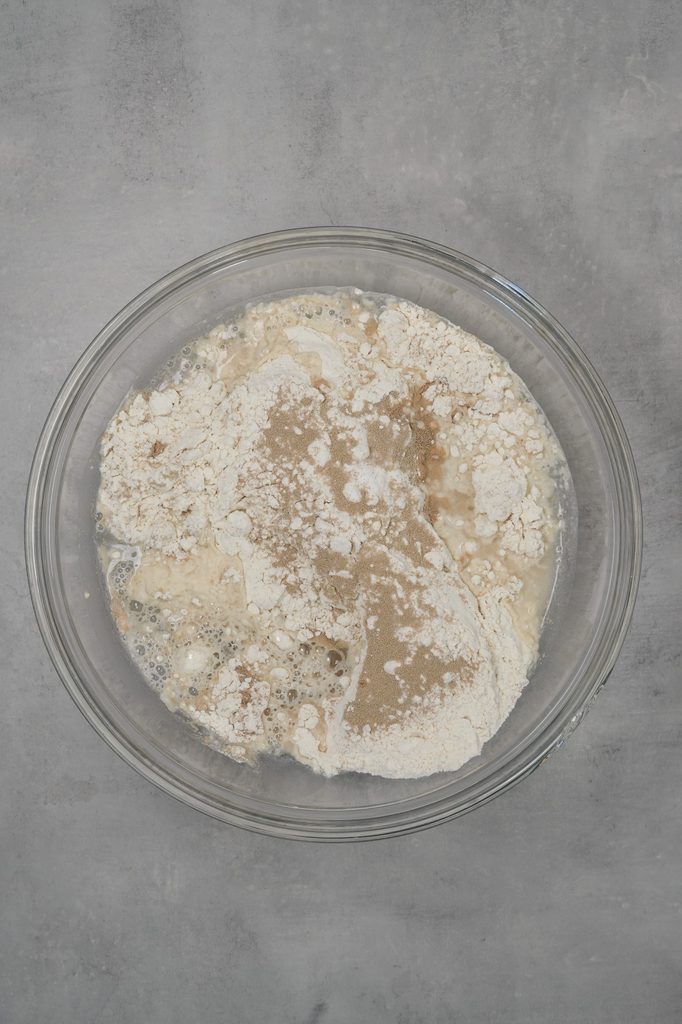
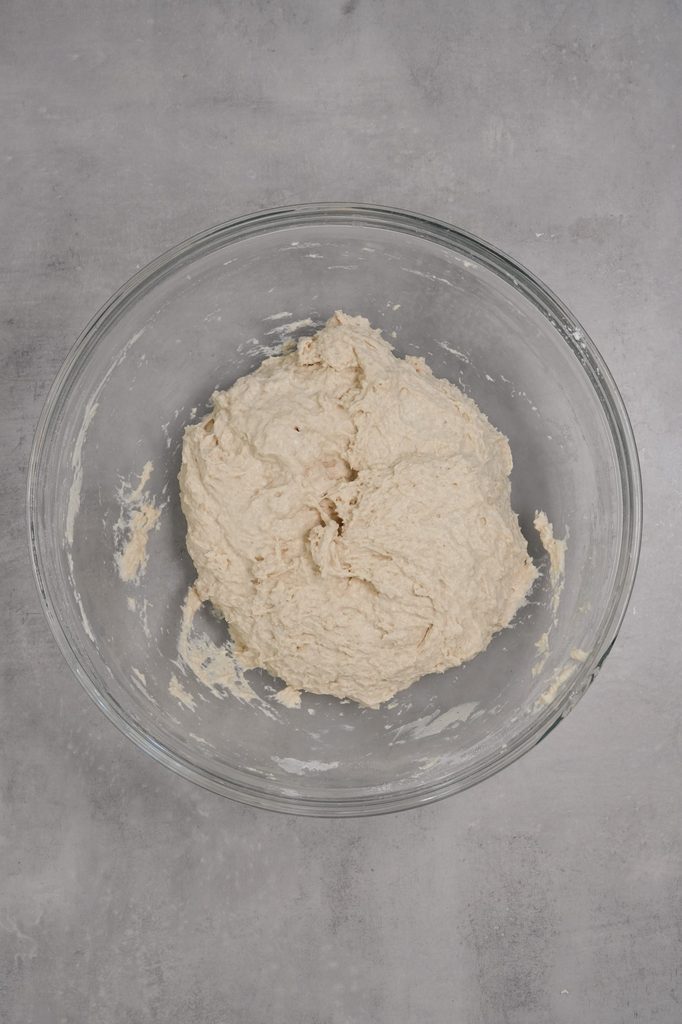
Add the strong white bread flour, yeast and salt to a large mixing bowl and stir to combine. Pour in the lukewarm water and mix everything together with a sturdy spatula or wooden spoon until there are no dry patches of flour. The dough will be very wet and sticky. This is how it is meant to look, so do not be tempted to add lots of extra flour or try to knead it by hand.
Leave It To Rise
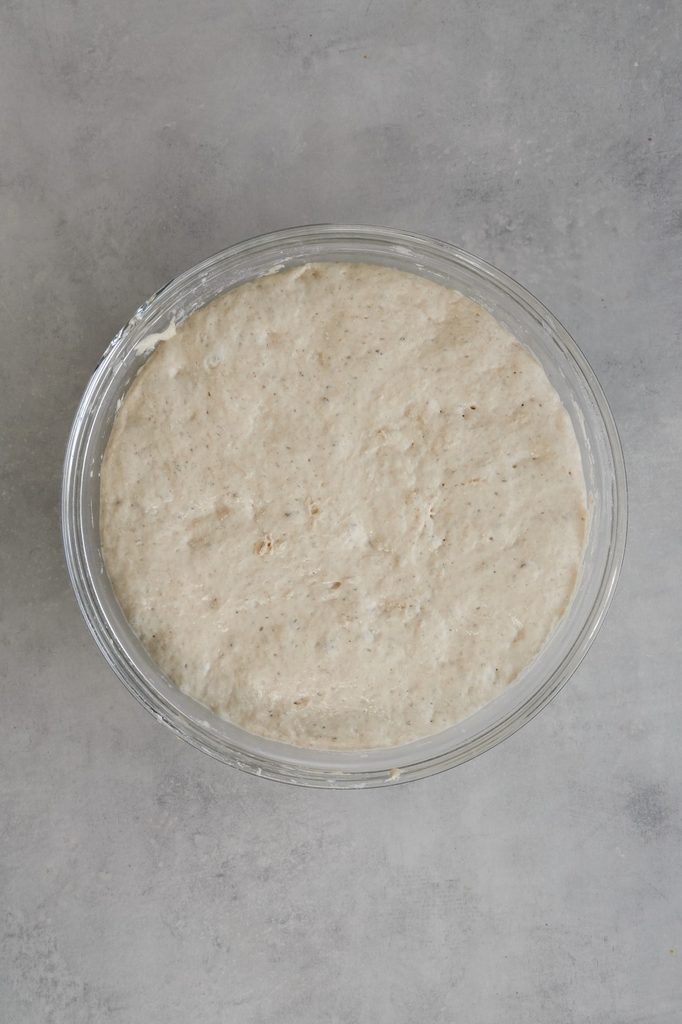
Cover the bowl with a clean tea towel, reusable bowl cover or lightly oiled cling film. Leave the dough in a warm, draught-free place for around 1 hour 30 minutes, or until it has roughly doubled in size.
The precise rising time will depend on the temperature of your kitchen. On a warm day it may be ready sooner, while it can take longer in a cool room.
Preheat The Oven And Dutch Oven
When the dough is nearly ready, preheat the oven to 220°C/200°C fan/gas mark 7. If you are using a Dutch oven or lidded casserole dish, place it in the oven with its lid on for around 30 minutes so that it is thoroughly hot before the dough goes in. Check that both the pot and its lid are oven-safe at this temperature.
Shape The Dough
Flour the worktop generously, then use a spatula or dough scraper to ease the risen dough out of the bowl. Using the dough scraper, lift an outside edge of the dough and fold it into the centre.
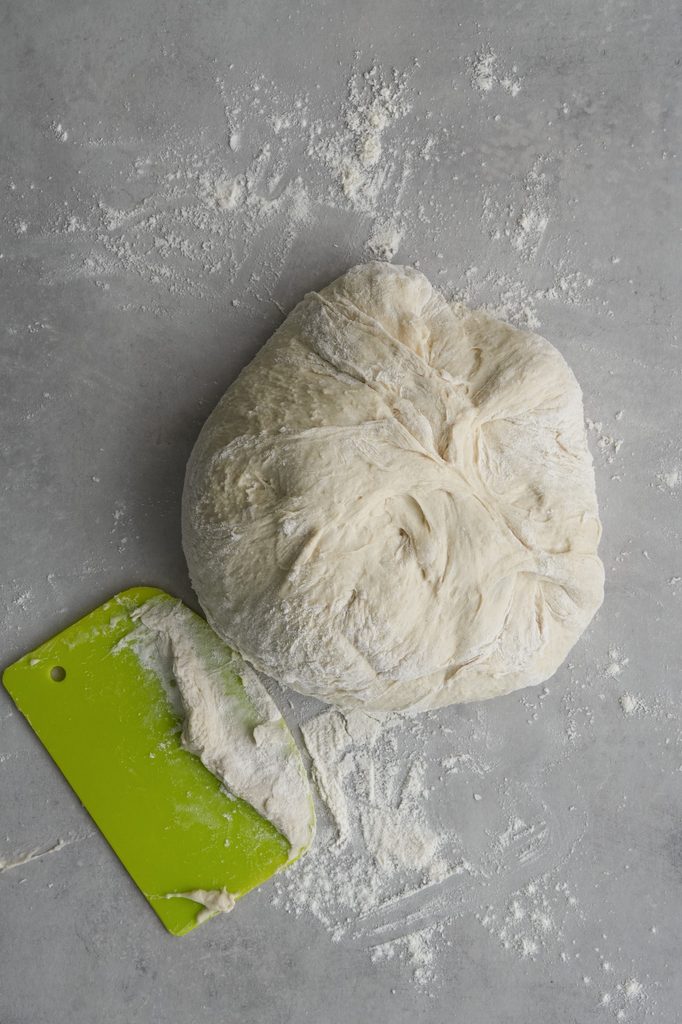
Repeat from different sides until the dough feels a little tighter and forms a rough ball.
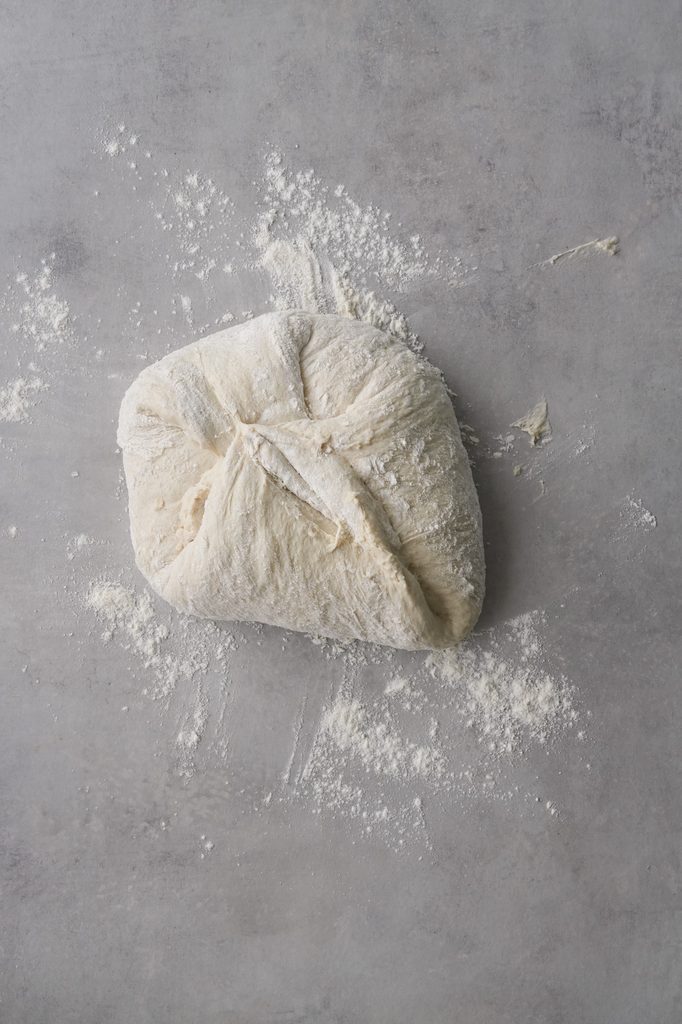
There is no need to make it perfectly smooth. Try not to handle it more than necessary, as you want to keep as much air in the dough as possible. Transfer the shaped dough to a sheet of baking paper.
Bake The Bread
Carefully remove the hot Dutch oven from the oven and take off the lid. Use the baking paper to lower the dough into the pot.
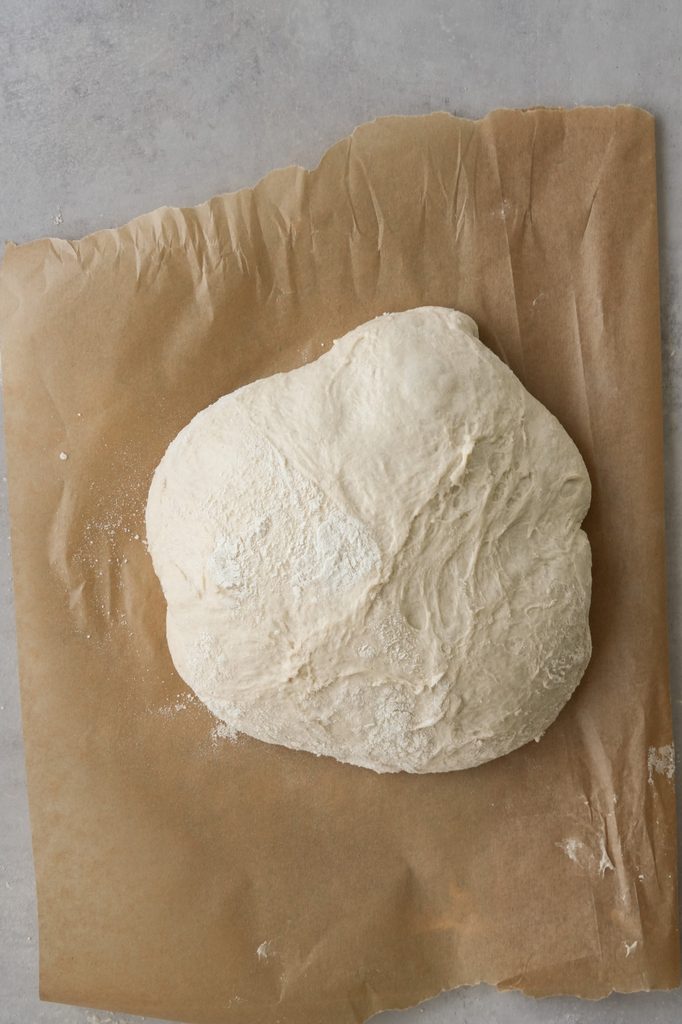
You can add a couple of ice cubes to create extra steam, place them beside the baking paper before quickly replacing the lid. This is optional; only do this if the manufacturer confirms that your Dutch oven is suitable, as sudden temperature changes may damage some enamelled dishes.
Bake for 30 minutes with the lid on. Remove the lid and bake for a further 10 minutes, or until the crust is deep golden brown.
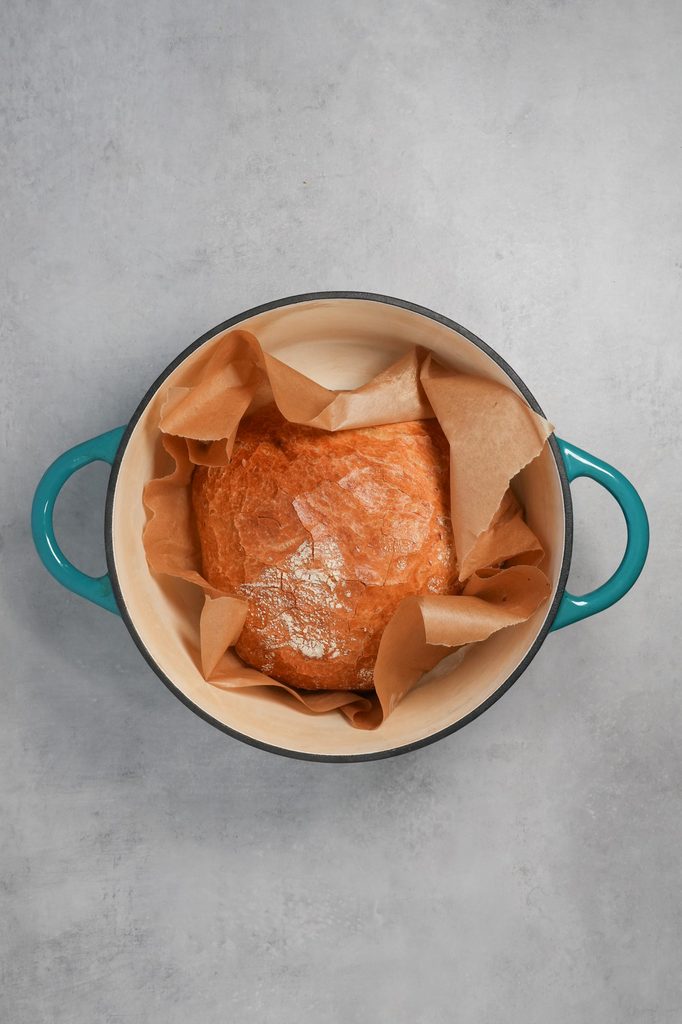
Carefully lift the bread from the Dutch oven and transfer it to a wire rack. Leave it to cool before slicing. It can be tempting to cut into it straight away, but allowing it to cool helps the inside finish setting and prevents it from becoming gummy.
Tips For Making No Knead Bread
- Expect a sticky dough. The high water content is what helps create the open texture, so resist adding lots of extra flour.
- Use a dough scraper. It makes folding and moving the wet dough much easier.
- Give the dough time to rise. Look at its size rather than relying only on the clock; it should be roughly doubled.
- Preheat the Dutch oven properly. A thoroughly heated pot helps the loaf rise quickly and creates a crisper crust.
- Take care with the hot pot. The Dutch oven, lid and handles will all be extremely hot.
- Let the loaf cool. For the best texture, wait until it is at least mostly cool before slicing it.
Can I Make It Without A Dutch Oven?
Yes. Shape the dough and place it on a baking-paper-lined baking tray, then bake it in the preheated oven until golden and cooked through.
The crust may not be quite as crisp and the loaf may spread a little more because an open tray does not trap steam or support the sides in the same way as a Dutch oven. You can place a small ovenproof tray of boiling water on a lower shelf while the loaf bakes to help create steam.
How Do I Know When The Bread Is Cooked?
The loaf should be well risen with a deep golden crust. When carefully tapped on the underside, it should sound hollow.
If you have a food thermometer, the centre should be approximately 95°C to 99°C. If the crust is browning too quickly but the loaf needs longer, loosely cover it with foil for the final few minutes.
Why Has My Dough Not Risen?
The most common reasons are inactive yeast, water that was too hot, or a room that was too cold. First check the date on your yeast. If your kitchen is cool, move the covered bowl to a slightly warmer place and allow it more time.
Storing No Knead Bread
Once completely cool, keep the bread in a bread bag, bread bin or airtight container at room temperature. It is best eaten within two to three days.
The crust will gradually soften during storage. To freshen the bread up, warm it in the oven for a few minutes or toast individual slices.
Can I Freeze It?
Yes. Leave the loaf to cool completely, then freeze it whole or in slices in a well-sealed freezer bag for up to three months.
Freezing it in slices makes it easy to remove just what you need. The slices can be left to thaw at room temperature or toasted straight from frozen.
More Baking Recipes
If you are looking for more baking recipes, here are some ideas for you;
- Brown Bread Recipe
- Slow Cooker Bread Recipe
- Air Fryer White Bread
- Bread Maker White Bread
- Ninja Speedi Focaccia Bread
- Ninja Foodi 15-in-1 Sandwich Loaf Recipe
No Knead Bread Recipe
Some of the links in this post may be affiliate links – which means if you buy the product I get a small commission (at no extra cost to you). If you do buy, then thank you! That’s what helps us to keep Liana’s Kitchen running.

Ingredients
- 500 g strong white bread flour
- 2 tsp yeast
- 1 tsp salt
- 400 ml water
Instructions
- Add the flour, yeast and salt to a large mixing bowl and stir to combine.
- Pour in the lukewarm water. Mix with a spatula or wooden spoon until everything is combined and no dry flour remains. The dough will be very wet and sticky; this is normal.
- Cover the bowl and leave the dough in a warm, draught-free place for around 1 hour 30 minutes, or until roughly doubled in size.
- About 30 minutes before the dough is ready, preheat the oven to 220°C/200°C fan/gas mark 7. Put the Dutch oven and its lid in the oven to heat up.
- Generously flour the worktop, then scrape the risen dough onto it. Use a dough scraper to lift the outside edges into the centre repeatedly until the dough forms a tighter, rough ball.
- Transfer the dough to a sheet of baking paper.
- Carefully remove the hot Dutch oven from the oven and take off the lid. Lower the dough and baking paper into the pot. If appropriate for your Dutch oven, add a couple of ice cubes beside the paper for extra steam, then replace the lid.
- Bake for 30 minutes with the lid on.
- Remove the lid and bake for a further 10 minutes, or until the bread is deep golden and sounds hollow when tapped underneath.
- Carefully transfer the loaf to a wire rack and leave it to cool before slicing.
Notes
- The dough is meant to be wet and too sticky to knead by hand. Avoid adding extra flour to the mixture.
- Rising time varies with room temperature. Let the size of the dough guide you; it should be roughly doubled.
- Check that every part of your Dutch oven, including the lid and handle, is suitable for use at 220°C.
- Ice cubes are optional. Do not add them if the manufacturer warns against thermal shock or using ice in a hot Dutch oven.
- Nutrition is an estimate and will vary according to the ingredients used and the thickness of the slices.
Nutrition
Nutrition information is automatically calculated, so should only be used as an estimate.