
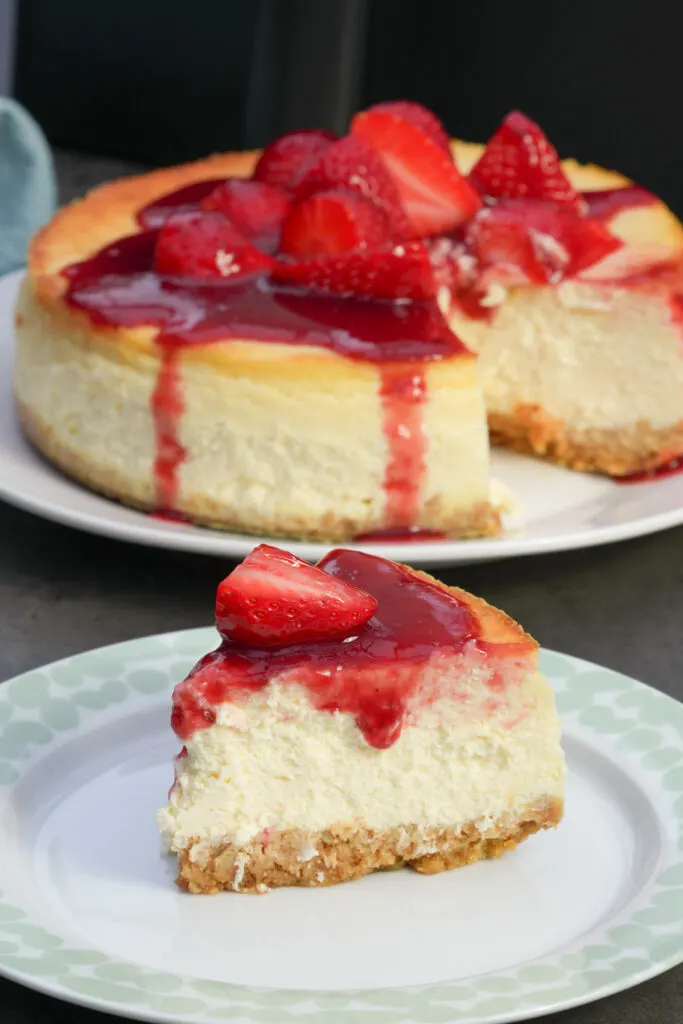
Indulge in the creamy, rich goodness of a classic cheesecake made effortlessly in your air fryer!
This air fryer cheesecake recipe is easy to prepare and the result is delicious. Add you favourite fruit toppings, or enjoy it plain.
Read on to see the easy steps to cooking a cheesecake in an air fryer.

🛒 What You Need
The ingredients below are enough to make a cheesecake in a 18cm/7inch springform tin. Check you can fit the tin in your air fryer basket before preparing!

Ingredients
For the Biscuit Base:
165g digestive biscuits
50g butter
For the Cheesecake Layer:
600g cream cheese
175g sour cream
3 eggs
2 tsp vanilla essence
2 tbsp flour
1 tsp lemon juice
150g sugar
Optional Topping:
Fresh fruit and a drizzle of coulis
Equipment:
Air fryer
Springform baking tin (18cm/7inch) or a size that fits in your air fryer basket
👩🍳 How To Make An Air Fryer Cheesecake
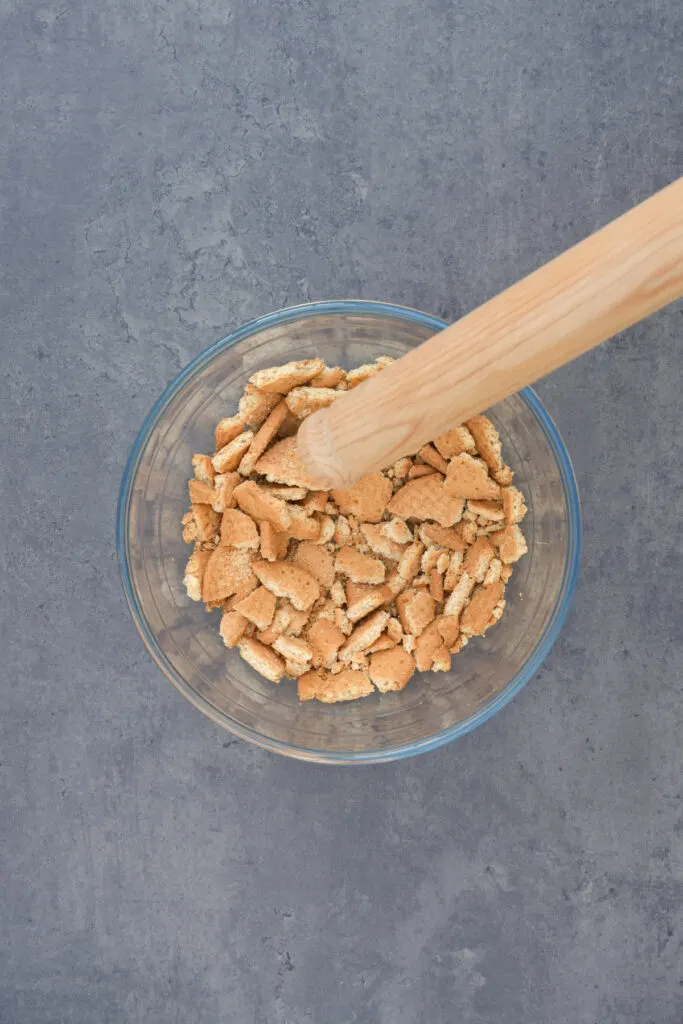
Step 1
Start by crushing the digestive biscuits using a rolling pin.

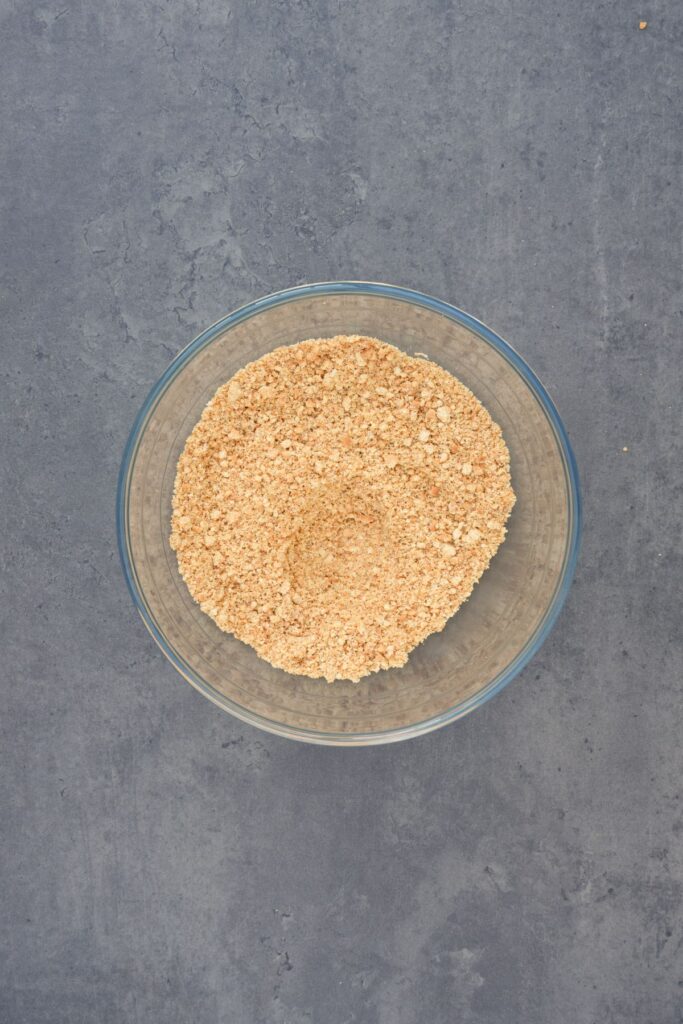

Step 2
Melt the butter in a microwave or in a saucepan on the hob. Stir it into the crushed biscuits.
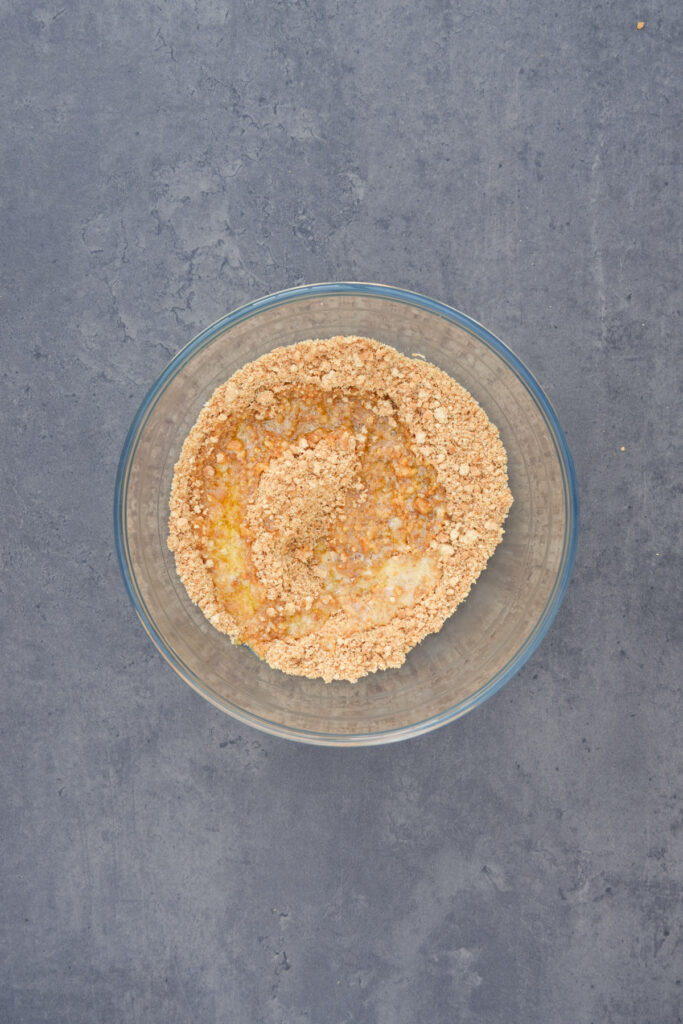
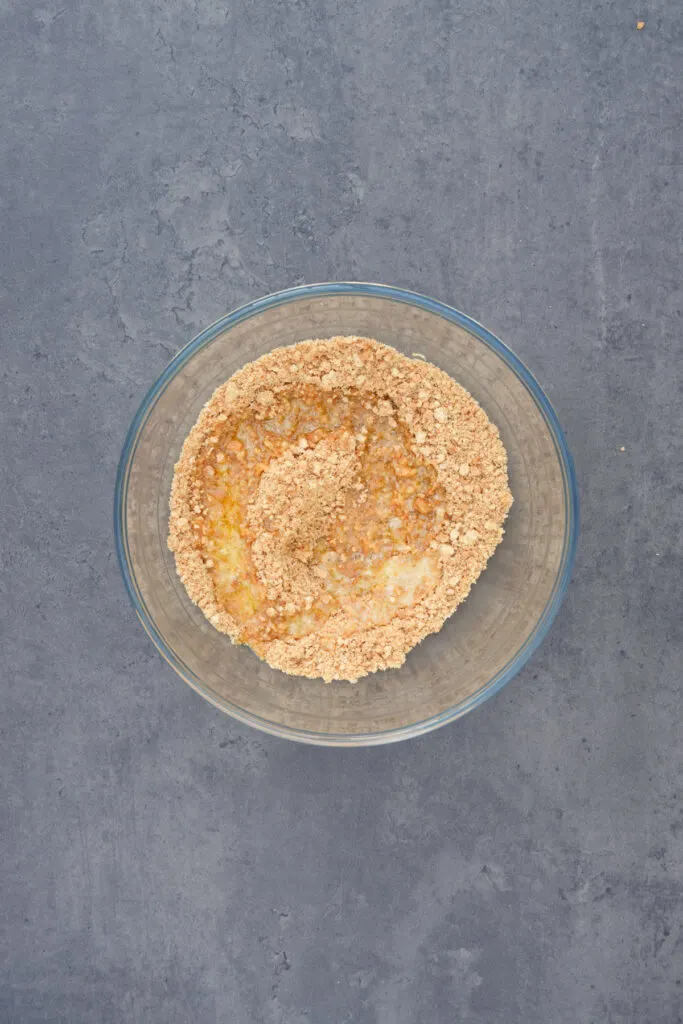

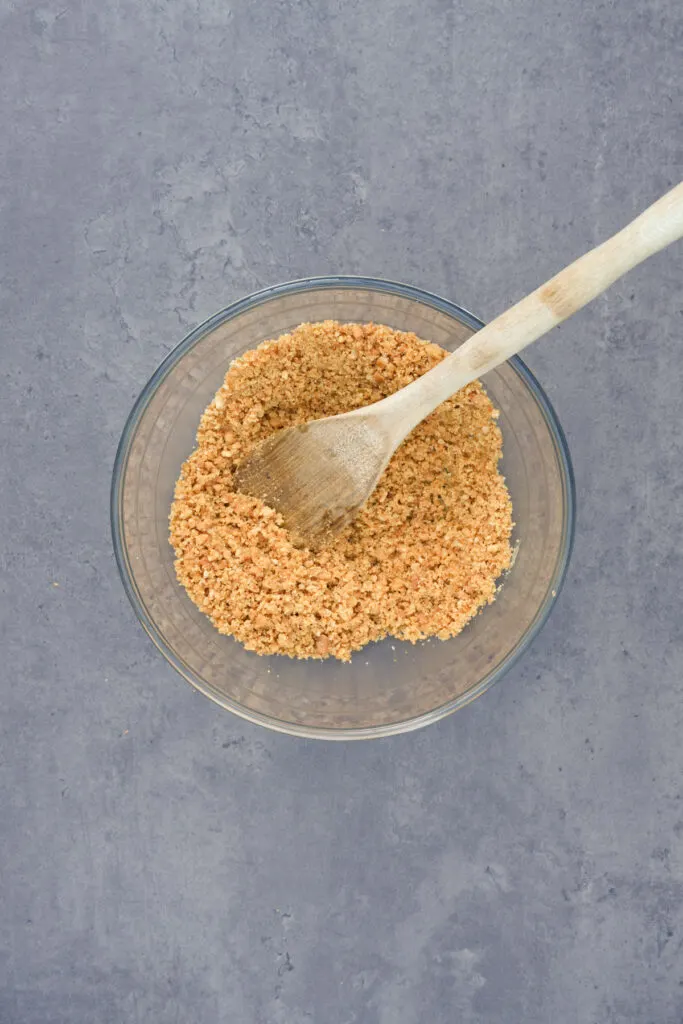
Step 3
Line your tin with baking paper, and then press the crushed biscuit mixture into the tin to form a firm base.


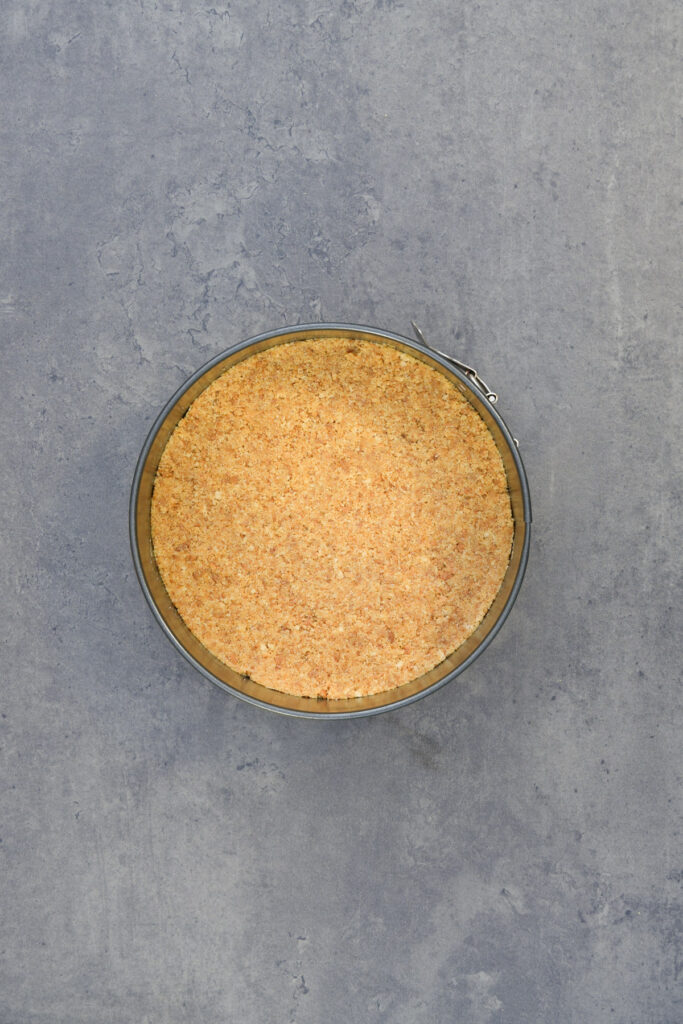

Air fry at 180°C for 10 minutes to set the base, then leave it to cool.


Step 4
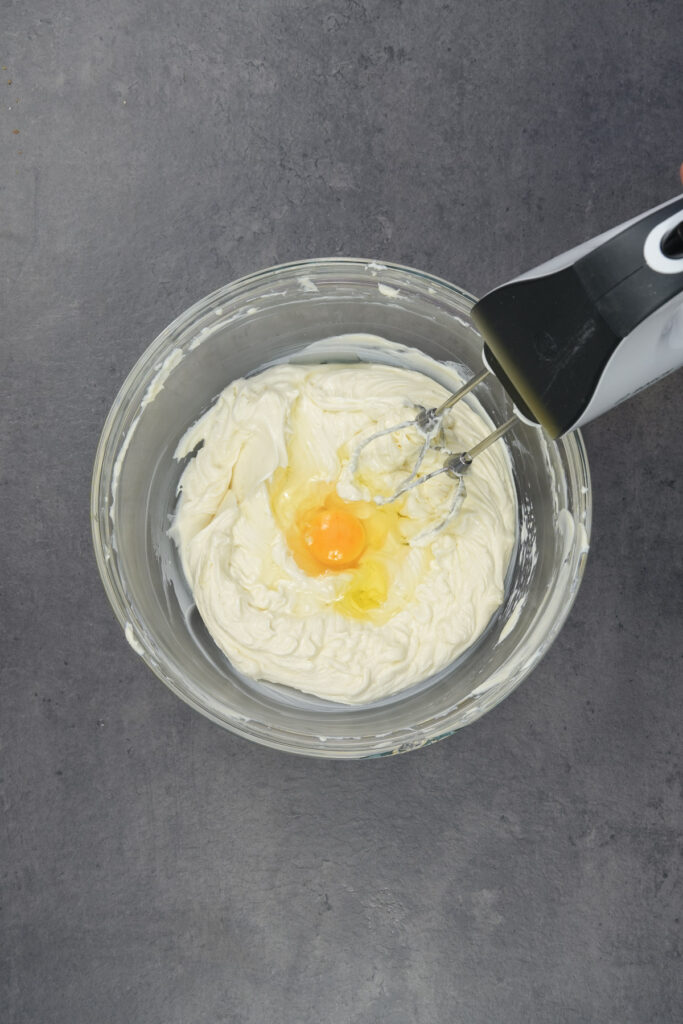
In a bowl, whisk the cream cheese and sugar until smooth.


Add the vanilla essence and lemon juice. Then, whisk in the eggs one at a time, ensuring each is well incorporated before adding the next.


Finally, blend in the sour cream for that extra richness.


Pour this mixture over your cooled biscuit base.


Step 3
Cook your cheesecake at 140°C (285°F) for 30 minutes. Then, reduce the temperature to 120°C (250°F) and cook for an additional 20 minutes.
The cheesecake should be set but with a slight wobble – a sign of a perfectly cooked cheesecake.
Carefully remove it from the air fryer and allow it to cool before refrigerating for at least 6 hours, or ideally overnight.
Step 4
For an extra touch of elegance, top your chilled cheesecake with fresh fruit and a drizzle of fruit coulis. This not only adds a burst of colour but also a refreshing contrast to the creamy cheesecake.


🧾 More Air Fryer Dessert Recipes
Are you looking for more yummy dessert recipes to make in your air fryer? Try some of these for inspiration:
- Air Fryer Banana Bread
- Air Fryer Apple Crumble
- Air Fryer Mince Pies
- Air Fryer Carrot Cake
- Air Fryer Flapjacks
- Air Fryer Shortbread
- Air Fryer Apple Cake
👉 Recipe Card (Instructions + Print)


Air Fryer Cheesecake
Some of the links in this post may be affiliate links – which means if you buy the product I get a small commission (at no extra cost to you). If you do buy, then thank you! That’s what helps us to keep Liana’s Kitchen running.
Ingredients
Biscuit Base
- 165 g digestive biscuits
- 50 g butter
Cheesecake Filling
- 600 g cream cheese
- 175 g sour cream
- 3 eggs
- 2 tsp vanilla essence
- 2 tbsp flour
- 1 tsp lemon juice
- 150 g caster sugar
Instructions
- Crush the digestive biscuits with a rolling pin.
- Melt the butter in a microwave or in a saucepan on the hob. Then, stir it into the crushed biscuits.
- Line your tin with baking paper, or grease it with a little butter, and press the crushed biscuit mixture into the tin to form a firm base.
- Air fry at 180°C (350°F) for 10 minutes to set the base, then leave it to cool.
- In a bowl, whisk the cream cheese and sugar until smooth.
- Add the vanilla essence and lemon juice. Then, whisk in the eggs one at a time, ensuring each is well incorporated before adding the next.
- Finally, blend in the sour cream for that extra richness.
- Pour this mixture over your cooled biscuit base.
- Cook the cheesecake at 140°C (285°F) for 30 minutes. Then, reduce the temperature to 120°C (250°F) and cook for an additional 20 minutes. The cheesecake should be set but with a slight wobble.
- Carefully remove it from the air fryer and allow it to cool before refrigerating for at least 6 hours, or ideally overnight.
- Optionally top with a few fresh fruits like strawberries, and a little drizzle of a fruit coulis.
Nutrition
Nutrition information is automatically calculated, so should only be used as an estimate.