
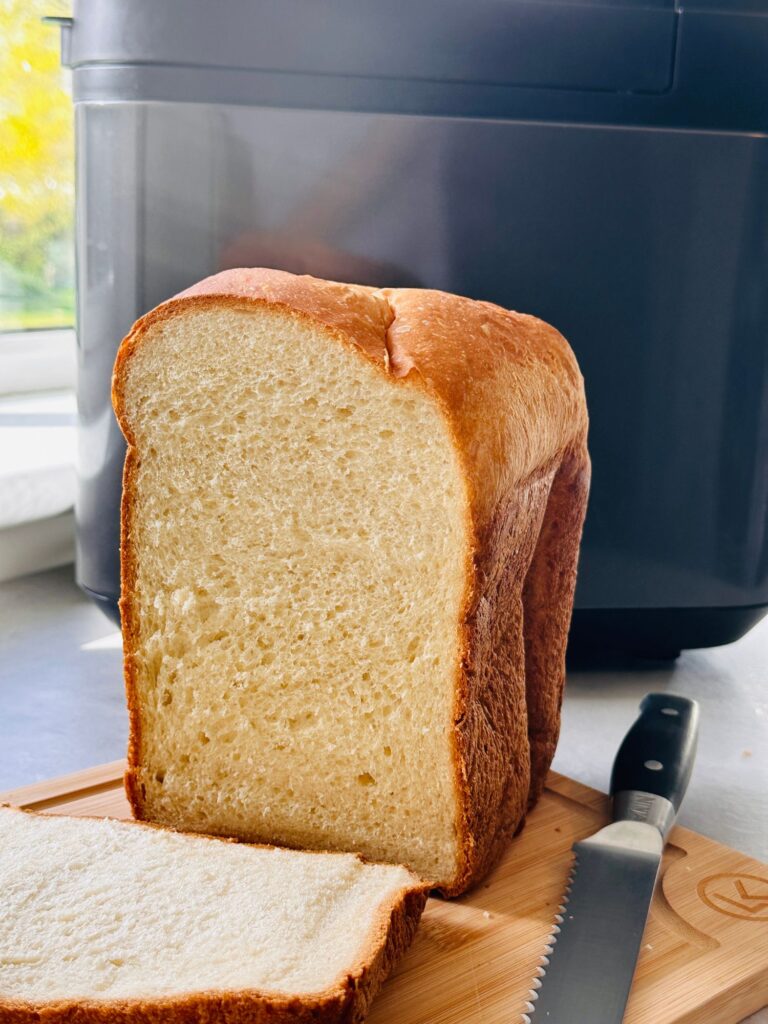
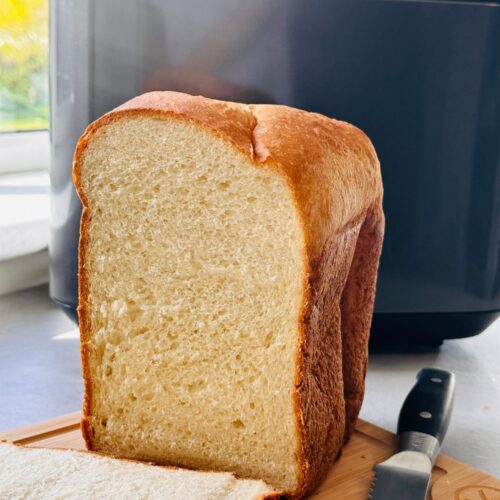
If you’re looking for a soft, fluffy everyday loaf with a lovely golden crust, this Bread Maker Milk Loaf is a fantastic one to try. It’s one of the recipes that came with the Panasonic SD-YR2540 Bread Maker, and after testing it myself, I am happy to report it works very well and tastes really good.
The best part? Once the ingredients are added to the bread maker tin, the machine does all the hard work for you.
This post may contain affiliate links. As an Amazon Associate I earn from qualifying purchases. If you choose to buy through these links, I may earn a small commission at no extra cost to you. Thank you for supporting Liana’s Kitchen.
What You Need
Scroll down to the recipe card for exact quantities. You only need a few simple ingredients for this loaf:
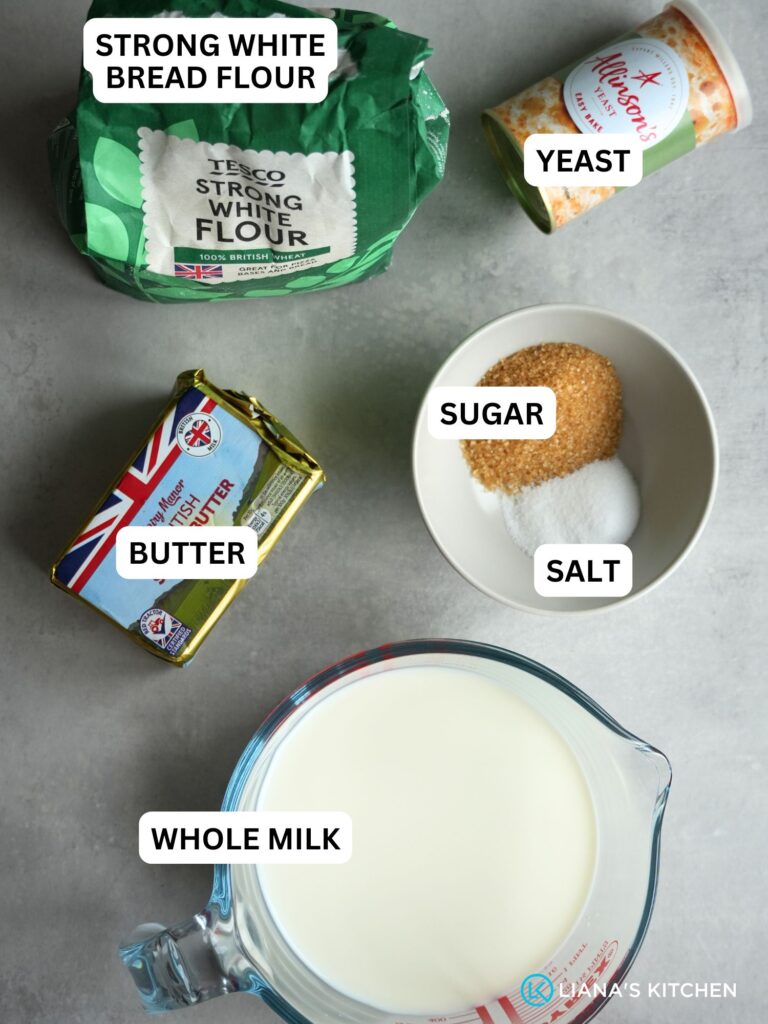
- Strong white bread flour
- Butter
- Sugar
- Salt
- Milk (I used whole milk)
- Dry yeast
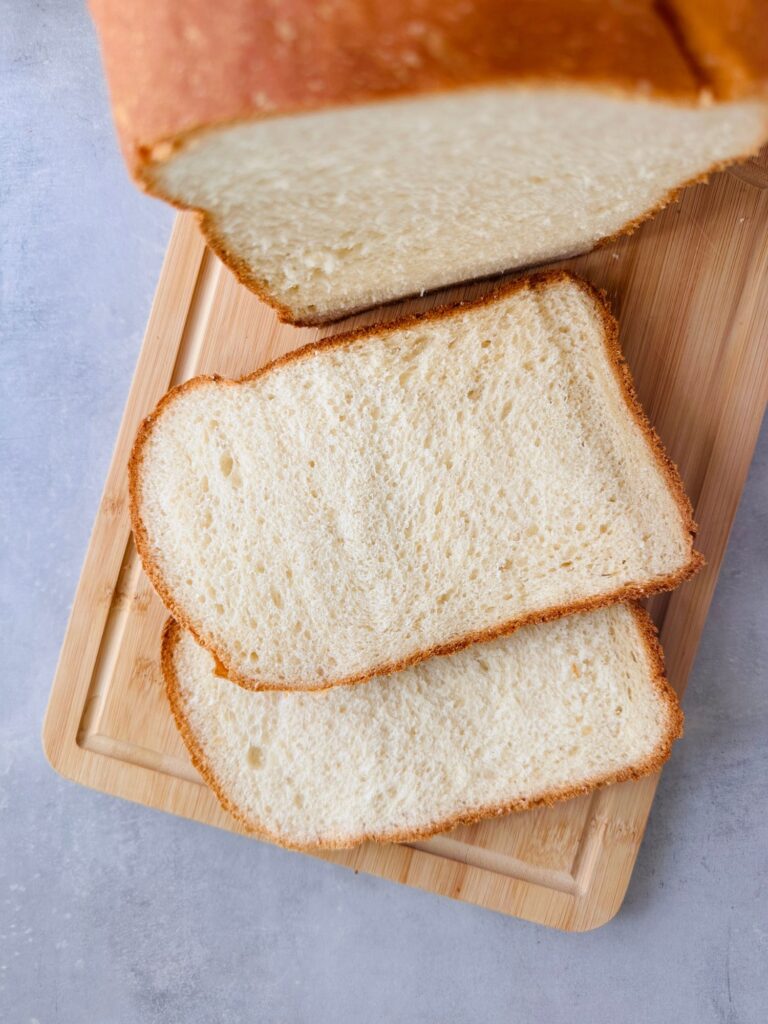
Using milk instead of water gives the bread a richer flavour, softer crumb, and a beautifully tender texture that’s perfect for sandwiches, toast, or simply sliced warm with butter. I used whole milk, which worked brilliantly and gave the loaf a lovely softness.
You’ll also need a bread maker. I made this in the Panasonic SD-YR2540 Bread Maker (from Amazon) using the standard bread programme.
How To Make It
Start by weighing and adding the strong white bread flour to the bread maker tin. Next, add the butter, sugar, and salt. Then measure the milk and add it in with the rest of the ingredients.
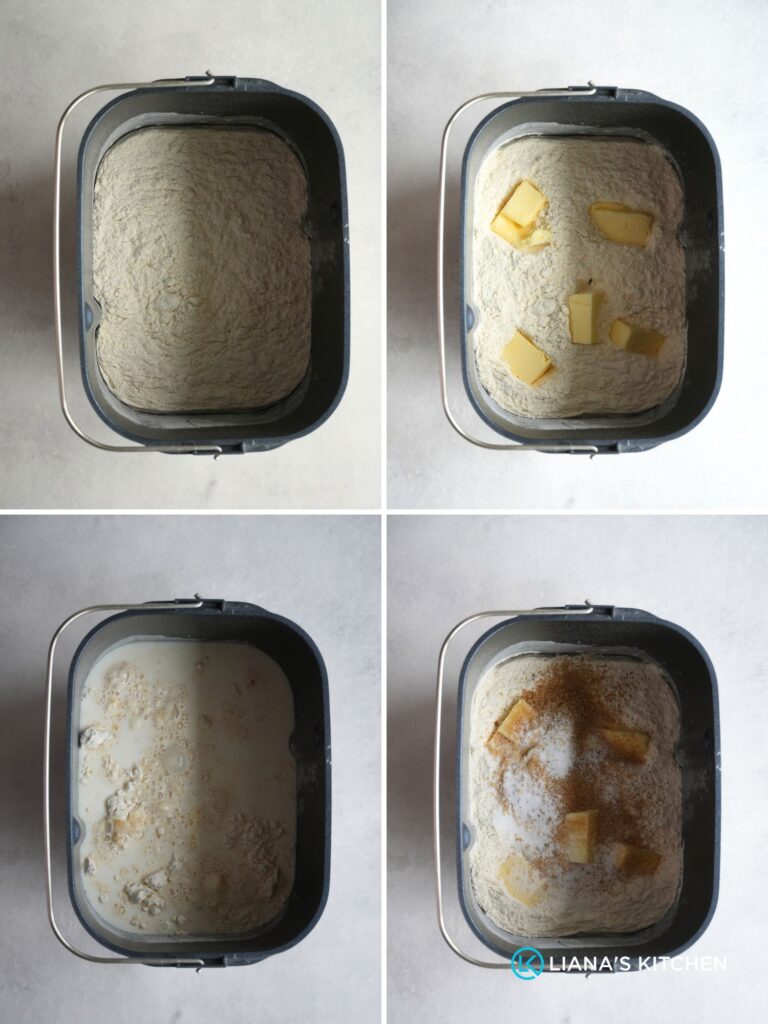
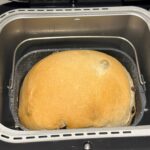
Place the tin into the bread maker unit and add the dry yeast to the yeast dispenser if your machine has one. If not, place it into the tin according to your bread maker’s instructions.
Once the tin has been placed into the machine select these programs:
- Menu 1
- XL loaf size (or M / L if preferred)
- Your chosen crust colour: light, medium, or dark
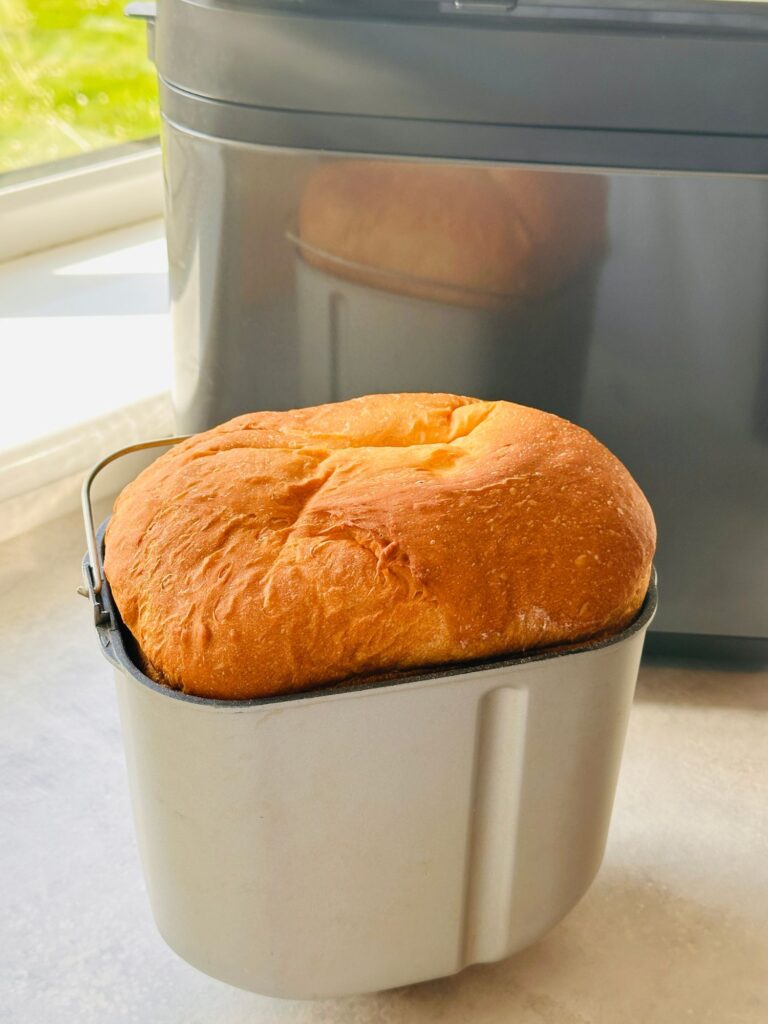
Then simply press start and let the bread maker do the kneading, rising, and baking. Once baked, carefully remove the loaf from the tin and allow it to cool on a wire rack before slicing.

Storage & Reheating
- Store in a bread bag or container at room temperature for up to 3 days.
- Slice and freeze any leftovers for longer storage.
- Toast slices straight from frozen when needed.
- Refresh slightly older bread with a quick toast and butter.
More Bread Maker Recipes
If you are looking for more bread maker recipes try these out for inspiration:
- Bread Maker Brioche Bread
- Bread Maker Multigrain Loaf
- Bread Maker Pizza Dough
- Bread Maker White Bread
- Bread Maker Hot Cross Bun Loaf
- Bread Maker Rolls Recipe
- Bacon and Cheese Bread in a Bread Maker
- Quick Bread Recipe For Bread Maker
- Bread Maker Raisin Bread
Milk Bread in a Bread Maker
Some of the links in this post may be affiliate links – which means if you buy the product I get a small commission (at no extra cost to you). If you do buy, then thank you! That’s what helps us to keep Liana’s Kitchen running.
Equipment

Ingredients
- 1¼ tsp dry yeast
- 600 g strong white bread flour
- 40 g butter
- 2 tbsp sugar
- 2 tsp salt
- 430 ml milk I used whole milk
Instructions
- Weigh the strong white bread flour and add it to the bread maker tin.
- Add the butter, sugar, and salt.
- Measure the milk and pour it into the tin with the other ingredients.
- Place the bread pan into the bread maker.
- Add the dry yeast to the yeast dispenser if your machine has one. If not, add it to the tin according to your bread maker instructions.
- Select Menu 1. Choose XL loaf size (or M / L if those are the quantities you have added).
- Select your preferred crust colour: light, medium, or dark.
- Press start and allow the machine to knead, rise, and bake the loaf.
- Once baked, carefully remove the loaf from the tin and cool on a wire rack before slicing.
Video
Notes
- I made this loaf in the Panasonic SD-YR2540 Bread Maker.
- Whole milk gives the softest and richest result, though semi-skimmed can also be used.
- For a softer crust, choose the light setting.
- Allow the loaf to cool fully before slicing for the neatest slices.
- Freeze sliced bread for easy toast later.
Nutrition
Nutrition information is automatically calculated, so should only be used as an estimate.