
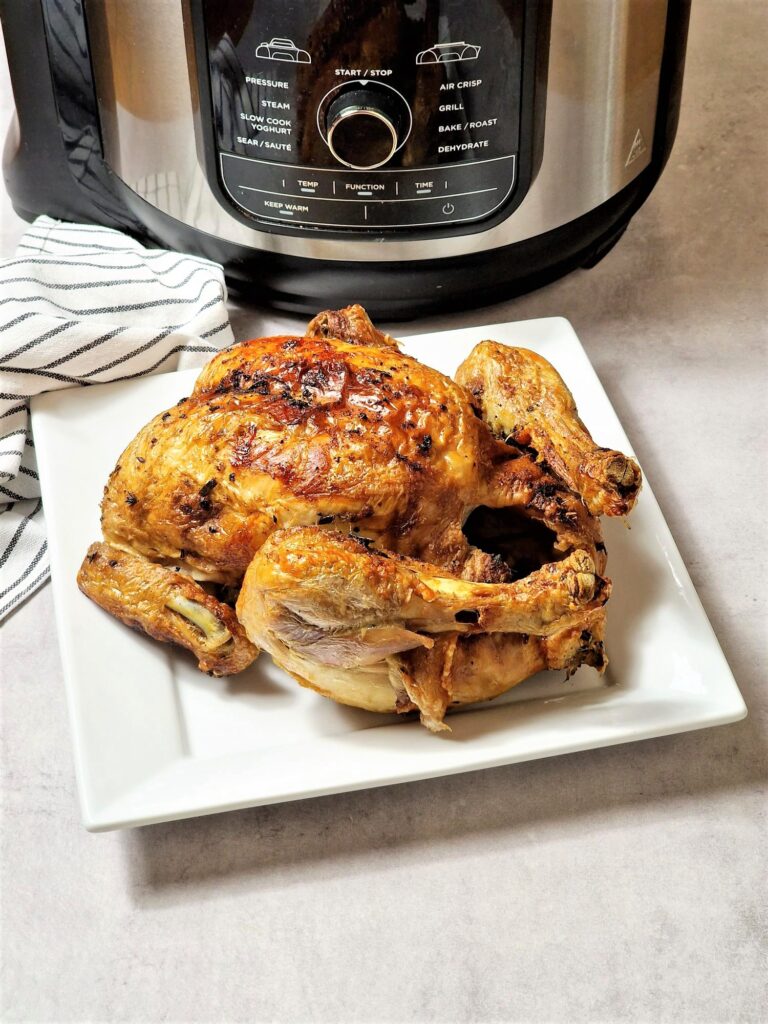
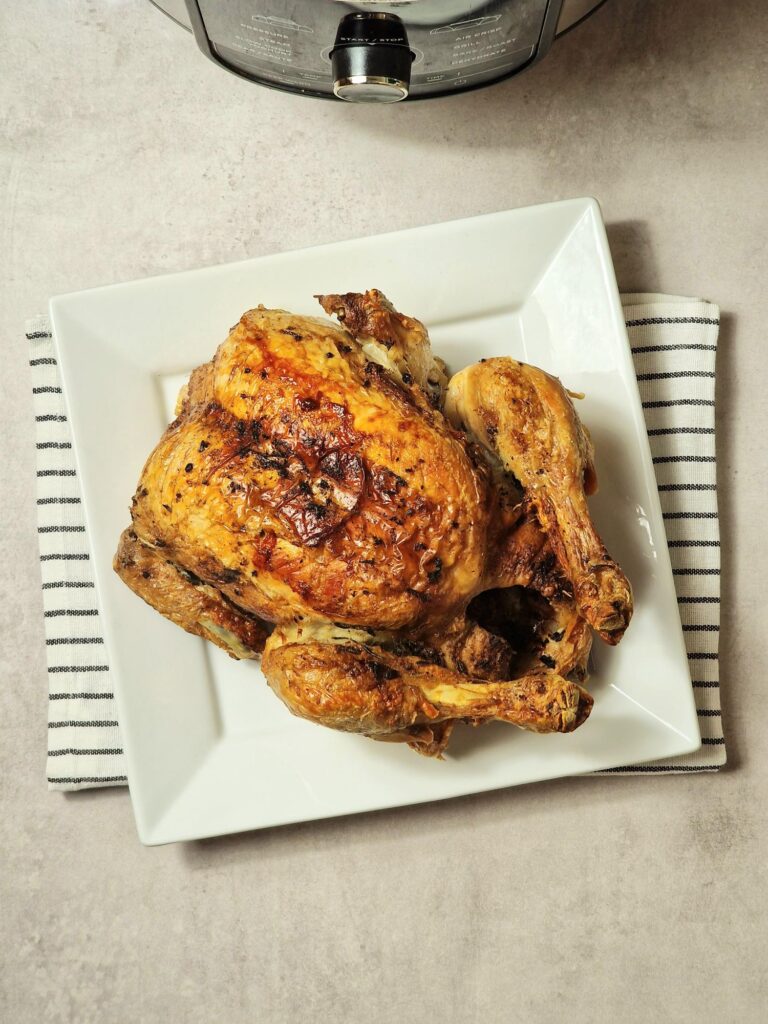
Are you looking for an easy and delicious dinner to make tonight? You need to try a Ninja Foodi Roast Chicken!
With the Ninja Foodi, you can make a juicy and flavourful whole chicken in less than an hour.
You only need a few simple ingredients, and the Ninja Foodi will do all the work.

How To Cook A Whole Chicken In A Ninja Foodi
To roast a whole chicken in a Ninja Foodi, you must first ensure the chicken you have will fit in the basket.
I made this using the Ninja Foodi Max (7.5L), but as long as the chicken fits, you can make it in any Ninja Foodi or an alternative brand of multi-cooker.
For exact instructions and to print out this recipe, please head down to the recipe card at the bottom of the post.
What You Need
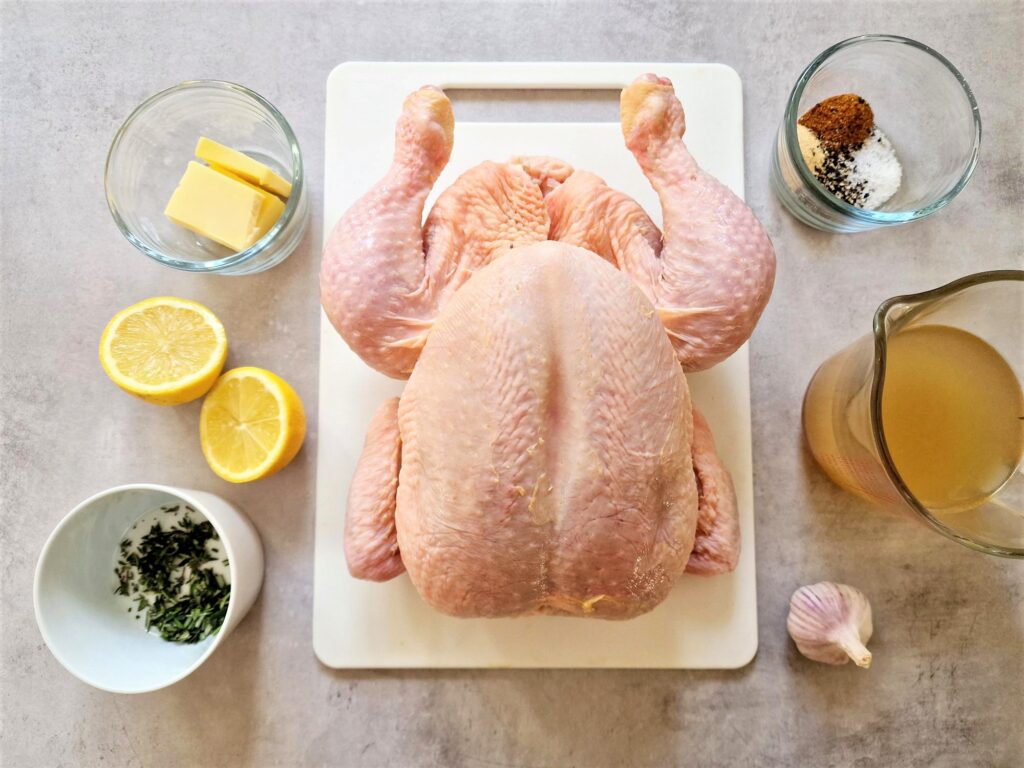

- Chicken – 1 whole chicken (1.5kg – 2.5kg)
- Chicken stock – I mixed 1 chicken stock pot with 250ml boiling water.
- Garlic cloves – I used 4 cloves of garlic, peeled and lightly smashed.
- Seasonings – you can use your favourite seasonings that you would typically use when making a roast chicken. I used 1 tsp each of garlic granules, sea salt, ground black pepper and paprika.
- Fresh herbs are optional, but I used 1 tablespoon of chopped fresh rosemary and thyme.
- Lemon
- Butter and/or oil – I used 4 tablespoons of melted butter and 1 tablespoon of oil – the oil was for brushing the chicken before air frying it.
Making It
You can season the chicken in your preferred way (e.g. how you would normally season a whole chicken when roasting.)
I prepared mine as follows;
After patting the chicken dry with some kitchen towel, slice the lemon in half and stuff one half in the cavity of the chicken together with the smashed garlic cloves.


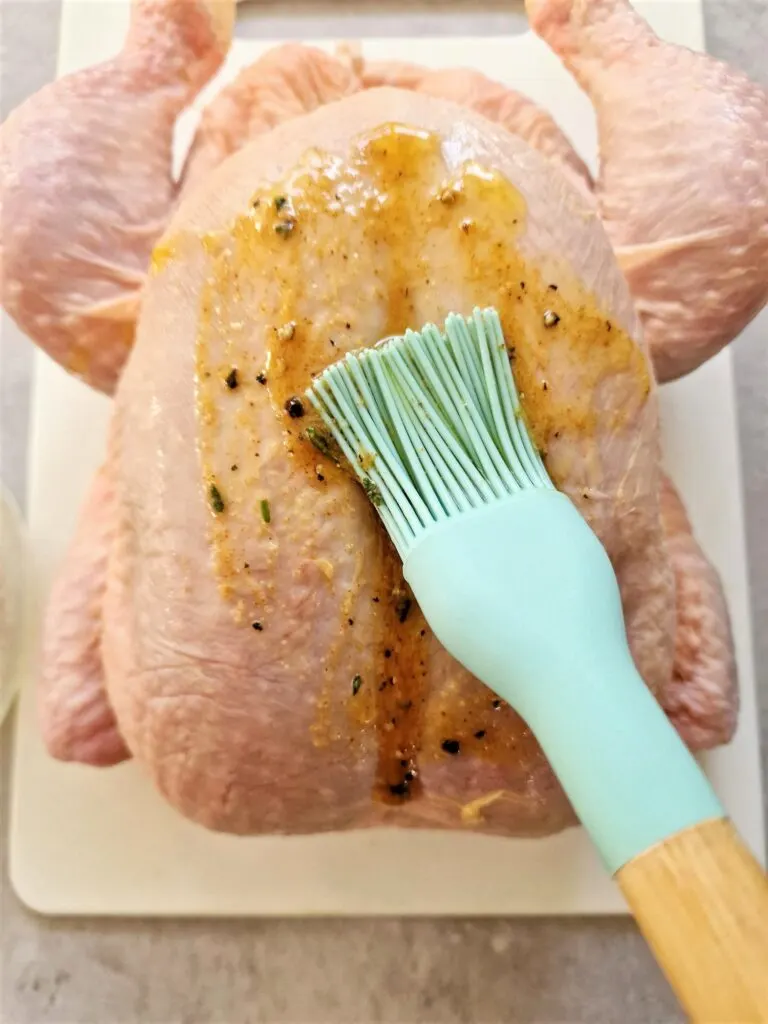
Mix the melted butter, fresh herbs, dried seasonings, and juice from half a lemon in a bowl. Using a brush, baste the outside of the chicken.


Alternatively, you can add the seasoning directly to the chicken without using the butter.

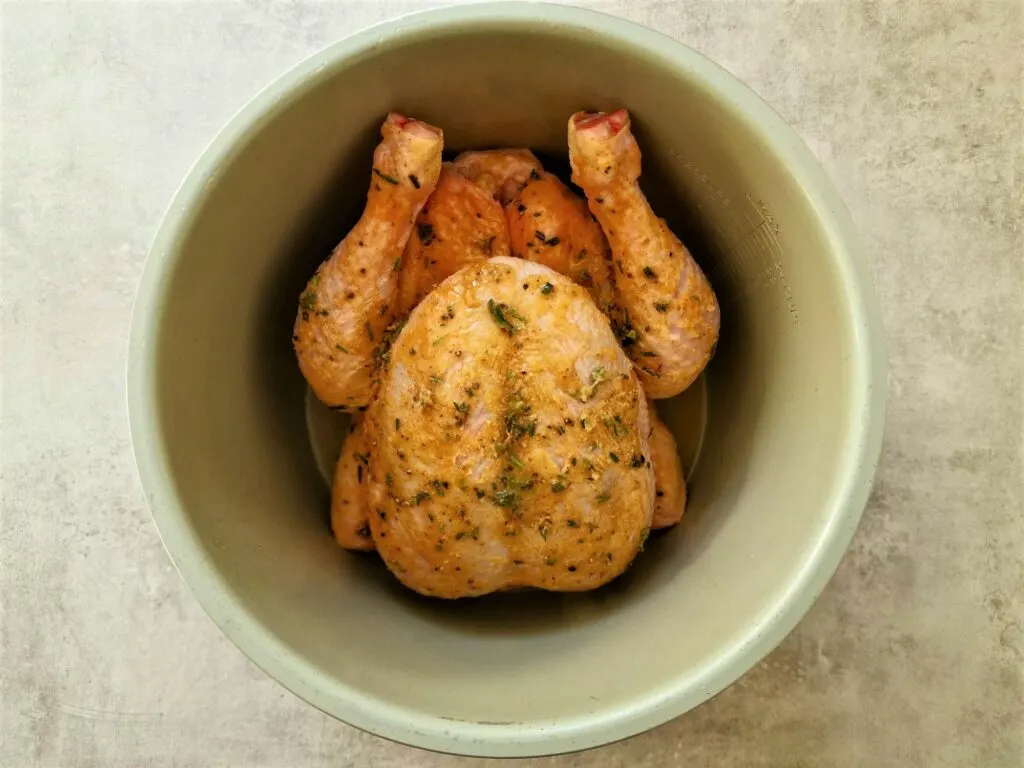
Pour the chicken stock directly into the Ninja Foodi bowl before transferring the seasoned whole chicken to the bowl.

Place the pressure cooker lid on top and set the pressure cooker off using the cooking times listed below.
How Long To Cook A Whole Chicken In A Ninja Foodi Pressure Cooker
Follow these times as a guideline for cooking a whole chicken in a Ninja Foodi pressure cooker.
As always, ensure the chicken is cooked all the way through before serving. There should be no pink bits, and the juices should run clear. If in doubt, use a thermometer; poultry needs to reach 75°C to be cooked.
Allow 8 minutes at high pressure per 500g of chicken:
- 1kg – 16 minutes
- 1.5kg – 24 minutes
- 2kg – 32 minutes
- 2.5kg – 40 minutes
When calculating the whole cooking time, remember to factor in the time the pot takes to reach pressure (roughly 15 minutes).
Crisping Up The Chicken
At the end of the pressure cooking time, carefully move the pressure release valve to the VENT position to quickly release the pressure.
Open the lid carefully and brush or spray the chicken with some oil.
Switch to the air fryer function and cook at 200°C for 10 minutes until the skin has crisped up.
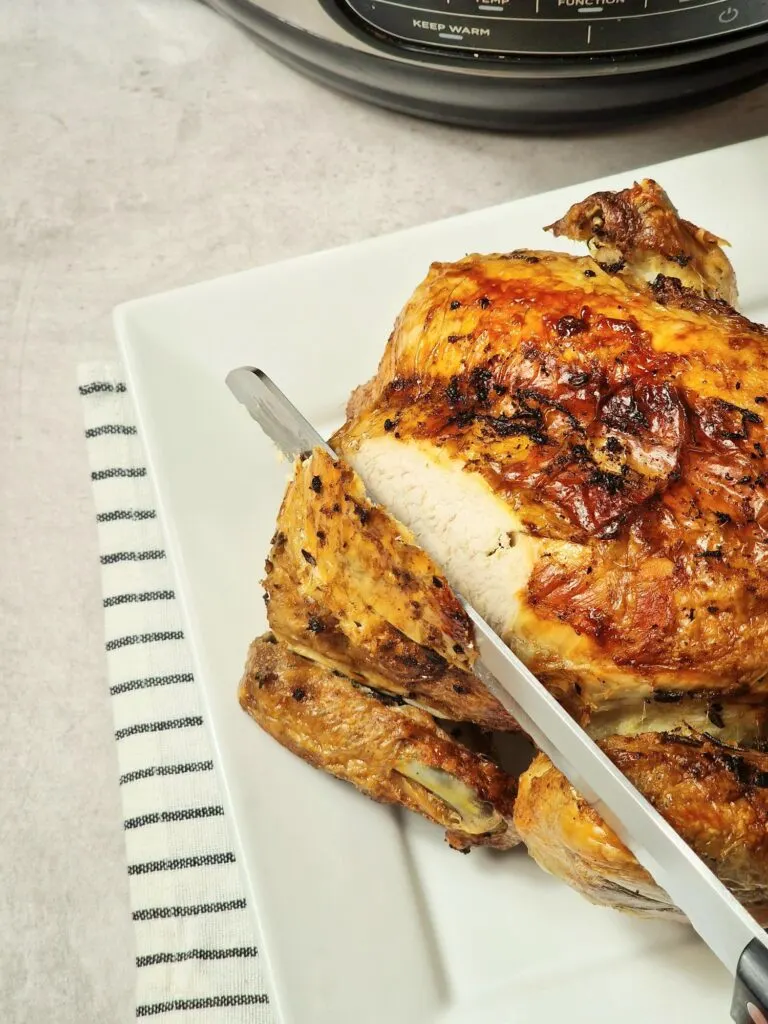
Carefully remove the chicken from the inner bowl and leave it to rest for 10 to 15 minutes before carving.

Do you want to skip using the pressure cooker? Follow my air fryer whole chicken for a step-by-step recipe to make it.
What To Serve With Ninja Foodi Roast Chicken
You can use the carved chicken for a sandwich, in a soup, or as part of a main meal.
I hope you enjoy this Ninja Foodi whole chicken recipe – let me know in the comments if you make it!


Ninja Foodi Whole Roast Chicken
Some of the links in this post may be affiliate links – which means if you buy the product I get a small commission (at no extra cost to you). If you do buy, then thank you! That’s what helps us to keep Liana’s Kitchen running.
Ingredients
- 1.5 kg – 2.5kg whole chicken
- 250 ml chicken stock
- 4 cloves garlic peeled and lightly smashed
- 1 tsp garlic granules
- 1 tsp paprika
- 1/2 tsp sea salt
- 1/2 tsp ground black peppers
- 1 tbsp each of fresh rosemary and thyme chopped (optional)
- 50 g butter melted
- 1 lemon
- Salt and pepper to season according to taste
Instructions
- Slice the lemon in half and insert it and the smashed garlic cloves into the chicken cavity.
- Combine melted butter, juice from half a lemon, garlic granules, paprika, salt, pepper and fresh herbs in a mixing bowl.
- Pat dry the chicken with some kitchen towel.
- Brush the seasoning mixture over the chicken.
- Pour 250ml of chicken stock (one pot made with 250ml boiling water) into the Ninja Foodi pot.
- Transfer the seasoned chicken to the Ninja Foodi pot.
- Place the lid on the Ninja Foodi, check the pressure release valve is in the SEAL position and select high pressure. Set the time according to the weight of the chicken (allow 8 minutes per 500g).
- The pressure cooker will take about 10 to 15 minutes to come to pressure.
- At the end of the pressure cooker time, perform a quick release by switching the pressure release valve to the VENT position.
- When it has finished releasing the pressure, carefully remove the lid.
- Optionally spray the chicken with a little oil to help it crisp up.
- Switch to the air fryer function and cook at 200°C for 10 to 15 minutes or until the skin is as crispy as you like.
- Carefully remove the chicken from the Ninja Foodi pot and leave it to rest for 10 to 15 minutes before carving.
Nutrition information is automatically calculated, so should only be used as an estimate.
Stuart Cunningham
Thursday 15th of May 2025
Chicken cooked perfectly left toʻ cool, and ate with salad. Great 👍 for a warm evening
Harry
Saturday 23rd of November 2024
Finally a recipe that can be understood. Most recipes assume that you know how this machine works. The manuals and instructions it comes with are shockingly incomplete. It doesn’t even say you have to wait 10-15 for it to warm up.
This recipe works well, but don’t put to many herbs in as they get totally frazzled.
Martin Hulm
Sunday 16th of April 2023
Worked great. Tastes great. I did put it into the basket to crisp it up more towards the end and used the stock and meat juice to make tasty gravy. Thanks.
gordon
Sunday 2nd of April 2023
very helpul thank you