
Have you just bought a multi cooker and are wondering how to use the electric pressure cooker function?
You’re not alone!
I get so many emails from people telling me their new Ninja, Instant Pot, or alternative multicooker brand has been sitting in its box since delivery, and they’re too nervous to use it.
That also used to be me.
Electric pressure cookers have become so popular in recent years because they cook food quickly and efficiently while preserving flavours and nutrients.
But this method of cooking is quite new to most of us, with many of us only remembering the noise and fear of the traditional stovetop pressure cookers.
This article will provide a comprehensive guide on understanding electric pressure cookers, their features, and how to successfully adapt recipes for electric pressure cookers, ensuring delicious and consistent results every time.
Understanding Electric Pressure Cookers
How Do Electric Pressure Cookers Work?
Electric pressure cookers use heat and steam to build pressure within a sealed pot. This elevated pressure raises the boiling point of water, allowing food to cook at higher temperatures and in less time than conventional cooking methods. Once the pressure has built up, the cooker maintains a consistent cooking temperature and pressure, ensuring even and efficient cooking.
The Different Types Of Pressure Cookers And Their Features
Various types of electric pressure cookers are available, each with unique features and settings.
Some common types include multi-cookers (which often feature additional cooking functions like slow cooking and sautéing) and dedicated pressure cookers. Consider your pressure cooker model’s specific features and settings when adapting recipes.
The most popular multi-cooker brands are Ninja and Instant Pot, which have a range of different models. Most recipes intended for one can be used in the other, so this guide applies to all multi-cooker types.
You Might Like: Multi-Cooker Buying Guide
Standard Pressure Settings
Most electric pressure cookers offer at least two pressure settings: high and low.
High pressure is typically used for cooking dense ingredients like meats and legumes, while low pressure is suitable for delicate foods like fish and vegetables.
Pressure cookers have different pressure-releasing methods:
- Natural release – allowing pressure to dissipate gradually
- Quick release – manually venting steam to release pressure quickly.
The release method you choose will depend on the recipe and ingredients you’re working with.
Adapting A Recipe For The Pressure Cooker
Liquid requirements and adjustments
Pressure cookers require liquid to generate steam and create pressure.
When adapting a recipe, ensure enough liquid (typically a minimum of 1 cup/250ml) to allow the cooker to reach pressure.
Double-check with the manufacturer guidelines, as different pressure cookers have varying minimum liquid requirements.
You may need to reduce the amount of liquid in some recipes, as very little evaporates during pressure cooking.
A general guideline is to reduce the liquid by about 1/3 compared to conventional cooking methods.
Pressure Cooker Friendly Ingredients
Not all ingredients are well-suited for pressure cooking. For example, dairy products and thickening agents can cause scorching or interfere with pressure building. To avoid issues, consider adding these ingredients after pressure cooking or replacing them with alternatives more suited to pressure cooking.
Adjusting Quantities For Cooking Under Pressure
When adapting recipes, be mindful of the pressure cooker’s capacity. Overfilling can prevent the cooker from reaching pressure and may cause safety issues.
Generally, do not fill your pressure cooker more than two-thirds full for most recipes and no more than half full for recipes containing ingredients that expand, such as grains and beans.
Pressure Cooker Cooking times
Pressure cooking significantly reduces cooking times compared to conventional methods. When adapting a recipe, a general guideline is to reduce the cooking time by about two-thirds for high-pressure settings and about half for low-pressure settings.
Keep in mind that cooking times can vary depending on factors such as the size and thickness of ingredients, the pressure cooker model, and the altitude at which you’re cooking. Be prepared to adjust cooking times based on your specific circumstances.
Pressure Cooking Techniques
Sautéing, Browning, and Deglazing
Many electric pressure cookers feature a sauté or browning function, which allows you to sear and brown ingredients before pressure cooking. This can enhance the flavour and texture of your dishes. Consider incorporating this step to improve the final result when adapting a recipe.
After browning, deglaze the pot with a small amount of liquid to loosen any stuck-on bits, which adds flavour and prevents scorching during pressure cooking.
Layering Ingredients In A Pressure Cooker
Layer your ingredients strategically to ensure even cooking and prevent delicate ingredients from overcooking.
Place denser ingredients like meats and root vegetables on the bottom, followed by more delicate ingredients like pasta, rice, or quick-cooking vegetables.
You can also use steamer baskets or trivets to separate ingredients and prevent them from mixing or sticking to the bottom of the pot.
Natural Release vs Quick Release
Choosing the correct pressure release method is important for optimal results. Natural release is best for dishes with high starch content (like beans or grains), large cuts of meat, and recipes with high liquid volume. It decreases pressure gradually, preventing foaming and maintaining the food’s texture.
Quick release is suitable for delicate foods like vegetables and fish, as it prevents overcooking by rapidly releasing pressure.
Adapting Specific Types of Recipes
Pressure Cooker Soups and Stews
You may need to reduce the liquid amount when adapting soup and stew recipes for pressure cooking, as there is minimal evaporation during pressure cooking. Be cautious not to reduce the liquid too much, as your pressure cooker still requires a minimum amount of liquid to build pressure.
Layer ingredients in the pressure cooker to prevent overcooking, placing denser ingredients on the bottom and more delicate ones on top. If using meat, consider browning it first to enhance flavour and texture.

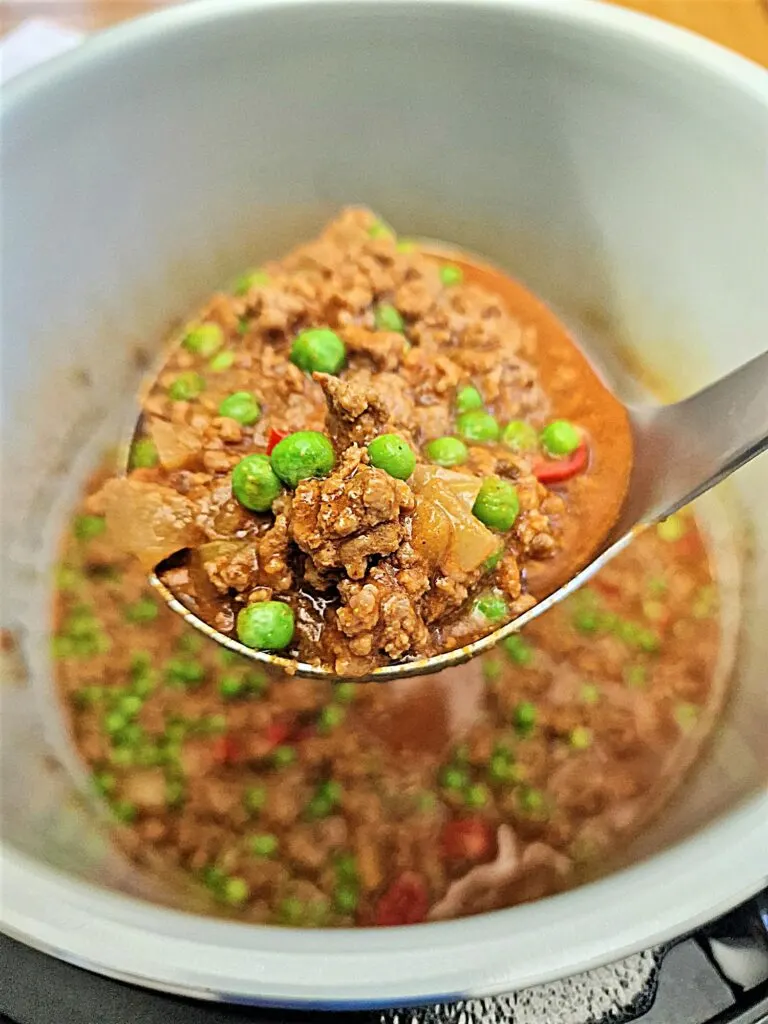
When converting a soup or stew recipe, reduce the cooking time by about two-thirds for high-pressure settings. Remember that cooking times may vary depending on the ingredients, so be prepared to adjust as needed.
Recipes You Might Like:
Pressure Cooker Rice and Grains
For pressure-cooking rice and grains, it’s important to adjust the water-to-grain ratio to ensure optimal results. Refer to your pressure cooker’s manual for specific guidelines, as ratios may vary depending on the type of rice or grain and the cooker model.

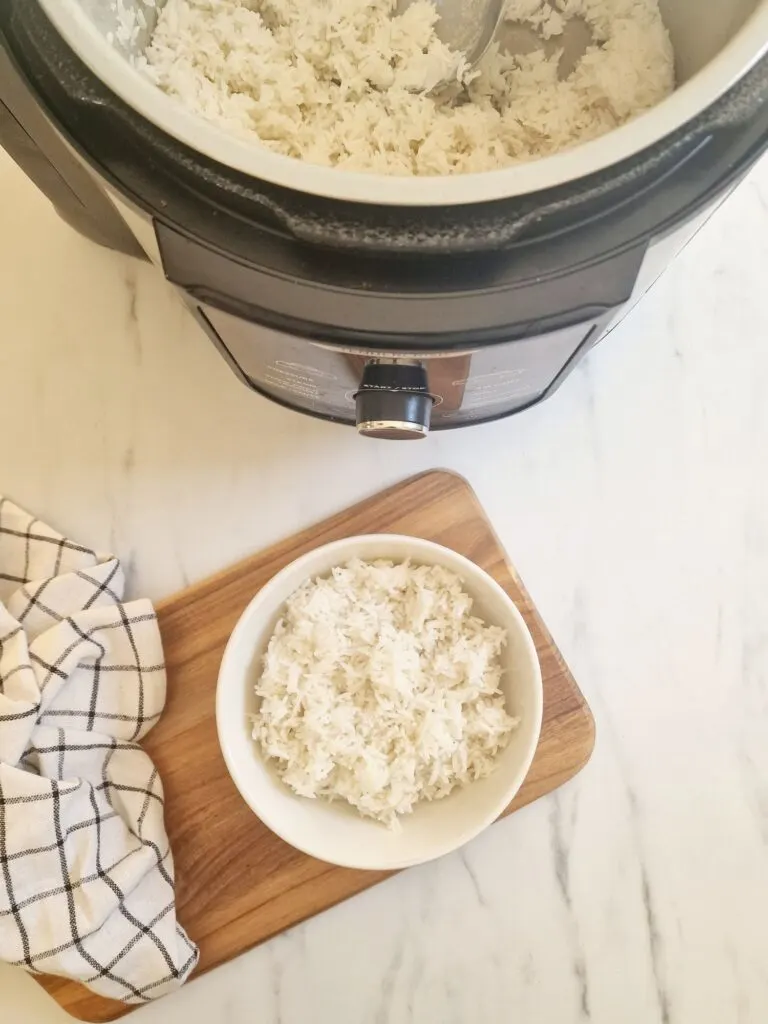
Rice and grain cooking times can vary depending on the type and the pressure cooker model. Consult your pressure cooker’s manual or look for tested pressure cooker recipes for guidance on cooking times.
A natural release is the best method for most rice and grain dishes, as it decreases pressure gradually and prevents the starchy liquid from foaming and sputtering through the pressure release valve.
You Might Like: Ninja Foodi Basmati Rice
Pressure Cooker Beans and Legumes
Soaking beans and legumes before pressure cooking can reduce cooking times and improve their texture.
However, some electric pressure cooker models can cook unsoaked beans and legumes just as effectively.
Cooking times for beans and legumes can vary depending on the type, whether they’ve been soaked, and the pressure cooker model. As a starting point, reduce the cooking time by about two-thirds for high-pressure settings, and adjust as needed.
Natural release is typically the best method for beans and legumes. It decreases the pressure gradually and prevents the starchy liquid from foaming and sputtering through the pressure release valve.
However, you may need a combination of natural and quick-release for more delicate legumes to prevent overcooking.
Pressure Cooker Meats and Poultry
When adapting recipes for meats and poultry, consider the cut and thickness of the meat, as these factors can significantly impact cooking times.
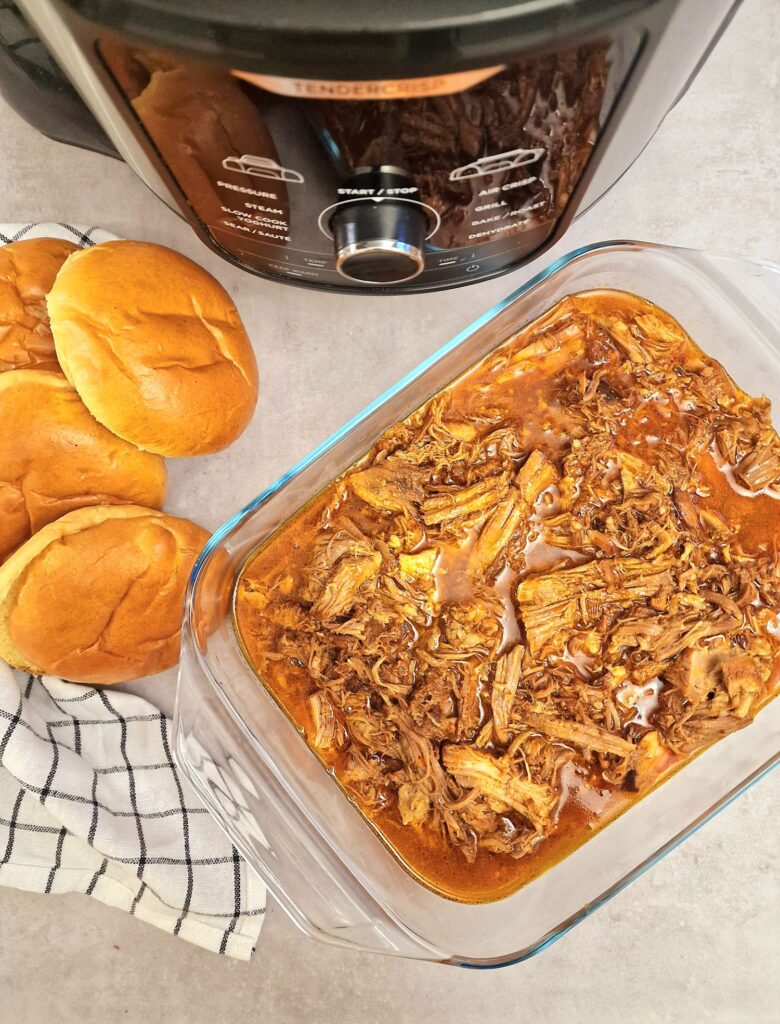

As a general guideline, reduce the cooking time by about two-thirds for high-pressure settings. Consult your pressure cooker’s manual or look for tested recipes for guidance on specific cooking times.
For recipes that call for searing or browning meat before cooking, use your pressure cooker’s sauté or brown function. This step enhances your dish’s flavour and texture and helps develop a richer sauce or gravy.
After browning the meat, deglaze the pot with a small amount of liquid to loosen any stuck-on bits. This not only adds flavour but also helps to prevent scorching during pressure cooking. Ensure the pressure cooker has enough liquid in the pot to function correctly.
Recipes You Might Like:
Pressure Cooker Vegetables
When adapting vegetable recipes for pressure cooking, be mindful of the varying cooking times for different types of vegetables. As a starting point, reduce the cooking time by about two-thirds for high-pressure settings and adjust as needed.
Layer vegetables in the pressure cooker to prevent overcooking, placing denser vegetables on the bottom and more delicate vegetables on top. You can also use steamer baskets or trivets to separate ingredients and prevent them from mixing or sticking to the bottom of the pot.
For most vegetables, quick release is the best method for releasing pressure, as it prevents overcooking by rapidly decreasing pressure.
Pressure Cooker Pasta
When adapting pasta recipes for pressure cooking, you may need to reduce the liquid amount, as there is minimal evaporation during pressure cooking. Reduce the cooking time by about two-thirds for high-pressure settings.
To prevent pasta from sticking together or to the bottom of the pot, layer them and use a small amount of oil or cooking spray. If possible, use a steamer basket or trivet to separate the pasta from the bottom of the pot.
You Might Like: Ninja Foodi Penne Pasta
Pressure Cooker Desserts and Baking
When adapting dessert and baked good recipes for pressure cooking, use oven-safe bakeware that fits comfortably inside your pressure cooker. Ensure enough space around the bakeware allows steam to circulate for even cooking.
For pressure-cooking desserts and baked goods, you may need to adjust the liquid amount in the recipe, as there is minimal evaporation during pressure cooking. Reduce the cooking time by about two-thirds for high-pressure settings.
For most desserts and baked goods, a natural release is the best method for releasing pressure, as it decreases the pressure gradually and prevents sudden changes in temperature that could affect the texture of your dessert. Once the pressure has been released, allow your dessert to cool as needed before serving.
Common Pressure Cooker Mistakes to Avoid
Overfilling your pressure cooker can prevent it from reaching the proper pressure and may cause safety issues. Generally, fill your pressure cooker at most two-thirds full for most recipes and no more than half full for recipes containing ingredients that expand, such as grains and beans.
Insufficient liquid in your pressure cooker can prevent it from reaching pressure and lead to undercooked or burned food. Ensure enough liquid (typically a minimum of 250ml/1 cup) in your recipe to allow the cooker to get to pressure appropriately.
Forgetting to adjust cooking times when adapting a recipe can result in overcooked or undercooked food. Reduce cooking times by about two-thirds for high-pressure settings and about half for low-pressure settings as a starting point, and adjust as needed.
Choosing the appropriate pressure release method is crucial for optimal results. Failing to consider whether to use natural release or quick release can lead to overcooked, undercooked, or improperly textured food. Consider the type of ingredients and dish you’re making when deciding which release method to use.
Tips For Successful Recipe Adaptation
When first experimenting with adapting recipes for your electric pressure cooker, start with tested and trusted pressure cooker recipes. These recipes have already been adjusted for pressure cooking and can help you better understand how ingredients and cooking times change in a pressure cooker.
As you adapt recipes for your pressure cooker, keep notes on the adjustments and results you’ve achieved. This will help you refine your adaptations over time and create a collection of successful pressure cooker recipes.
Adapting recipes for pressure cooking is often a trial-and-error process. Be prepared to adjust and experiment with different cooking times, liquid amounts, and ingredient quantities to achieve the best results.
Final Thoughts
In this guide, I’ve covered the essential aspects of adapting recipes for electric pressure cookers, including understanding how pressure cookers work, adjusting ingredients, cooking times, techniques, and tips for successful recipe adaptation.
With practice and patience, you’ll soon become proficient in adapting your favourite recipes for pressure cooking, creating delicious and time-saving meals for you and your family.
Don’t be afraid to embrace the trial-and-error process of recipe adaptation, and be sure to share your experiences and adapted recipes in the comments section below.