
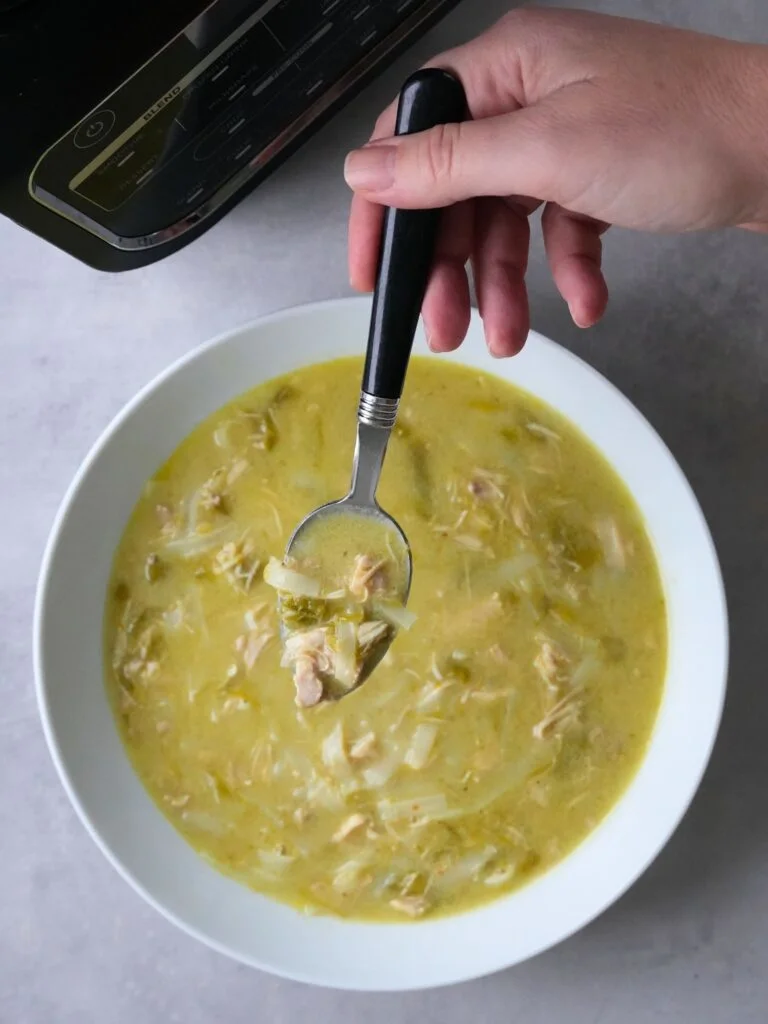
If you love the fresh, fragrant flavours of Thai green curry, this Thai Green Chicken Noodle Soup is going to be right up your street. It’s warming but not heavy, gently spiced rather than fiery, and packed with tender chicken, vegetables and rice noodles, all made easily in a soup maker.
It’s perfect for a comforting lunch, a light dinner, or when you want something a bit more exciting than a standard chicken soup without reaching for a takeaway.

What You Need
For exact instructions and to print out, please head to the recipe card at the bottom of this page.
For this soup you’ll need:

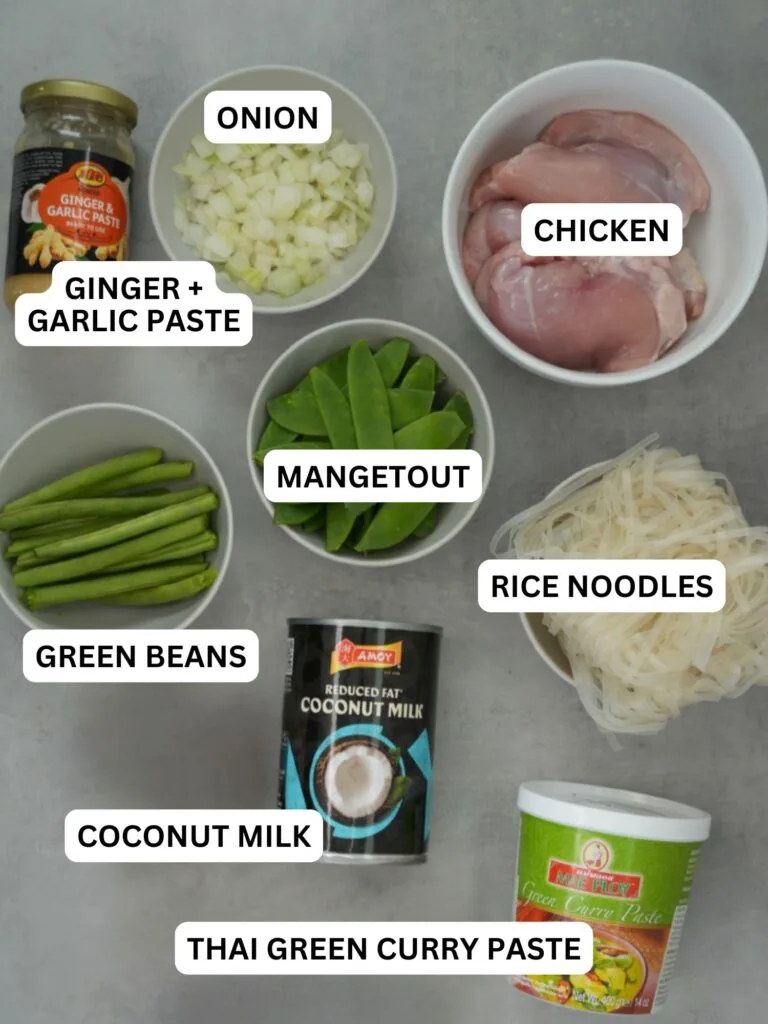
- Onion, garlic and ginger – you can use fresh ingredients or switch for frozen or a paste.
- Boneless chicken thighs – stay tender and juicy when cooked in the soup maker.
- Thai green curry paste – provides the main flavour; my favourite is Mae Ploy which is quite strong, so a little goes a long way.
- Low-fat coconut milk – gives the soup its creamy texture without making it too heavy. You can use full fat coconut milk if you prefer.
- Chicken stock pot or cube – adds savoury depth to the broth.
- Green beans – add texture and freshness.
- Mangetout – keep their bite and colour when added near the end.
- Dried rice noodles – turn this into a filling, complete meal.
About the Curry Paste and Noodles
Thai green curry pastes vary in strength. If you’re sensitive to heat, you can start with 1 tablespoon and add more at the end if needed.
The rice noodles are added at the end of the programme so they soften without breaking down or becoming mushy. Two standard noodle nests work well for this amount of soup.
How To Make It
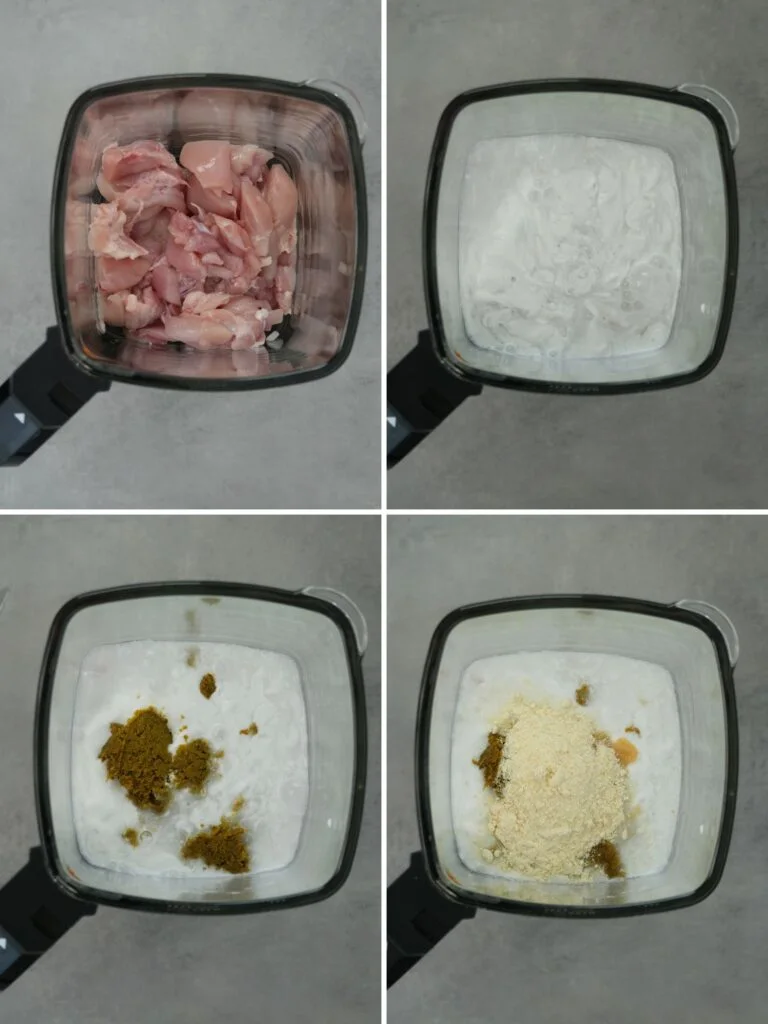
Start by adding the chopped onion, crushed garlic, grated ginger and chopped chicken thighs to the soup maker jug.
Add the Thai green curry paste, coconut milk and chicken stock pot. Pour in hot water, making sure the liquid level doesn’t go above the MAX line (or sits between the MIN and MAX lines, depending on your soup maker).

Place the lid on the soup maker and select the Manual function. Choose High Heat and set the cooking time to 20 minutes.
After 20 minutes, carefully remove the lid and add the chopped green beans and mangetout. Replace the lid and continue cooking on High Heat for a further 10 minutes.
At the 30-minute mark, open the lid again and add the two nests of rice noodles. Gently push them down so they are fully submerged in the liquid. Leave the soup for around 3 minutes, allowing the noodles to soften.


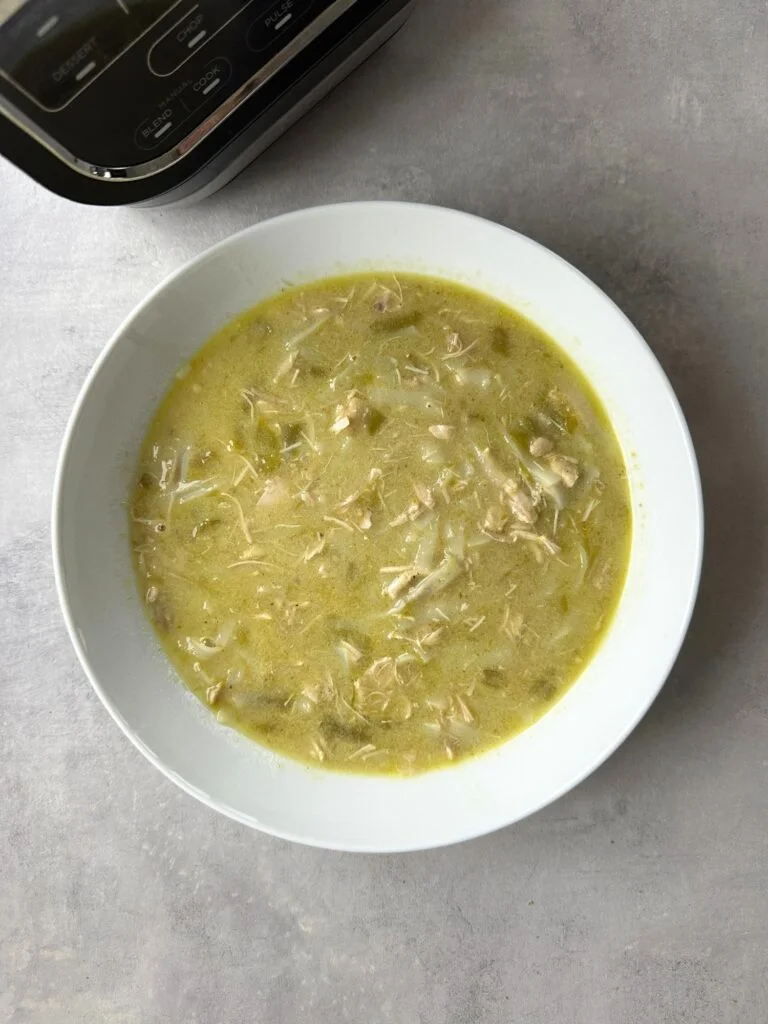
Once the noodles are tender, press the Pulse button around three times to lightly break down the ingredients, keeping plenty of texture rather than fully blending.
Carefully remove the lid, give the soup a final stir and check that the chicken is cooked through before serving.
Why Use the Manual Cook Function?
For this soup, I used the Manual Cook function on the Ninja Soup Maker rather than the pre-programmed chunky soup setting.
Using Manual mode gives you full control over the timing, which I preferred for this recipe. The chicken is cooked first, before the vegetables and noodles are added, so everything cooks properly without softening all at the same time.
The chunky soup programme also pulses twice during the cycle and sometimes I prefer to have control of the texture and only lightly break everything down by pulsing a few times at the end.
Using a Different Soup Maker
If you’re using a soup maker without a manual cook function, or a model that isn’t suitable for cooking raw chicken, you’ll need to make a small adjustment.
Use pre-cooked chicken instead (leftover roast chicken or cooked chicken thighs work well). Add it at the beginning along with the onion, garlic, ginger, curry paste, coconut milk and stock.
Select the chunky soup setting on your soup maker.
You can add the green beans and mangetout at the start if you’re happy with softer vegetables. If you prefer them to keep more texture, add them 5–10 minutes before the end of the programme, if your soup maker allows you to open the lid mid-cycle.

More Soup Maker Recipes
If you are looking for more chicken soup recipes for your soup maker check out the following recipe:
- Classic Chicken Soup
- Chicken and Potato Soup
- Marry Me Chicken Soup
- Piri Piri Chicken Soup
- Jamaican Jerk Chicken Soup
- Chicken Tortilla Soup
- Lemon Chicken Orzo Soup
- Curried Chicken and Lentil Soup
- Chicken Satay Soup
- Chicken Noodle Soup
- Massaman Chicken Soup
- Chicken and Chorizo Soup
- Chinese Curry Soup
- Thai Red Curry Soup
- Thai Green Curry Soup (smooth no noodle version)
- Chicken and Tarragon Soup


Thai Green Chicken Noodle Soup (in a Soup Maker)
Some of the links in this post may be affiliate links – which means if you buy the product I get a small commission (at no extra cost to you). If you do buy, then thank you! That’s what helps us to keep Liana’s Kitchen running.


Ingredients
- 1 onion finely chopped
- 2 cloves garlic crushed
- 1 tsp ginger grated (or ginger purée)
- 400 g boneless chicken thighs chopped small
- 400 ml low fat coconut milk
- 2 tbsp Mae Ploy Thai green curry paste
- 1 chicken stock pot or cube + hot water to line
- 75 g green beans chopped
- 75 g mangetout chopped
- 90 g dried rice noodles 2 nests
Instructions
- Add the onion, garlic, ginger, chicken, coconut milk, paste and stock to the soup maker. I used 2 tbsp of Thai curry paste, see notes for information.
- Place the lid on the soup maker. Select the Manual function, choose High Heat and set the time to 20 minutes. For other soup makers, choose the chunky soup setting. You can add the beans and mangetout at the beginning too, they will just be softer.
- After 20 minutes, carefully remove the lid and add the chopped green beans and mangetout. Replace the lid and continue cooking on High Heat for a further 10 minutes.
- Once the 30 minutes are up, switch the soup maker off and add the rice noodles to the hot soup. Push them down so they are fully submerged and leave for 3 minutes to soften.
- Optionally press the Pulse button around 3 times to gently break down the ingredients while keeping plenty of texture. Or alternatively you can leave it as it is.
Notes
Nutrition
Nutrition information is automatically calculated, so should only be used as an estimate.